
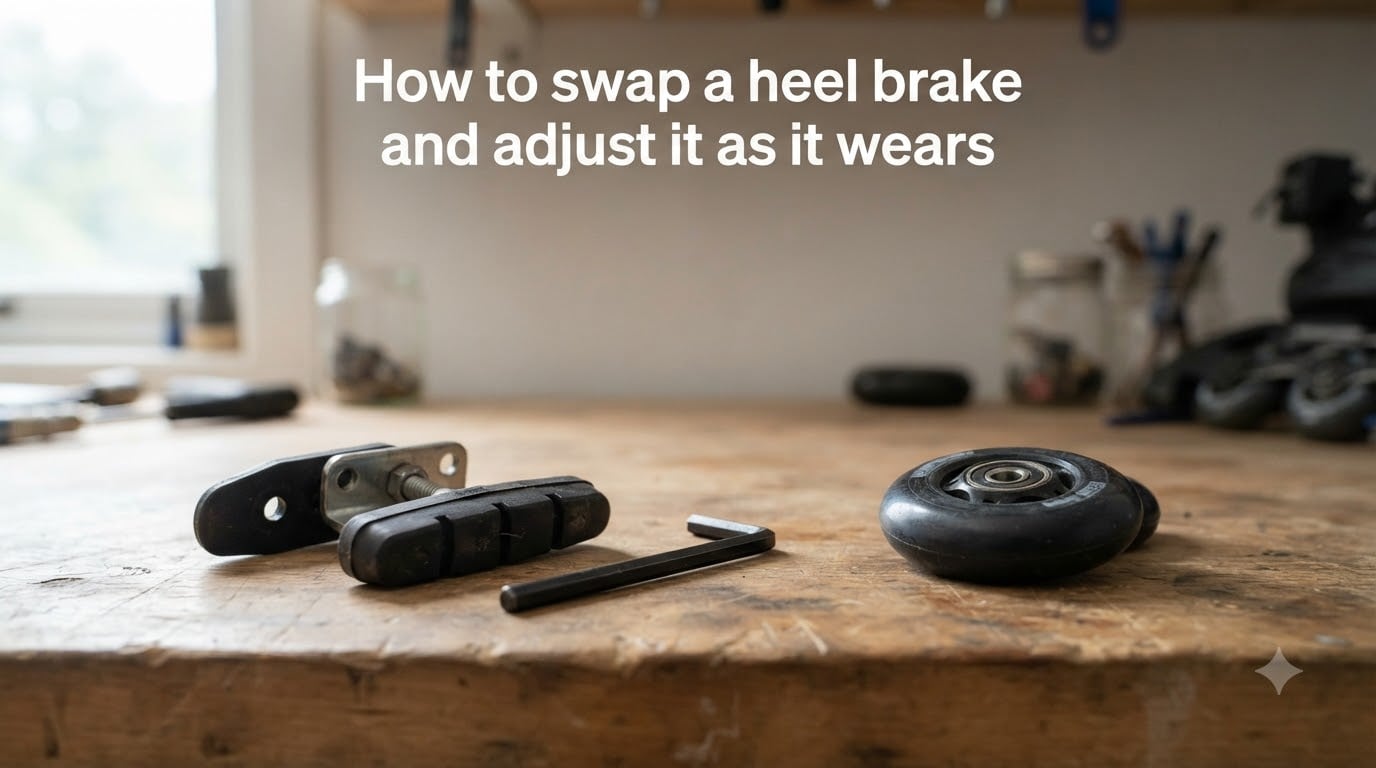
A heel brake is a rubber pad mounted at the back of an inline skate that lets you slow down or stop by pressing your heel into the ground. On this site, we help skaters care for their gear, so I put together this guide to walk you through swapping a heel brake from one skate to the other and adjusting it as the rubber wears down over time.
Most inline skates ship with the brake mounted on the right skate, which works fine if your dominant foot is the right one. If you lead with your left foot, that brake sits behind your weaker leg and feels awkward when you try to stop. Swapping the heel brake to your other skate puts it where you actually need it. The second half of the job is keeping the brake working as the pad wears down, which is something most guides skip entirely.
Table of Contents
What Is a Heel Brake and Why Swap It?
A heel brake is a simple rubber block attached to a metal brake mount that bolts onto the rear axle of the skate’s wheel frame. When you press your heel into the pavement, the rubber creates friction and slows you down. Beginners rely on it heavily because the stopping motion feels natural and predictable.
The reason most people swap the heel brake comes down to foot dominance. Inline skates almost always come with the brake on the right foot. If you lead with your left foot when skating, you push off with your right, and your left foot naturally hangs back as your balance leg. Putting the brake on that back leg gives you better stopping control right away.
There are two other reasons to consider a swap. Some skates ship without a brake at all, like certain FRX models, and you may want to add one for extra safety. Other skaters want to remove the brake entirely once they master T-stops, but that is a separate decision covered in detail on other guides.
Tools You Need to Swap and Adjust a Heel Brake
The good news here is that you do not need a workshop. The whole job takes one tool for most skate models.
4mm Allen key (also called a hex key), metric size #4, which fits the axle bolts on Rollerblade, Salomon, K2, and most other fitness skate brands.
A small flathead screwdriver or a nail and hammer, only needed for older Rollerblade skates that use a metal pin in the brake mount instead of the standard bolt setup.
A clean rag to wipe grease off the axle bolt so it does not slip when you tighten it back down.
A marker or piece of tape to mark which side the bearing spacer belongs to if you remove multiple wheels.
Keep your Allen key in your skate bag and you can handle both the swap and routine adjustments at the park without a trip home.
How to Swap a Heel Brake From One Skate to the Other
This is the core of the job. Take your time with the first wheel removal and the rest follows the same pattern.
Step 1: Remove the Wheel Behind the Brake
Set the skate with the brake on a flat surface. Insert your 4mm Allen key into the axle bolt on the rear wheel, the one closest to the brake mount. Turn the key counterclockwise to loosen the bolt. Hold the wheel steady with your other hand so it does not spin.
Once the bolt is loose, slide the wheel out of the frame along with any bearing spacers sitting between the two bearings. Set the bolt and spacers aside in order so you can reinstall them exactly the way they came out.
Step 2: Detach the Brake Mount From the Frame
With the rear wheel out of the way, you can see how the brake mount attaches. On most modern skates, the mount shares the axle bolt you just removed, so it lifts free along with the wheel assembly. On older Rollerblade models, a small metal pin locks the brake mount to the frame.
For metal pin models, slide a small flathead screwdriver under the pin head and tap it out gently with a hammer. Some people use a nail set instead of a screwdriver. Keep the pin safe, because losing it means a useless brake mount until you find a replacement.
Step 3: Repeat on the Other Skate
Move to the opposite skate, the one without a brake. Remove the rear axle bolt and the rear wheel. On most skates, the rear bolt on a brake-less skate is shorter than the one that holds the brake. That is normal and by design.
Set the shorter bolt aside in a separate spot so you do not mix it up with the longer bolt from the brake side.
Step 4: Install the Brake Mount on the New Side
Slide the brake mount into the empty frame slot where you just removed the wheel. Make sure the curved rubber pad points backward, with the contact surface facing the ground at a slight angle. Insert the longer axle bolt through the frame, mount, and bearing spacer.
Put the wheel back on and tighten the bolt clockwise until snug. Do not overtighten, because the wheel needs to spin freely. A good rule is to tighten until the bolt stops, then back off about a quarter turn.
Step 5: Reassemble the Original Side Without the Brake
On the skate you removed the brake from, slide the wheel back into place with the shorter bolt. Tighten it the same way, leaving the wheel free to spin. Double check that both wheels still roll smoothly before you stand up.
Left-Foot vs Right-Foot Brake Placement
Foot dominance is the single biggest reason skaters swap their heel brake. If you are not sure which foot leads for you, here is a quick test. Have someone push you gently from behind and see which foot you step forward to catch yourself. That stepping foot is your dominant side, and your brake belongs on the opposite skate.
Left-foot dominant skaters benefit the most from a swap. Right-foot dominant skaters usually leave the stock setup alone. Some skaters are comfortable enough with both feet that the brake position does not matter much to them, and they keep the brake on the right side out of habit.
If you skate aggressive or freestyle, you probably want the brake off entirely once your T-stop is solid. If you skate mostly on paths with hills or in traffic, keep the brake in place regardless of which foot leads.
Brand Compatibility and ABT Lite Limitations
Most fitness skate brake mounts follow the same design and swap freely between Rollerblade, Salomon, K2, and similar brands. The 4mm Allen key fits all of them, and the mounting slot is standardized.
The big exception is Rollerblade’s ABT (Active Brake Technology) Lite system. This brake uses an internal linkage and a different mounting pattern that does not allow a simple swap. If your skates use ABT Lite, you cannot move the brake to the other foot using the standard process. You would need a complete replacement brake assembly for the opposite side, and even then fitment is not guaranteed.
If you are unsure which system your skates have, look at the brake mount from underneath. Standard mounts look like a simple metal arm with a bolt through the middle. ABT Lite mounts have a small plastic housing and a cable-like piece running along the frame.
How to Adjust a Heel Brake as It Wears Down
This is the part most guides leave out, and it is where your heel brake actually lives after the swap. The rubber pad wears down with use, and a worn pad sits higher off the ground, which means you have to press harder to engage the brake. Left alone, a worn brake feels grabby or stops working altogether.
Loosen the Axle Bolt and Push the Brake Down
Put the skate on a flat surface and check how the brake sits relative to the ground. A new brake pad rests just above the pavement with a small gap. A worn pad sits noticeably higher. Insert your 4mm Allen key into the rear axle bolt and loosen it about half a turn. Press the brake mount down by hand so the pad contacts the ground, then retighten the bolt while holding the mount in place.
Recheck the Angle
The pad should angle slightly so only the front edge contacts the ground when you press your heel. If the entire pad sits flat against the pavement, the brake will grab too aggressively and may throw you forward. If only the very tip touches, the brake will feel weak and slippery.
Fine-Tune Over Time
I check my brake position every few weeks during the first few months of skating, then monthly after that. A small adjustment each time keeps the feel consistent. Once you reach the point where the pad cannot be adjusted any lower because the mount hits the frame, it is time for a new pad.
Signs Your Brake Pad Is Worn Out
Look for cracks in the rubber, a noticeably slanted wear pattern, or a pad thinner than about 5mm at the contact point. If the rubber has metal showing through, replace it immediately. A worn-through pad will damage the mounting hardware and the pavement both.
When to Replace the Brake Pad vs Just Adjust It
Adjustment works for the first two-thirds of pad life. Once the rubber gets thin or cracked, no amount of repositioning brings back the right feel. Use this quick rule of thumb: if you can still see at least 5mm of rubber at the thinnest spot and the surface is smooth, adjust. If the pad is cracked, slanted, or worn to the metal, replace.
Replacement pads are inexpensive and available for most brake mount designs. A standard Rollerblade brake pad fits the same mount across many models, and aftermarket pads from K2 and Salomon cover their own lineups. Expect to replace a pad every 6 to 12 months if you skate weekly.
Our team has seen beginners hold onto a worn pad for too long because they did not realize the brake could be adjusted or replaced. If your brake feels worse than it did last month, that is your cue to look at the pad before assuming the technique is off.
Frequently Asked Questions
How to remove a heel brake?
Use a 4mm Allen key to loosen the rear axle bolt on the skate with the brake. Slide out the rear wheel, then lift the brake mount free. On older Rollerblade skates you may need to tap out a small metal pin with a screwdriver and hammer before the mount releases.
Can you switch a heel brake from left to right?
Yes. Most fitness skate brake mounts use a standard design that swaps freely between the left and right skate. Rollerblade, Salomon, and K2 mounts all use the same 4mm Allen key bolt pattern. The ABT Lite system is the main exception and cannot be swapped with the standard process.
How to adjust a heel brake as it wears down?
Loosen the rear axle bolt about half a turn with a 4mm Allen key. Push the brake mount down by hand until the rubber pad rests just above the pavement, then retighten the bolt while holding the mount in place. Check the angle so only the front edge of the pad contacts the ground.
Why is there only one brake on rollerblades?
Inline skates ship with a single brake because it is enough to stop a skater effectively and keeps weight and cost down. Two brakes would require you to engage both heels at once and add unnecessary bulk to the frame. Most skaters use the one brake until they master T-stops and other stopping techniques.
What is a heel brake?
A heel brake is a rubber pad mounted at the back of an inline skate that slows you down when you press your heel to the ground. It bolts onto the rear axle of the wheel frame and works through friction between the rubber and the pavement.
How do I know if my heel brake needs replacing?
Replace the brake pad when the rubber is thinner than about 5mm at the contact point, when cracks appear in the surface, or when metal starts showing through. If the pad still has plenty of rubber and feels off, try adjusting the mount position first before buying a new pad.
Final Thoughts on Swapping and Adjusting Your Heel Brake
Swapping your heel brake takes about 15 minutes the first time and 5 minutes once you have done it a few times. Keep a 4mm Allen key in your bag and you can handle both the swap and the regular adjustments that come with a wearing brake pad. Done well, the heel brake becomes a tool you barely think about, which is exactly how it should feel when you are out on a path.