
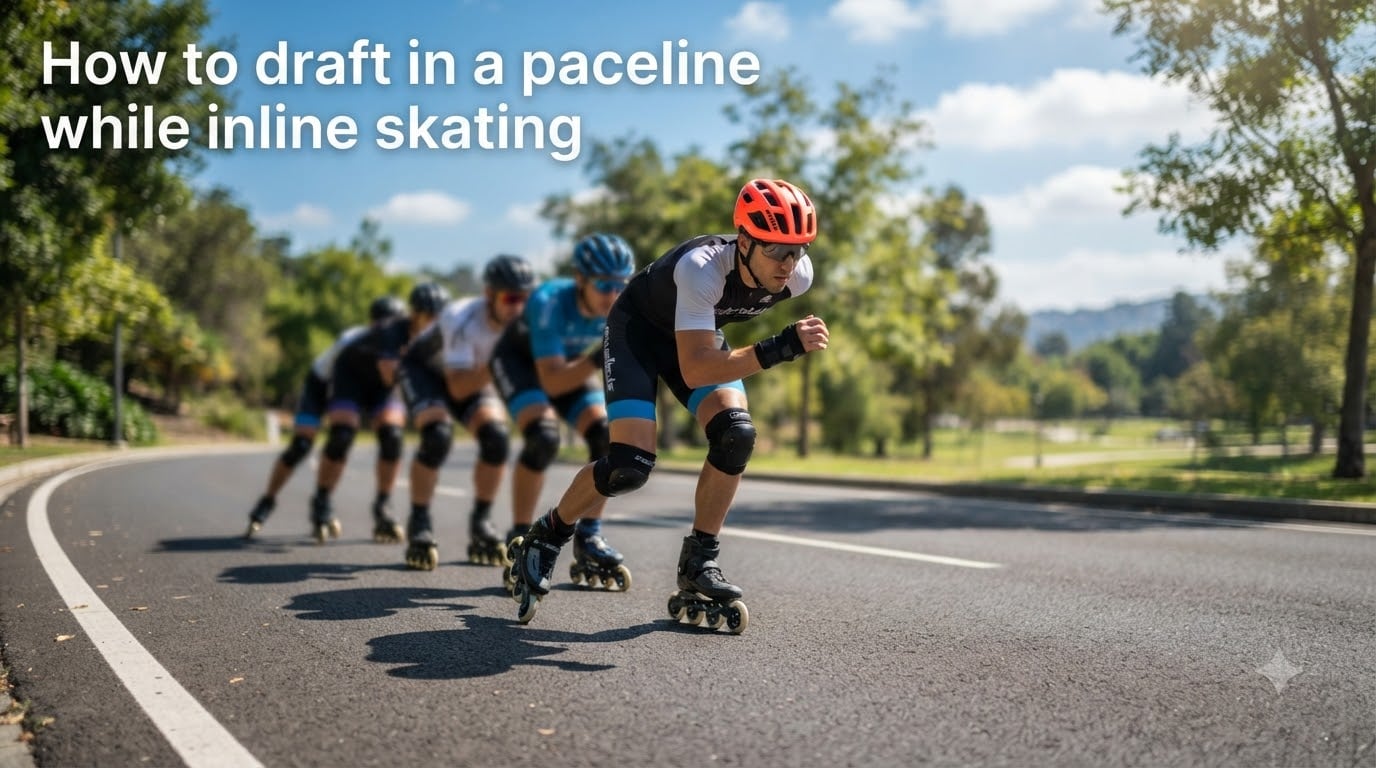
If you have ever watched a group of inline skaters flying down a path in a tight line, you have seen a paceline in action. Learning how to draft in a paceline while inline skating is one of the biggest skills that separates recreational skaters from experienced group riders. When you tuck in behind another skater, you can save up to 30 percent of your energy while maintaining the same speed or even going faster.
I remember my first group skate. I was exhausted after 10 kilometers while everyone else looked fresh. The difference? They knew how to draft, and I was pushing wind all by myself out front.
In this guide, our team breaks down every part of inline skating paceline technique. We cover positioning, hand contact, rotation, hazard calls, and beginner drills you can practice before joining a group ride.
Table of Contents
What Is a Paceline and Why Draft?
A paceline is a single-file (or double-file) formation where skaters line up close behind each other to reduce wind resistance. The skater at the front blocks the air for everyone behind them.
Drafting is the act of riding in that slipstream. When you sit behind another skater, the air pressure drop means your body works far less to maintain the same speed. Studies in cycling and skating consistently show a 20 to 30 percent energy savings for the skaters behind the leader.
At speeds of 20 to 25 mph, the leader uses significantly more power than everyone in the draft. By rotating turns at the front, a group can sustain speeds that no single skater could hold alone.
Yes, drafting absolutely works in speed skating. Long track and marathon inline skaters use it in nearly every race to conserve energy for the final sprint.
How to Draft in a Paceline While Inline Skating: The Fundamentals
The core idea is simple. Position yourself close behind the skater ahead, match their speed, and stay relaxed. But the execution takes practice because inline skates behave differently from bicycle wheels.
Here are the fundamental rules our team follows every time we skate in a group:
Keep your eyes up and look at the shoulders of the skater ahead, not down at their skates.
Maintain a steady cadence rather than sprinting and coasting.
Stay roughly an arm’s length behind the skater in front of you.
Keep your knees slightly bent and your center of gravity low for balance.
Never overlap your front wheel with the skater’s back wheel ahead of you.
The biggest mistake beginners make is staring at the wheels directly ahead. When you look down, your body follows your eyes, and you lose awareness of what is happening further up the line.
Finding the Right Following Distance
The ideal following distance in an inline skating paceline is about one forearm length, roughly the distance from your elbow to your fingertips. This is close enough to catch the slipstream but far enough to react if the skater ahead slows down.
Here is a simple way to find that distance while skating. Put your arm out in front of you with your palm vertical, like a traffic cop signaling stop. Now bend your elbow until your forearm rests against your ribs. Your fingertips should just barely reach the small of the back of the skater ahead.
If you are too far back, you lose the draft entirely and end up working as hard as the leader. Too close and you risk tangling skates or crashing if they brake suddenly.
In cycling pacelines, riders talk about half a wheel to one and a half wheel lengths. For inline skating, the arm-length method works better because skates have a longer footprint than a bike wheel.
New skaters should start a bit further back and gradually close the gap as confidence builds. There is no shame in leaving extra room while you learn.
Hand Contact and Pushing Etiquette
One of the most common questions beginners ask is whether you are really supposed to put your hand on the person in front of you. The answer is yes, but with specific technique.
In a tight inline skating paceline, the trailing skater often places fingertips or knuckles lightly on the lower back of the skater ahead. This contact does two things. It helps you gauge distance without staring down, and it provides a subtle physical connection that keeps the line tight.
The golden rule is to push forward only, never sideways. A gentle forward pressure communicates that you are there and helps maintain contact. Sideways pressure can unbalance the skater ahead and cause a wobble that travels down the entire line.
If you are the skater in front, do not panic when you feel a hand on your back. Stay relaxed, keep your stride smooth, and trust that the skater behind you is doing their job.
How to Keep Your Skates From Tangling
Tangling skates is the number one fear for new paceline skaters. Inline skates extend well beyond your foot, so the wheels of the skater behind can easily clip the wheels of the skater ahead if either person drifts.
Think of it like dancing. You need to stay in step with your partner. If the skater ahead pushes off with their right foot, your right foot should be pushing at the same time. When you sync your stride rhythm, your skates naturally move apart at the same moments.
Keep your stride narrow rather than wide. A V-shaped wide stance looks stable when skating solo, but in a paceline it pushes your skates toward the person next to you. A tighter, more efficient stride keeps everything in line.
Single vs Double Paceline
A single paceline is exactly what it sounds like. One line of skaters, one behind the other. It is the most common formation for narrow paths and smaller groups.
A double paceline has two rows of skaters side by side. It works on wide roads and lets a larger group rotate through more quickly. The rotation pattern in a double paceline has leaders pull off to the outside while fresh skaters come up the middle.
Single pacelines are harder to draft in because the slipstream channel is narrower, but they teach you discipline. You will notice a real benefit versus being out front on your own.
For beginners, start with a single paceline of three to four skaters. Once everyone is comfortable with distance and rotation, you can experiment with larger double formations.
Leading and Pulling Off: The Rotation System
Leading the paceline, also called taking a pull, is hard work. Nobody expects you to stay at the front forever. The standard rotation goes like this.
Take your turn at the front for a set number of strokes. Many groups use 60 strokes as a baseline for inline skating.
When your turn is done, glide slightly forward and to the side, then ease off your speed.
Drift back to the rear of the line while the rest of the group passes you.
Hook onto the back of the line and recover in the draft.
The most important part of pulling off is maintaining constant speed as you move. The biggest cause of paceline chaos is a leader who surges when they hit the front or who accelerates instead of holding pace. Hold the same speed the previous leader was maintaining.
If you are tired, take a shorter pull. There is nothing wrong with leading for 30 strokes instead of 60. A short, well-paced pull is far better than a long one that blows up the group speed.
When you pull off, communicate with a quick hand signal or verbal call so the next skater knows it is their turn to step up.
Echelon Formation for Crosswinds
When the wind comes from the side rather than head-on, the slipstream shifts. The draft zone is no longer directly behind the skater ahead but diagonally downwind from them.
An echelon is a diagonal paceline where each skater offsets to the downwind side. This lets everyone catch the angled slipstream instead of sitting in dead air.
Echelons take up more road width, so they only work when you have the space. On narrow paths, you may need to rotate the leader to the leeward side and accept a less efficient draft.
For inline skating, echelons are less common than in cycling because the wider wheelbase and stride mechanics make diagonal positioning trickier. Practice in calm conditions first, then introduce crosswind angles as your group gains experience.
Communicating Hazards and Road Calls
The skater at the front has the best view of the road. Everyone behind depends on them to call out obstacles before it is too late.
Standard calls include pointing down at potholes or debris, calling out car back when a vehicle approaches from behind, and shouting hole, glass, or gravel for surface hazards.
The key is that calls must ripple down the line. If the front skater calls glass, every skater behind should repeat it so the message reaches the back of the group.
Hand signals work when voices are hard to hear at speed. Point at the hazard, then the skater behind repeats the same gesture. Keep it simple and consistent so everyone understands instantly.
Silence in a paceline is dangerous. If you see something, say something. Even a quick shout of right or left to indicate which way the group should swerve can prevent a crash.
What to Do When You Need to Stop
Stopping in a paceline requires coordination. The front skater calls out stopping or slowing, and the signal travels backward. Everyone applies their brake gradually rather than jamming on it.
If you are in the middle of the line, do not swerve to the side. Hold your line, match the deceleration of the skater ahead, and leave extra room since sudden stops compress the group.
Beginner Practice Drills for Paceline Skills
Before jumping into a fast group ride, try these drills to build your paceline confidence. Our team uses them with new skaters all the time.
Drill 1: Two-person draft. Skate with one partner at a comfortable speed. Practice holding a consistent arm’s length gap for one full minute without drifting closer or further. Switch leaders every two minutes.
Drill 2: No-look stride. Skate behind a partner and focus entirely on their shoulders and back rather than looking down. The goal is to maintain distance using peripheral vision and hand contact alone.
Drill 3: Thread the needle. In a group of four or more, start at the back and work your way to the front by cutting smoothly behind each skater. This builds comfort with close proximity and teaches you to read multiple skaters ahead.
Drill 4: Rotation practice. With three skaters, practice the full pull-off rotation. Lead for 60 strokes, pull off, drift back, and hook on. Repeat until the motion feels automatic.
Start all drills at slow speed on flat, smooth pavement. Build up to race pace only after the fundamentals feel natural.
Common Mistakes to Avoid
Yo-yoing speed. When skaters sprint and then coast, the entire line speeds up and slows down. This wastes energy and makes the back of the line work much harder. Maintain a smooth, steady cadence.
Fixating on the wheel ahead. Staring at the skates in front of you locks your focus too close. Look through the skater ahead to the next one up, scanning the road for hazards.
Surging at the front. The leader who accelerates when they take over splits the group. Match the speed you were just drafting at, not faster.
Sudden sideways hand pressure. Pushing sideways on the skater ahead throws off their balance. Forward pressure only, light and controlled.
Skipping hazard calls. If you are not the front skater, you still need to repeat calls so they reach the back. A call that dies mid-line leaves the last skater blind to danger.
Frequently Asked Questions
Does drafting work in speed skating?
Yes, drafting works in speed skating and is used extensively in both inline and ice speed skating. Skaters in the draft zone behind a leader can save 20 to 30 percent of their energy, which is why marathon and long-distance racers use paceline formations throughout events.
How close should I skate behind someone in a paceline?
The recommended following distance is about one forearm length, roughly the distance from your elbow to your fingertips. You should be close enough to feel the slipstream but far enough to react if the skater ahead slows down suddenly.
Is inline skating harder than roller skating?
Inline skating generally has a steeper learning curve for balance because the wheels are in a single line rather than side by side. However, once you master the basics, inline skates are faster and better suited for long distances and paceline skating.
How to stop while inline skating in a paceline?
The front skater calls out stopping or slowing and the signal ripples back through the line. Each skater applies their heel brake gradually while holding their line. Avoid sudden swerves or hard braking that could compress the group behind you.
How long should I lead in an inline skating paceline?
A common baseline is about 60 strokes at the front before pulling off. If you are tired or new to pacelines, take a shorter pull of 30 strokes. The goal is a consistent rotation, not endurance at the front.
Conclusion
Learning how to draft in a paceline while inline skating opens up a whole new world of group riding, faster speeds, and longer distances. The fundamentals come down to positioning at arm’s length, keeping your eyes up, syncing your stride, and communicating clearly with the skaters around you.
Start with the beginner drills, practice with a trusted partner, and build your confidence before joining a large group ride. Once it clicks, you will wonder how you ever skated without it.