
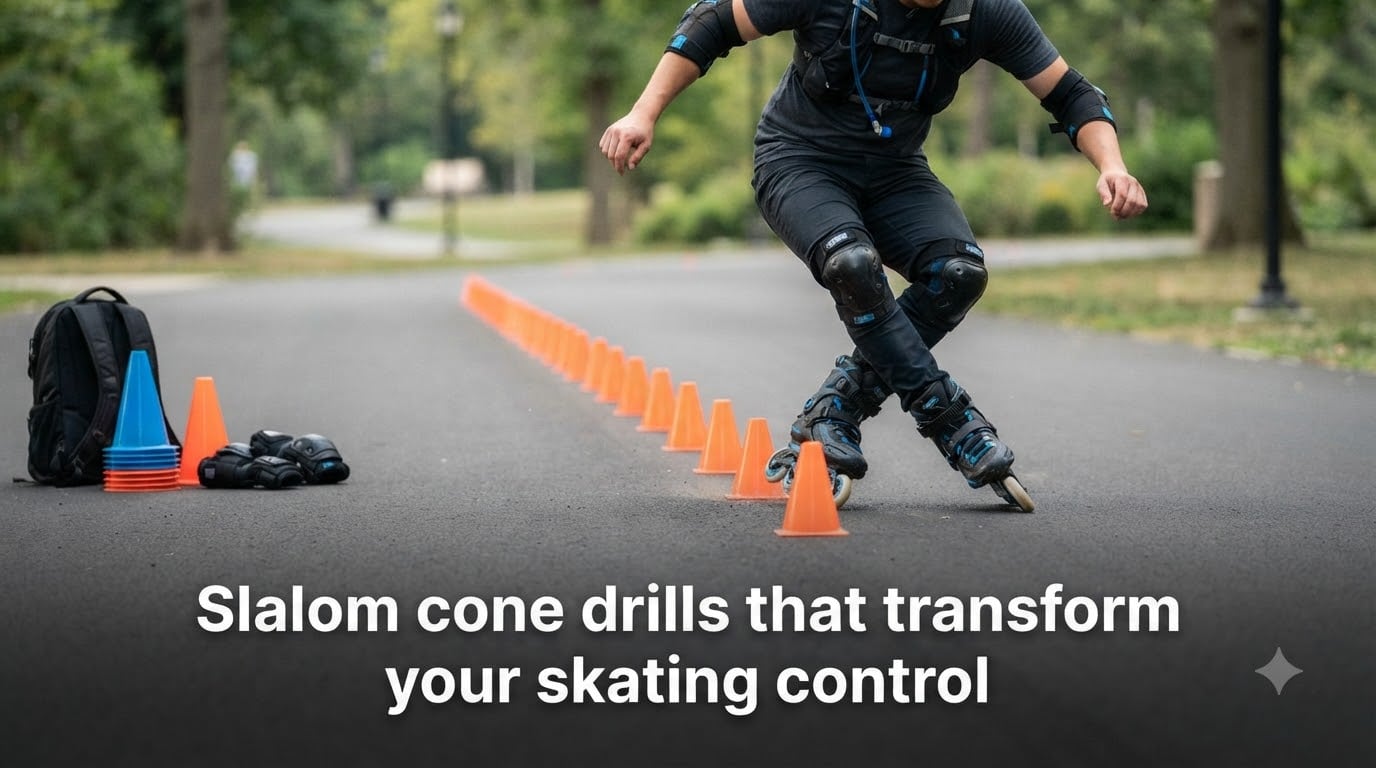
Slalom cone drills are weaving exercises where you skate through a line of cones in a zigzag pattern to sharpen balance, edge control, and lateral agility. I have spent years coaching skaters through these drills, and the transformation is always the same — skaters who commit to cone work see noticeable improvements in control within just a few sessions. Whether you are on inline skates, ice skates, or rollerblades, slalom cone drills build the foundational skills that make every other skating movement feel more natural and controlled.
In this guide, I will walk you through everything from cone setup and basic forward slalom technique to advanced variations and common mistakes that hold skaters back. The slalom cone drills covered here are designed to take you from your first tentative weave through cones to confident, fluid transitions that translate directly to hockey, recreational skating, and freestyle slalom.
Table of Contents
Why Slalom Cone Drills Transform Your Skating Control?
Slalom cone drills work because they force rapid direction changes while you maintain forward momentum. Every cone requires a turn, and every turn demands that you shift your weight, engage your edges, and rebalance — all within a second or two. This constant cycle of weight transfer and edge engagement is exactly what builds the skating control that separates confident skaters from wobbly ones.
When I first started doing cone drills, I could barely make it through five cones without losing my balance. After three weeks of consistent practice, my body started adapting. The micro-adjustments that felt exhausting became automatic, and my overall skating improved in ways I did not expect — tighter turns, better stops, and far more confidence at speed.
The research backs this up. Skaters who regularly practice cone drills develop stronger inside and outside edge control, improved coordination between their upper and lower body, and better anticipation of weight shifts. The Reddit skating communities are full of skaters sharing similar experiences — the common thread is that cone drills are where real progress happens, especially for skaters who feel stuck at a plateau.
These drills also target the skills that matter most for real-world skating. Hockey players need explosive lateral cuts. Freestyle slalom skaters need precise foot placement. Recreational rollerbladers need the confidence to navigate crowded paths. Slalom cone drills train all of these abilities in a structured, measurable way.
Equipment and Cone Setup
One of the best things about slalom cone drills is how little equipment you need. You can start with just five cones and any pair of skates you already own.
What You Need
The essentials are simple: a set of 5 to 20 small cones (standard slalom cups work best), a flat smooth surface, and your skates. I have seen skaters use everything from purpose-built slalom cones to water bottles and rolled-up socks when practicing at home. The cones do not need to be fancy — they just need to be visible and stable enough to stay in place during your run.
Protective gear is non-negotiable, especially when you are learning. A helmet, knee pads, and wrist guards will save you from the inevitable falls that come with pushing your balance limits. I learned this the hard way after skipping wrist guards one session and spending two weeks regretting it.
Cone Spacing: The 1.50m Standard
The standard slalom cone spacing is 1.50 meters (about 5 feet) between each cone. This distance comes from competitive slalom skating and is the spacing used in most instructional programs. At 1.50m spacing, you have enough room to complete each turn without rushing, but not so much room that the drill becomes a series of disconnected curves.
Beginners often find 1.50m too tight. There is no shame in starting wider. Here is a progression I recommend:
Beginner spacing: 2.0 to 2.5 meters between cones. This gives you time to set up each turn, recover your balance, and build confidence with the weaving motion. Many skaters on the r/rollerblading subreddit report that wider spacing is what finally made slalom click for them.
Intermediate spacing: 1.50 meters (the standard). Once you can weave through wider spacing without stumbling, move to the standard distance. This is where the real control gains happen.
Advanced spacing: 1.0 meter or less. Tight spacing demands precision and quick edge transitions. Competitive freestyle slalom skaters use 80cm spacing for the most technical moves.
How to Set Up Your Cone Line
Place your cones in a straight line with consistent spacing. Use five cones for basic drills and add more as your skills improve. I recommend measuring your spacing with a tape measure for your first few sessions — eye-balling it almost always leads to uneven gaps that throw off your rhythm. A 15 to 20 cone line is ideal for longer drill runs once you are comfortable with the basics.
Basic Forward Slalom Technique (Step-by-Step)
The forward slalom is the foundation of every other cone drill. Master this before moving to any advanced variations. Here is the technique I teach to every skater, broken down step by step.
Step 1: Start in the scissors stance. Position your skates with one foot slightly ahead of the other, about shoulder-width apart. Your knees should be bent, your back straight, and your weight centered over the middle of your skates. This scissors stance is your default position — you will return to it constantly throughout each slalom run.
Step 2: Approach the first cone with controlled speed. You do not need much speed — a gentle glide is perfect. Too fast and you will not have time to set up your turns. Too slow and you will lose momentum between cones. Aim for a comfortable walking pace.
Step 3: Shift your weight to the outside edge of your lead skate. As you reach the first cone, lean into the turn by pressing the outside edge of your leading skate into the ground. Your body should lean slightly in the direction of the turn. This is where many beginners struggle — trusting the outside edge feels unnatural at first, but it is the key to controlled turns.
Step 4: Transfer weight to the opposite edge for the next turn. As you exit the first turn and approach the second cone, shift your weight to the outside edge of your other skate. The transition should feel smooth and continuous — not a series of stops and starts. Your upper body should stay relatively quiet while your legs do the work.
Step 5: Keep your eyes looking ahead. Do not stare at the cone right in front of you. Look two or three cones ahead so your body can anticipate the upcoming turns. This is a tip that sounds simple but makes an enormous difference — skaters who look ahead naturally smooth out their lines and maintain better rhythm.
Step 6: Maintain the rhythm through the full line. Each turn should have the same tempo. Think of it like a metronome — left, right, left, right. The moment your rhythm breaks, your balance usually follows. If you feel yourself getting off tempo, slow down rather than rushing to catch up.
Essential Slalom Cone Drills for Every Skill Level
Once you have the basic forward slalom down, you can start working through the catalog of slalom cone drills that form the foundation of freestyle and recreational skating. Each drill targets slightly different skills, and together they create a complete training system.
The Fish (Two-Foot Slalom)
The Fish is the simplest slalom pattern and the one I recommend every skater start with. Both skates stay parallel throughout the entire weave. You shift your weight side to side while keeping both feet together, creating a fish-tail motion as you pass between the cones. This drill builds foundational edge control and weight transfer without the added complexity of moving your feet independently.
The Fish is also the best drill for developing the outside edge confidence that so many skaters struggle with. Because both skates move together, you can focus entirely on the feeling of leaning into each turn without worrying about foot placement.
The Snake
In the Snake drill, both skates stay on the ground but move in an S-pattern around the cones. Unlike the Fish where both skates stay parallel, the Snake involves a slight scissoring motion where one foot leads through each turn. This introduces independent foot movement while keeping both skates planted.
The Snake is an excellent bridge between the basic Fish and more complex drills. It teaches you to coordinate edge control between both feet while maintaining the rhythm and balance you developed in the Fish.
The Half Snake
The Half Snake uses only one foot at a time. You weave through the cones on one skate while the other skate is lifted or dragged lightly behind. This is a significant step up in difficulty and is where many skaters hit their first real wall.
I remember spending an entire weekend on Half Snake drills before I could make it through five cones cleanly on my weaker foot. The asymmetry is challenging, but the balance gains are enormous. Start on your stronger foot and gradually work in your weaker foot until both sides feel equally comfortable.
The Lemon (Forward and Backward)
The Lemon involves moving both skates outward and then inward in a diamond or figure-eight motion around each cone. Your skates start together, spread apart to pass on either side of the cone, and then come back together. This drill is fantastic for developing control over your skate separation and bringing them back together smoothly.
The backward version of the Lemon is one of the best drills for building confidence skating backward. It forces you to rely entirely on feel and edge control since you cannot see where you are going.
The Basket Weave (Criss-Cross)
The Basket Weave, also called criss-cross slalom, involves crossing one foot over the other as you weave through the cones. This is one of the more complex patterns and requires solid coordination between both feet. The crossing motion demands precise timing — too early or too late and you will clip a cone or lose your balance entirely.
Start by practicing the cross-over motion without cones to get the movement pattern into your muscle memory. Once you can cross and uncross smoothly on flat ground, add the cones. The Basket Weave is a crowd favorite because it looks impressive, but it is also one of the best drills for developing the foot speed and coordination that translate to every aspect of skating.
Advanced Slalom Variations
Once you have mastered the essential drills, these advanced variations will push your skating control to the next level. Each one builds on the fundamentals while adding a new layer of complexity.
One-Foot Slalom
The one-foot slalom is the holy grail for many skaters. You weave through the entire cone line on a single skate while the other is lifted completely off the ground. This requires exceptional balance, edge control, and core stability. Skaters on r/hockeyplayers and r/rollerblading frequently ask about how to achieve this, and the answer is always the same — progress through the Half Snake first, then gradually reduce how much the trailing foot touches the ground until you can lift it entirely.
This is not a drill you will learn in a single session. Expect to spend weeks or even months building the ankle strength and balance required. The payoff is worth it — one-foot slalom mastery signals that you have achieved a level of edge control that few recreational skaters ever reach.
Backward Slalom
Weaving through cones while skating backward adds a significant challenge because you cannot see the cones directly. You rely entirely on peripheral vision, muscle memory, and feel. Start with wide cone spacing and slow speed. The backward slalom is particularly valuable for hockey players who need to transition between forward and backward skating during games.
Criss-Cross on One Foot
This combines the crossing motion of the Basket Weave with the single-foot challenge of the one-foot slalom. It is an elite-level drill that only makes sense after you have mastered both component skills. Even experienced freestyle slalom skaters find this one humbling.
Common Slalom Mistakes and How to Fix Them
After coaching many skaters through slalom progression, I see the same mistakes repeatedly. These errors are not random — they stem from specific biomechanical habits that can be corrected once you understand what is going wrong.
Mistake 1: Looking Down at the Cones
This is the single most common mistake I see. Skaters stare at the cone directly in front of their skates, which throws their weight forward, kills their balance, and makes each turn feel rushed. The fix is simple but requires discipline: look two to three cones ahead at all times. Your peripheral vision is better than you think, and looking ahead gives your body the information it needs to set up each turn early.
Mistake 2: Stiff Knees and Locked Legs
Bent knees are the foundation of good skating, yet many skaters tense up when approaching cones and lock their legs. Stiff legs eliminate your ability to absorb weight shifts and make micro-adjustments. Every time you feel yourself getting rigid through a cone line, consciously drop your knees a few centimeters lower. You will instantly feel more stable and controlled.
Mistake 3: Weak Outside Edge Control
This is the pain point that comes up most often in skating forums. Many skaters subconsciously avoid their outside edges because leaning that direction feels unstable. The result is flat-footed weaving where the skates barely tilt, producing wide sloppy turns that knock cones over.
The fix is to spend dedicated time on outside edge exercises before returning to full slalom runs. Practice holding an outside edge on each foot while gliding in a wide arc. Once you can hold the edge for several seconds without losing balance, bring that confidence back to the cone line. The Fish drill is ideal for this because it isolates edge control without the complexity of independent foot movement.
Mistake 4: Rushing Through the Cones
Speed feels impressive, but rushing through cones before you have mastered the technique leads to sloppy form and reinforces bad habits. Slow down. A clean, controlled slalom at walking speed builds more skill than a messy run at full speed. Speed comes naturally once your technique is solid — chasing speed before technique is a recipe for plateaus and frustration.
Mistake 5: Inconsistent Cone Spacing
When cones are placed at irregular distances, your rhythm breaks down because each turn requires a different timing. This is especially common when skaters set up cones by eye rather than measuring. Use consistent spacing throughout your line. If you want to practice tighter turns, set up a second line with different spacing rather than mixing distances in one run.
Mistake 6: Neglecting the Weaker Side
Almost every skater has a dominant turning direction. It feels natural, so we do it more often, which widens the gap between sides even further. Force yourself to practice equally on both sides. If your right-side turns feel weaker, start every practice session with right-side drills while you are fresh. Over time, the gap will close and your overall control will improve dramatically.
Slalom Drill Circuits for Complete Training Sessions
One of the biggest content gaps I noticed when researching this guide is that almost no one talks about how to combine slalom drills into structured training sessions. Randomly running through drills is fine for fun, but organized circuits deliver faster, more measurable progress.
Beginner Circuit (20 Minutes)
Run through five cones of the Fish pattern at 2.0m spacing, then circle back and repeat. Do 10 runs focusing on smooth rhythm. Switch to the Snake pattern for another 10 runs. Finish with 5 minutes of forward skating at a comfortable pace, focusing on bent knees and edge engagement. This circuit should be your go-to for the first two to three weeks.
Intermediate Circuit (30 Minutes)
Start with two warm-up runs of the Fish at standard 1.50m spacing. Move to 10 runs of the Snake, then 10 runs of the Half Snake on each foot. Finish with 5 attempts at the Lemon pattern. Rest for one minute between each drill type. This circuit takes you through progressive difficulty and targets multiple skill areas in a single session.
Advanced Circuit (40 Minutes)
Warm up with one clean run of each drill (Fish, Snake, Half Snake, Lemon, Basket Weave). Then spend 10 minutes on your weakest drill — the one you keep avoiding. Do 10 minutes of one-foot slalom attempts. Finish with a backward slalom run and a criss-cross run at tight spacing. This circuit assumes mastery of all fundamental drills and pushes the boundaries of your control.
Sport-Specific Slalom Applications
Slalom cone drills are not one-size-fits-all. Different sports emphasize different aspects of the skills these drills develop. Here is how to tailor your cone work to your specific skating discipline.
Hockey Players
Hockey players should focus on explosive direction changes rather than smooth continuous weaving. Tighten the cone spacing to 1.0 to 1.2 meters and practice with shorter, punchier turns. Add puckhandling to your slalom runs once you are comfortable on foot — this is exactly what the 6 Cone Skills Series from Ice Hockey Systems trains. The backward slalom is particularly valuable for hockey since transitioning between forward and backward skating is essential during games.
Inline and Recreational Skaters
Recreational skaters benefit most from the standard drill progression at 1.50m spacing. Focus on the Fish, Snake, and Half Snake to build the confidence and control that make skating in crowded spaces feel safe and enjoyable. The Lemon drill is excellent for developing the braking and speed-control skills you need on bike paths and skate parks.
Freestyle Slalom Skaters
Freestyle slalom is a competitive discipline built entirely around cone work. If this is your goal, progress through every drill in this guide and work toward tight 80cm spacing. The Basket Weave and one-foot slalom are core competitive moves. Join a local slalom community or find online groups — freestyle slalom has a strong international community and learning from experienced slalom skaters accelerates progress enormously.
Figure Skaters
Figure skaters can use cone drills on dry land to build the edge control and balance that translate to ice work. The foot placement precision developed through slalom drills directly supports the edge quality needed for turns, spins, and footwork sequences on the ice.
Frequently Asked Questions
What are some examples of cone drills?
Common slalom cone drills include the Fish (two-foot parallel weaving), the Snake (S-pattern with slight scissoring), the Half Snake (one-foot weaving), the Lemon (skates spreading and converging around each cone), the Basket Weave (criss-cross foot crossing), and the one-foot slalom. Each drill targets specific skills like edge control, balance, weight transfer, and coordination.
Do cone drills actually help?
Yes, cone drills are one of the most effective ways to improve skating control. They force rapid direction changes that engage edge control, weight transfer, and balance simultaneously. Skaters who practice cone drills consistently report improvements in tight turns, stopping ability, lateral agility, and overall confidence on skates. The skills transfer directly to hockey, freestyle slalom, and recreational skating.
What is a slalom drill?
A slalom drill is a skating exercise where you weave through a line of cones in a zigzag pattern. The cones are typically spaced 1.50 meters apart in a straight line. The skater moves through the cones using controlled turns, shifting weight between edges to maintain balance and momentum. Slalom drills develop balance, coordination, edge control, and lateral agility.
What is the proper technique for cone drills?
Start in a scissors stance with knees bent and weight centered. Approach the cones at a controlled walking pace. Shift your weight to the outside edge of your lead skate to initiate each turn, then transfer to the opposite edge for the next cone. Keep your eyes looking two to three cones ahead. Maintain consistent rhythm through the full line, and keep your knees soft to absorb weight shifts.
What is the best cone spacing for slalom skating?
The standard slalom cone spacing is 1.50 meters (about 5 feet) between cones. Beginners should start wider at 2.0 to 2.5 meters to build confidence and proper technique. Intermediate skaters use the standard 1.50m spacing. Advanced and competitive freestyle slalom skaters use tight spacing of 80cm to 1.0 meter for the most technical drills.
How long does it take to learn slalom skating?
Most skaters can learn the basic forward slalom (Fish pattern) in 2 to 3 sessions of focused practice. The Snake and Half Snake typically take 2 to 4 weeks to feel comfortable. Advanced drills like the one-foot slalom and Basket Weave can take 2 to 6 months of consistent practice. Progress depends on how often you practice, your current skating level, and whether you address technique errors early.
Conclusion
Slalom cone drills are the single most effective way to transform your skating control. They build the edge confidence, balance, weight transfer, and lateral agility that make every other skating skill feel easier. The progression is clear: start with the Fish at wide spacing, work through the Snake and Half Snake, and gradually advance to Basket Weaves and one-foot slalom as your skills grow.
The key is consistency. Skaters who practice cone drills two to three times per week see meaningful improvement within a month. Skaters who practice sporadically struggle to build on each session. Set up your cones, measure your spacing, protect your joints, and commit to the process. Slalom is challenging — every skater on every forum will tell you that — but it is also one of the most rewarding skills you will ever develop on skates.
Your next step is simple. Grab five cones, find a flat surface, and start with the Fish. Everything else builds from there.