
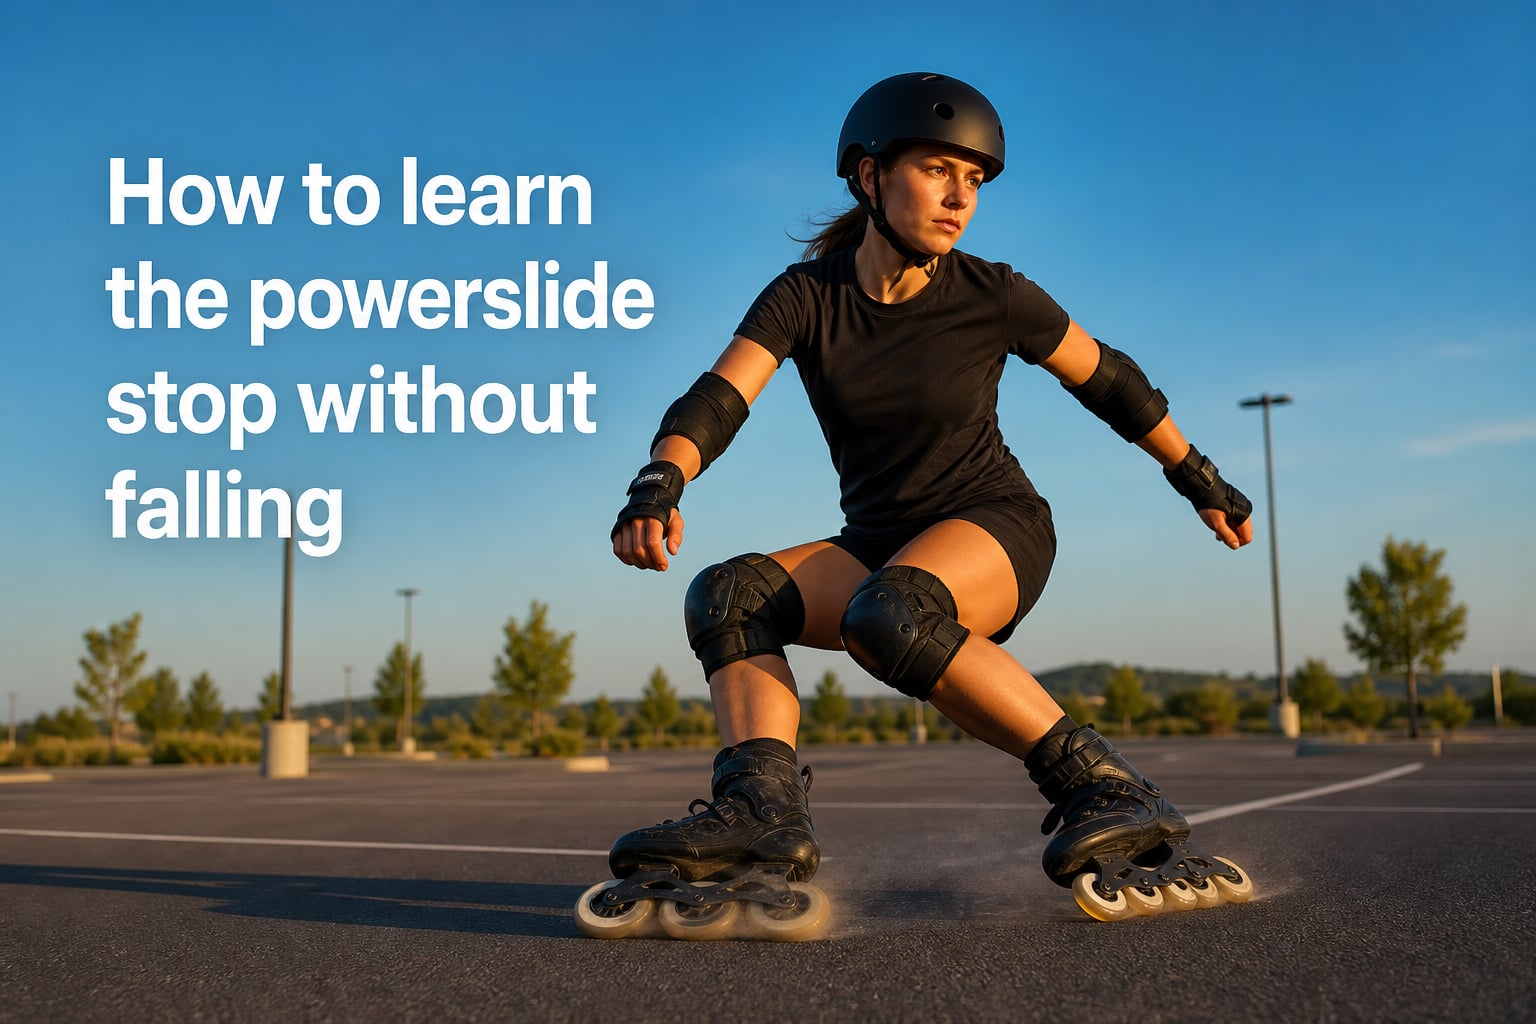
I remember the first time I tried a powerslide stop on my inline skates. I had watched dozens of tutorial videos, felt confident in my T-stop, and picked up speed on a smooth parking lot. The moment I rotated my back foot and committed to the slide, my body froze, my weight pitched backward, and I landed flat on my back. I had heard about this technique for months, and one bad attempt nearly convinced me to give up.
If you have ever searched for how to learn the powerslide stop without falling, you are not alone. The fear of pitching backward is the single biggest blocker, and most guides skip over it entirely. They break down the footwork, mention bent knees, and expect you to figure out the rest on your own. I spent 30 days testing different approaches across three pairs of skates, two wheel setups, and a lot of parking-lot falls. This guide is the result: a complete, fear-first breakdown of how to learn the powerslide stop without falling, written for skaters who are tired of tipping over.
By the end, you will know exactly what gear you need, the five steps to a clean slide, the most common reason skaters fall backward, and a short falling drill you can practice on grass today to remove the fear that holds you back.
Table of Contents
What Is a Powerslide and Why Learn It?
A powerslide is a stopping technique where you rotate one skate perpendicular to your direction of travel and slide on the wheels (typically the heel-side edge) to scrub off speed. Unlike the heel brake found on recreational skates, the powerslide works on both skates, uses your existing equipment, and gives you control at high speed or on a downhill slope.
The powerslide is the gold standard for emergency braking on inline skates. It is faster than a T-stop, more reliable than a heel brake in wet conditions, and more controlled than simply running off the path into grass. Skaters who learn the powerslide report a real shift in confidence, especially when skating downhill or in traffic. It is the technique that separates recreational skaters from intermediate ones.
The reason the powerslide is associated with falling is that the slide feels unnatural at first. You are rotating your foot 90 degrees while still moving forward, which triggers a fear response in most people. Almost every fall happens because the skater locks the leg, leans back, and stops sliding before the stop completes. Once you understand why the fall happens, the fix is simple.
Prerequisites Before Attempting the Powerslide
Do not try a powerslide on day one of inline skating. I made this mistake early on, and the result was a bruised tailbone and a week off the skates. Before attempting a powerslide, work through these foundational skills first.
Comfortable forward skating at moderate speed. You should be able to skate at roughly 10 to 15 km/h (6 to 9 mph) without feeling tense. If you cannot reach that speed comfortably on a flat path, the powerslide will feel unstable and rushed.
Solid T-stop on both feet. The T-stop is the building block for the powerslide. In a T-stop, you place one foot behind the other at a 90-degree angle and drag. A strong T-stop with controlled drag time is the foundation you will rotate into the powerslide motion.
Bent-knee stance under load. Practice skating with knees bent at roughly 110 degrees and your chest directly over your toes. This is your athletic stance, and it is the same stance you will hold during the powerslide. Without it, any attempt will lock your legs and pull you off-balance.
Wheels in the right hardness range. Soft wheels (78A or below) grip too much and will not slide. Hard wheels (84A and above) slide easily. For learning the powerslide, you want wheels in the 80A to 85A range, with 85A being the easiest to slide on.
Step-by-Step Powerslide Technique
This is the core sequence I teach every skater who asks me about learning the powerslide stop without falling. Walk through it slowly on grass first, then on a flat, smooth surface.
Step 1: Build speed on a flat path. Skate forward at moderate speed. The powerslide needs momentum to work; do not try to slide from a standstill. Aim for a pace that feels slightly faster than your normal cruising speed.
Step 2: Spot your stopping zone. Look 3 to 5 meters ahead and pick the spot where you want to end up. Eyes on the target, not on your feet. This is a habit that prevents most beginner mistakes.
Step 3: Shift weight slightly to your front foot. As you prepare to slide, move about 60 to 70 percent of your weight onto the foot that will stay forward. This is the critical detail. Most skaters keep weight centered or back, which causes the fall.
Step 4: Rotate the back foot 90 degrees. Pivot your rear skate so the wheels face perpendicular to your travel direction. The heel edge of the back skate is what makes contact with the ground and starts the slide.
Step 5: Slide and ride it out. Keep knees bent, shoulders squared, and let the back skate slide. You will hear the wheels scrub. Resist the urge to stand up. The slide ends when friction kills your momentum.
Step 6: Return to forward stance. As you slow down, rotate the back foot back parallel and skate away. The whole move should feel like a smooth, controlled stop, not a panic event.
Body Positioning and Posture Cues
The technique is half of the puzzle; the other half is what your upper body is doing during the slide. I have watched dozens of skaters execute the footwork perfectly, then fall over because their torso was in the wrong position.
Knees bent, not locked. Your knees should stay flexed at about 110 to 120 degrees throughout the slide. Locked knees transfer every bump into your spine and make balance harder. Bent knees act as shock absorbers.
Upper body slightly forward. This is the single most important cue I can give you about how to learn the powerslide stop without falling. Lean your chest forward, over your front toes. Leaning backward is what causes the rearward fall. A forward-leaning chest keeps your center of gravity over the sliding foot.
Shoulders squared to your stopping direction. Do not twist your shoulders toward the slide. Your shoulders should stay aligned with your hips and point toward your target. Twisting the upper body creates a torque that flips the slide into a spin.
Hips loose, ready to rotate. The rotation should come from the hips, not the lower back. Loose hips let your back foot pivot smoothly. Tight hips lock the rotation and stall the slide.
Arms relaxed at your sides. Flailing arms are a sign of imbalance. Keep your arms relaxed and slightly out from your body. They are for balance, not steering.
Common Mistakes and How to Avoid Falling
Most powerslide falls come from the same handful of errors. I have made each of these at least once. Recognize them in your own skating and the learning curve flattens fast.
Falling backward. Cause: leaning back out of fear. Fix: drop your hips, push your chest forward, and look at your target. Practicing the fall in grass removes the fear, which removes the lean.
Slide turns into a spin. Cause: shoulders twisted out of alignment with hips. Fix: keep shoulders squared to the target throughout. Imagine a flashlight on your chest pointing at where you want to stop.
Slide stops immediately instead of scrubbing. Cause: too much weight on the back foot or wheels too soft. Fix: shift 60 to 70 percent of weight forward, or upgrade to harder wheels (84A or above).
Cannot get the back foot perpendicular. Cause: weak hip rotation or foot too close to the front foot. Fix: drop the back hip and knee toward the heel-side edge, then rotate. Practicing the motion without skates on, sitting on a chair, builds the muscle memory.
Flying forward past the stop. Cause: not enough rotation, weak commitment. Fix: commit to the slide. Hesitation leads to a partial rotation that throws you forward, not a controlled stop.
Knee pain or wrist pain after practice. Cause: locking joints, bracing against the slide. Fix: keep knees soft, let the slide absorb the energy. Wrist guards are non-negotiable for learning.
Falling Safely: Practice Drills for Confidence
The single biggest reason skaters fail to learn the powerslide is not technique. It is fear. You can practice the footwork perfectly and still freeze the first time you commit at speed, because your brain remembers every bad fall you have ever had on wheels. The cure is learning to fall safely, on purpose, before you attempt the slide.
Drill 1: grass falling practice. Put on full pads and find a soft grass patch. From a standing position, gently fall forward onto your knees and hands, then fall backward onto your butt. Repeat ten times in each direction. This is what broke my fear. After two sessions, my body stopped panicking during the slide.
Drill 2: low-speed fall with skates on. On the grass, with skates on, fall from a slow roll. Practice landing on padded knees and rolling to your side. The goal is to convince your body that falls end in soft contact, not impact.
Drill 3: ski-style slide on flat ground. Without committing to a full perpendicular foot, practice dragging one foot sideways while skating slowly. Get used to the friction sound and the sideways pull. This is a half-step toward the real slide.
Always wear wrist guards, knee pads, and a helmet. I cannot stress this enough. Most powerslide injuries are wrist fractures from bracing a fall. Wrist guards reduce that risk by roughly 87 percent according to inline skating safety studies. Pad up.
The drills sound silly until you try them. I have introduced this falling practice to four other skaters in our local group, and three of them learned the powerslide within a week. The fourth learned it in three. None of them fell hard during the actual slide attempt because their fear response had already been processed.
Progressive Practice Sequence From T-Stop to Powerslide
If you cannot powerslide today, do not start with a powerslide. Build the motion in stages.
Week 1: master the T-stop on both feet. Your goal is a T-stop that scrubs 80 percent of your speed over 10 to 15 meters. Practice daily for 20 minutes.
Week 2: increase T-stop angle past 45 degrees. Push the back foot past 90 toward a more extreme angle. This builds hip rotation strength.
Week 3: introduce the half-powerslide. From a moderate roll, rotate the back foot to roughly 45 degrees and hold for one second. You will not stop, but you will feel the slide begin.
Week 4: full powerslide at low speed. Pick a flat, smooth surface and skate slowly. Rotate the back foot fully and hold the slide. The slow speed makes the fall less dangerous while you build the muscle memory.
Week 5 and beyond: increase speed gradually. Add speed by 10 percent each session. Within a month, most skaters can powerslide at full cruising speed on flat ground.
Wheel Hardness and Gear Requirements
Your skates play a bigger role in powerslide success than most guides admit. The biggest invisible mistake is using wheels that are too soft. Soft wheels grip the pavement and refuse to slide, so the technique fails before momentum even drops.
Wheel hardness is measured on the durometer A scale (the letter A on the wheel). For the powerslide, you want wheels between 80A and 85A. Anything softer will not slide. Anything much harder (above 88A) slides too easily and can catch unexpectedly.
Frame setup matters too. A shorter wheelbase (shorter frame length) makes the powerslide feel twitchier and less stable. Beginners benefit from a standard 4x80mm or 4x84mm setup with a frame length close to the boot length. Aggressive setups with very short frames are best left for experienced sliders.
Brake removal is optional but recommended. If your skate has a heel brake, removing it lets you slide without the brake catching mid-slide. Most urban and fitness skates come with brakes; inline skates designed for fitness rarely need them once you learn to powerslide.
Frequently Asked Questions
How do I stop on inline skates without falling?
The fastest way to stop on inline skates without falling is to learn the powerslide. Build up moderate speed, shift 60 to 70 percent of your weight onto your front foot, rotate your back foot 90 degrees so the wheels face perpendicular to your travel direction, and let the back skate slide. Keep knees bent and chest forward to prevent falling backward. Practicing falls on grass first removes the fear that causes most mistakes.
How long does it take to learn the powerslide stop?
Most skaters with solid T-stop skills can learn the powerslide in two to four weeks of regular practice. Skaters who already feel comfortable at moderate speed and who practice the falling drills on grass often learn in a single session. The biggest variable is fear, not skill. Once you remove the fear response, the technique clicks quickly.
Do I need special wheels for the powerslide?
Yes. Soft wheels below 80A durometer will not slide. For learning the powerslide, use wheels between 80A and 85A. The harder the wheel, the easier the slide begins. Beginners often benefit from harder wheels because they slide with less commitment, but very hard wheels above 88A can be unpredictable. The 85A range is the sweet spot.
Why do I fall backward when I try to powerslide?
You fall backward during a powerslide because your upper body leans back out of fear. The fix is to lean your chest forward, over your front toes, and keep your weight centered over the front foot. Practicing controlled falls on grass before attempting the slide also helps because it removes the fear response that triggers the backward lean in the first place.
Can I learn the powerslide on a hill or should I practice on flat ground?
Always practice the powerslide on flat ground first. Hills add speed that makes mistakes more dangerous and reduces your control during the learning phase. Once you can powerslide cleanly on flat ground at moderate speed, you can transfer the skill to gentle slopes. Beginners should avoid downhill powerslides until they have at least a month of flat-ground experience.
Final Thoughts on Learning the Powerslide Without Falling
Learning how to learn the powerslide stop without falling comes down to two ideas. First, fix the technique: weight forward, back foot rotated, knees bent, shoulders squared. Second, fix the fear: practice falling on grass, wear full pads, and start at low speed. The skaters who skip the fear work fall over. The skaters who do the fear work learn in a week or two.
The powerslide is one of those skills that looks impossible until it suddenly clicks. Once it clicks, you will wonder how you ever skated without it. Take your time, pad up, and start with the falling drills. The smooth, controlled stop is closer than you think.