
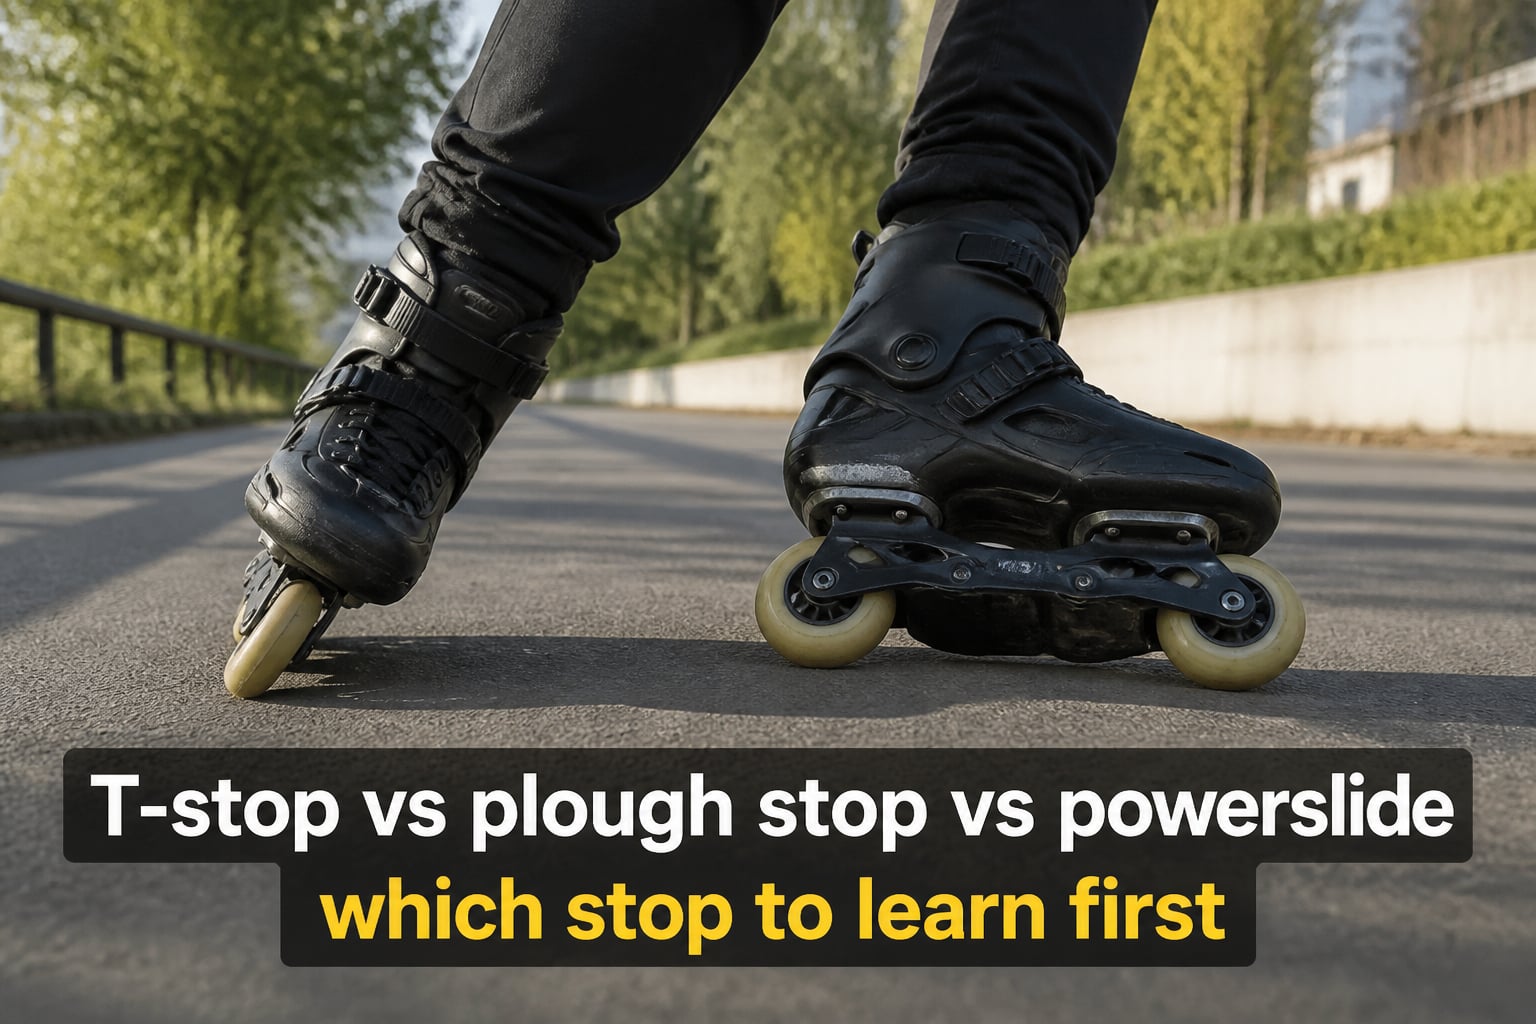
I learned this the hard way. Years ago, I picked up inline skates, rolled down a paved trail, and panicked at the first downhill because I had only one way to slow down: a wobbly T-stop I barely trusted.
That moment is why this guide exists. The T-stop vs plough stop vs powerslide debate is one of the most-asked questions among new inline skaters, and the wrong learning order can leave you scared of speed, over-relying on a heel brake, or grinding down your wheels.
In this guide, I will walk you through each of the three stops – how they work, where they shine, and where they fail. Then I will give you the same recommended learning order I share with skaters I coach: plough stop first, T-stop second, powerslide last.
If you read all the way through, you will know exactly which stop to practice on your next session and why.
Table of Contents
Quick Comparison: T-Stop vs Plough Stop vs Powerslide
Here is the at-a-glance answer before we dive into the details. Use this table to match each stop to where you are in your skating journey.
| Stop | Difficulty | Best Speed Range | Best Use Case | Learn Order |
|---|---|---|---|---|
| Plough Stop | Beginner | Up to ~5 mph | First stop, flat ground, gentle slopes | 1st |
| T-Stop | Intermediate | Up to ~10 mph | Speed control on flat ground and rolling trails | 2nd |
| Powerslide | Advanced | Up to ~15+ mph | Emergency stopping, hills, fast urban skating | 3rd |
If you only remember one line from this whole article, make it this: learn the plough stop first, use it until it feels boring, then add the T-stop, then work up to the powerslide.
T-Stop on Inline Skates: Step-by-Step Technique
The T-stop is the most-recognized stop on inline skates. You drag one skate behind your other skate at a 90-degree angle, creating friction between the trailing wheels and the ground.
It looks like the letter T from above, which is where it gets its name. It is a controlled drag stop that works best at moderate speeds on flat ground.
How to Do a T-Stop: 5 Steps
- Glide forward with both skates parallel, knees soft, weight slightly forward over the balls of your feet.
- Lift your dominant back foot and place it behind you at a 90-degree angle to your front skate.
- Press down through the heel of the back foot so the wheels grip the ground rather than slide sideways.
- Keep weight centered between both skates, never lean all the way back or you will fall.
- Increase downward pressure to slow faster; release pressure to glide longer.
Start slow. Your first 10 attempts on the T-stop should be barely moving. As you build balance, push your speed up in small increments.
Common T-Stop Mistakes
- Pressing the back wheels too hard and skidding sideways, which throws off your balance.
- Sitting all your weight on the back foot – keep at least 60 percent over the front skate.
- Turning the back skate too parallel to the front skate, which kills friction and wheel grip.
I burned through a set of wheels in two months learning T-stops the wrong way. Drag on the inside edge wears them faster than even stopping, so rotate your skates’ wheels regularly if you rely on this stop.
When the T-Stop Works Best
The T-stop shines on flat bike paths and paved trails where you need to bleed off speed gradually. It is reliable up to about 10 mph on flat ground, but it becomes ineffective on hills because the trailing skate just bumps along instead of gripping.
Plough Stop on Inline Skates: Step-by-Step Technique
The plough stop, sometimes spelled plow stop, is the easiest reliable stop to learn first. You push your heels outward while keeping your toes pointing slightly inward, then press through your inner edges to slow down.
It mimics the snowplow stance downhill skiers use, which is why the name stuck. It is not flashy, but it gives beginners real stopping power within their first practice session.
How to Do a Plough Stop: 5 Steps
- Roll forward at a comfortable speed with both skates hip-width apart.
- Push your heels out wider than your toes so your skates angle into a V shape.
- Bend your knees deeply to lower your center of gravity.
- Press down through the inner edges of your skates to create friction.
- Increase the outward push of your heels to slow faster, then bring feet back together.
If you find the static plough too rigid, try a stepping plough: glide on your dominant foot, plant your back foot slightly behind and sideways, then drag. Most beginners find the stepping version easier to balance than the static version.
Common Plough Stop Mistakes
- Keeping legs straight – bent knees are non-negotiable for this stop.
- Pushing toes out instead of heels out, which produces zero friction.
- Standing too tall, which raises your center of gravity and makes balance harder.
Wear wrist guards during your early plough-stop practice. You will fall backward the first few times you press too hard, and the guards save you from sprains.
When the Plough Stop Works Best
The plough stop is the perfect first stop. It works at low speeds (up to about 5 mph on flat), builds the muscle memory you will reuse for harder stops later, and does not wear your wheels fast.
Powerslide on Inline Skates: Step-by-Step Technique
The powerslide is the highest level of the three stops and the most effective emergency brake on inline skates. Instead of dragging one foot, you turn both skates sideways at the same time and slide to a stop.
It uses the side of your wheels rather than the rolling surface, so it grips for much shorter distances and handles real downhill speed. Once you master it, the powerslide becomes your single most reliable stop.
How to Do a Powerslide: 6 Steps
- Build up to a comfortable speed with knees bent and weight centered.
- Shift your weight slightly to your dominant foot to free up the other leg.
- Rotate your free skate 90 degrees so it sits perpendicular to your direction of travel.
- Push that skate out slightly and drop your weight onto it while you slide.
- Quickly rotate your other skate 90 degrees so both skates are now sideways and sliding.
- Hold the slide with weight pressed through both heels until you slow to a stop.
Step 5 – the second-foot rotation – is the hardest part. Practicing single-foot sideways slides on grass first makes that transition far less intimidating.
Common Powerslide Mistakes
- Rotating too early before you have built enough speed to carry through the slide.
- Locking your knees, which kills your ability to absorb the sideways force.
- Looking down at your feet instead of where you want to stop.
A lot of skaters I work with hit a mental block on the powerslide. The trick that worked for me was practicing the slide into a deep foam mat, then onto grass, then onto pavement. Each surface lowers the stakes a little.
When the Powerslide Works Best
The powerslide is your downhill insurance policy. It works at high speeds (10 to 15+ mph) and is the only one of the three stops you can truly trust as an emergency brake on hills or in urban environments with traffic.
Which Stop to Learn First: The Recommended Order
The clear answer: learn the plough stop first, add the T-stop second, and master the powerslide last.
That is the same order the r/rollerblading community arrived at through years of trial, and it matches what I have seen work with every beginner skater I have coached. Here is the reasoning behind each stage.
Stage 1: Plough Stop (Weeks 1 to 3)
Most beginners can learn the plough within a single practice session. It works at low speeds, teaches you to bend your knees and shift weight, and does not require any single-leg balance. Practise until it feels boring – that is how you know it is locked in.
Stage 2: T-Stop (Weeks 4 to 8)
The T-stop introduces single-leg balance and friction control, both of which you will need for the powerslide. Once your plough stop feels automatic, start mixing in T-stops on flat ground. Aim to control speed without skidding.
Stage 3: Powerslide (Months 2 to 6+)
The powerslide is a longer project. Start on grass, then on a smooth parking lot, then on gentle slopes. Do not attempt it downhill until you can land it consistently on flat ground at moderate speed.
Many skaters keep their heel brake through stage 1 and 2, then remove it once the powerslide feels reliable. Just make sure you have a backup stop before you take the brake off – skaters who remove the brake too early often give up the sport entirely.
Practice Tips and Common Mistakes to Avoid
Your practice environment matters as much as your technique. Start somewhere flat and smooth with a clear runout: an empty parking lot, a cul-de-sac, or a tennis court.
Wear a helmet and wrist guards every single session, especially when learning to stop. Skating pads are a one-time purchase that pays for itself the first time you fall.
Three drills to layer into every practice:
- Five slow plough stops, increasing pressure each rep, until you feel the friction build.
- Glide for 10 seconds, then T-stop. Repeat until the drag feels smooth instead of bumpy.
- Roll forward, brake to a stop, then roll backward and stop. Backwards stopping uses different muscles and builds general control.
The biggest mistake I see across all three stops is leaning back. Your weight should always stay forward over the balls of your feet with knees bent. Leaning back shifts your center of gravity behind your skates and almost guarantees a fall.
The second biggest mistake is practising only in nice conditions. Skate in light rain occasionally, on slightly rough pavement, on small inclines. The stop that works only in perfect conditions will fail you the day you actually need it.
Frequently Asked Questions
What is the easiest stop to learn first on inline skates?
The plough stop is the easiest stop to learn first. It only requires bending your knees and pushing your heels outward to create friction, and most beginners can perform it within a single practice session.
Is the T-stop bad for inline skate wheels?
The T-stop wears down wheels faster than the plough or powerslide, especially on the inside edge. Rotate your wheels every few weeks and replace them when one side wears flat to keep your skating safe and smooth.
What is the best stop for downhill inline skating?
The powerslide is the best stop for downhill inline skating. The plough and T-stop both lose grip on hills, while the powerslide converts downhill momentum into a sideways slide you can control at high speed.
When should I remove my heel brake?
Remove your heel brake only after you can reliably perform the plough stop and T-stop. Many skaters wait until they have also learned the powerslide, so they have three backup stops before giving up the brake.
How long does it take to learn the powerslide?
Most skaters need two to six months of regular practice to land a confident powerslide on flat ground. Progress faster by starting on grass, then a smooth parking lot, then gentle slopes before trying downhill.
How do I stop on inline skates without falling?
To stop without falling, keep your knees bent, weight over the balls of your feet, and your eyes forward. Most falls during stopping come from leaning back, so resist the urge to sit back as you slow down.
Final Verdict: Your Stopping Game Plan
If you take only one thing from this T-stop vs plough stop vs powerslide comparison, take the order: plough stop, then T-stop, then powerslide.
That sequence is what coaches teach, what the community recommends, and what keeps most skaters rolling confidently instead of giving up after one bad fall. The plough stop gives you a working brake in week one, the T-stop gives you speed control in weeks two through eight, and the powerslide gives you a real emergency stop you can trust at speed.
Next step: put on your helmet and wrist guards, find a flat paved area, and run three slow plough stops on your next session. Once those feel boring, you are ready for the T-stop – and the rest of your skating journey opens up from there.