
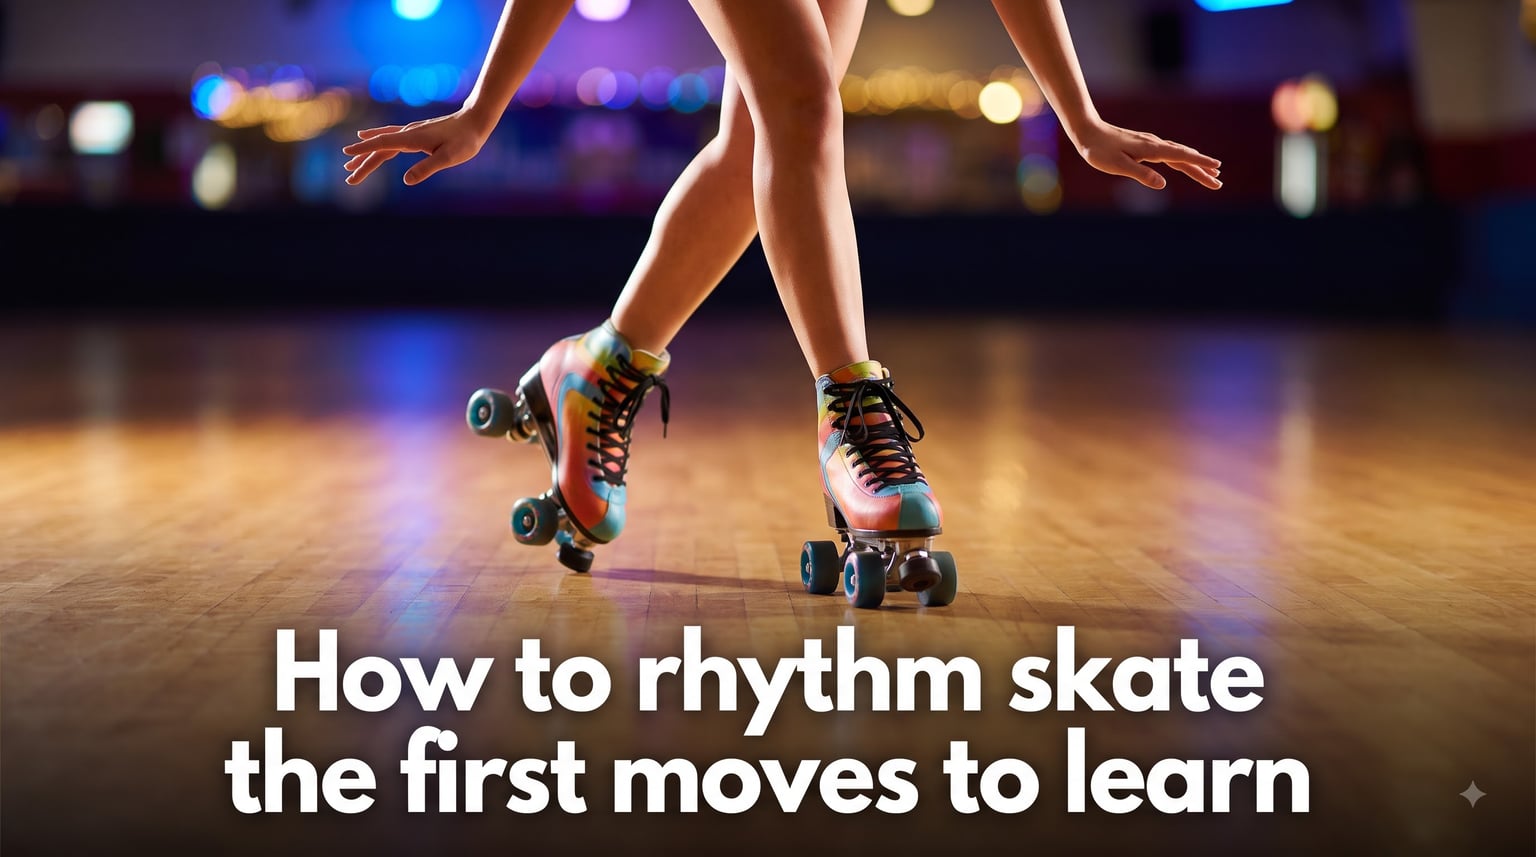
Rhythm skating turns a simple lap around the rink into something that feels like dancing on wheels. If you have ever watched someone glide, spin, and shuffle perfectly in time with the music and wondered how they do it, you are in the right place.
Learning how to rhythm skate does not require natural talent or years of experience. It requires understanding a few foundational moves, practicing them in the right order, and developing a feel for the music underneath your feet.
In this guide, I will walk you through everything you need to know to get started. We will cover what rhythm skating actually is, the equipment that makes learning easier, the stance you need before attempting any move, and the six first moves every beginner should learn. I will also share common mistakes to avoid, a 30-day practice plan, and tips specifically for adult beginners.
Table of Contents
What Is Rhythm Skating?
Rhythm skating is the art of moving in harmony with music on roller skates, combining smooth glides, footwork, and dance-like movements that match the beat of a song. It blends the physical skill of skating with the creative expression of dance, and it lives at the intersection of sport and art.
The style grew out of roller rinks in the United States, particularly within Black skating communities where skate culture developed its own distinct moves, music preferences, and social traditions. Over the years, rhythm skating has spread globally, fueled by social media videos and a renewed interest in roller sports.
People often use the terms rhythm skating, jam skating, and roller dancing interchangeably, but there are subtle differences worth knowing.
Rhythm Skating vs Jam Skating: What Is the Difference?
Jam skating leans toward aggressive, athletic moves like spins, flips, and breakdance-inspired footwork. Think of it as the high-energy, trick-heavy cousin of rhythm skating. Rhythm skating focuses more on flow, groove, and staying locked into the music with smoother, continuous movement.
Roller dancing is a broader term that encompasses any skating done to music, including both rhythm and jam styles. Rhythm skating sits in the middle of the spectrum, prioritizing musicality and smooth transitions over flashy tricks.
Here is a quick comparison to help you tell them apart:
Rhythm skating: Flow-based, groove-driven, continuous movement to music
Jam skating: Trick-focused, athletic, breakdance-inspired footwork
Roller dancing: Umbrella term for any skating choreographed to music
For beginners, rhythm skating is the most approachable starting point because it builds fundamental edge control and musicality before layering on complex tricks.
What You Need Before You Start
You do not need the most expensive gear to start rhythm skating, but the right setup makes a noticeable difference in how quickly you progress. Using inappropriate equipment can hold you back and even increase your risk of falls.
Choosing the Right Skates
For rhythm skating, you want low-cut boots or high-top artistic-style skates that allow ankle mobility. Stiff, tall boots designed for aggressive outdoor skating will restrict the footwork and ankle movement that rhythm skating demands.
Look for boots with good lateral support but enough flexibility to let you bend, shift weight, and point your toes. Many experienced rhythm skaters prefer leather boots because they break in over time and conform to your feet.
Wheels Matter More Than You Think
Wheel choice is one of the most important equipment decisions for rhythm skating. For indoor rink skating, harder wheels in the 98A to 103A durometer range are ideal because they slide and glide smoothly on polished floors. Softer wheels grip too much, making it harder to shuffle, spin, and slide.
Wheel size also plays a role. Smaller wheels in the 50mm to 58 mm range are popular for rhythm skating because they sit lower to the ground, giving you better stability and control during footwork. Larger wheels roll faster but feel less planted during intricate moves.
If you plan to skate outdoors, you will need softer wheels (78A to 85A) to handle rough surfaces. Just know that outdoor wheels behave very differently and are not ideal for practicing rhythm moves.
Protective Gear and Safety
Wear a helmet, wrist guards, knee pads, and elbow pads, especially during your first few weeks. Rhythm skating involves a lot of weight shifting and edge work, which means falls happen. Protecting your joints and head is non-negotiable when you are starting out.
Toe stops are another essential component. Most rhythm skaters use adjustable toe stops rather than fixed ones, because they allow for stops, pivots, and certain dance moves that require pushing off the front of the skate.
How to Rhythm Skate: The Foundation Skills
Before learning any specific moves, you need to master your basic stance and posture. Everything in rhythm skating builds on these fundamentals, and skipping them is the number one reason beginners struggle.
The Basic Rhythm Skating Stance
Stand with your feet shoulder-width apart, knees softly bent, and your weight centered over the middle of your skates. Keep your back straight but relaxed, not rigid. Your arms should hang naturally at your sides, ready to help with balance.
Think of it like an athletic ready position in any sport. You want to feel springy and responsive, not locked in place. The lower your center of gravity, the more stable you will be.
Practice holding this stance while stationary until it feels natural. Then practice gliding forward in this position without standing up tall or stiffening your legs. This alone will make every subsequent move easier to learn.
Learning Your Edges
Every skate blade and wheel has two edges: inside and outside. Inside edges are the surfaces that face each other when your feet are parallel. Outside edges face away from your body. Rhythm skating depends heavily on edge control.
On the rink community discussions, experienced skaters stress that edge work, especially toe edges, is the single most critical foundation skill. Without it, transitions, spins, and footwork patterns feel impossible.
Practice shifting your weight from flat (both wheels touching the ground evenly) to inside edge and then to outside edge while rolling slowly. This builds the ankle strength and body awareness that every rhythm move requires.
How to Rhythm Skate the First Moves to Learn
These six moves form the foundation of rhythm skating. Learn them in this order, because each one builds on the skills developed in the previous move. Do not rush ahead, even if a later move looks more exciting.
Move 1: Gliding
Gliding is the most fundamental rhythm skating move and the base of everything else. It is simply rolling on two skates with control and intention, matching your speed to the music.
Step 1: Start in your basic stance with knees bent and weight centered.
Step 2: Push off gently with one foot and roll on both skates.
Step 3: Keep your knees soft and let your body relax into the roll.
Step 4: Match the length of each glide to the beat of the music, extending on the downbeat.
Step 5: Practice gliding on one foot at a time, holding your balance for several seconds.
One-footed gliding deserves special attention here. Community skaters consistently recommend learning to roll comfortably on one foot before attempting any advanced footwork. It builds the balance and edge control you will need for every other move on this list.
Practice drill: Put on a slow song (70 to 90 BPM) and try to glide the length of the rink using only four pushes. This forces you to maintain momentum efficiently and stay relaxed.
Move 2: Scissors
Scissors, sometimes called spread eagles or open-and-close, involve moving your feet apart and together in a rhythmic pattern while rolling forward. This move teaches you to control your edges and shift weight smoothly.
Step 1: Begin gliding forward in your basic stance.
Step 2: Slowly slide both feet outward to the sides, keeping them parallel.
Step 3: As your feet spread, lean slightly forward and keep your knees bent.
Step 4: Pull both feet back together using your inner thigh muscles.
Step 5: Repeat the open-and-close motion in time with the music.
The key is keeping the movement smooth and controlled. If your feet fly outward uncontrollably, you are pushing too hard. If they barely move, you need to commit more weight to the outside edges.
Practice drill: Try scissors while rolling in a wide circle. The circular motion naturally engages your edges and helps you feel the weight shift.
Move 3: Crossovers
Crossovers are the move where you literally cross one foot over the other while turning. They are essential for rhythm skating because they allow you to change direction smoothly and build speed in curves.
Step 1: Start rolling forward and begin leaning into a gentle turn.
Step 2: Lift your outside foot and cross it over your inside foot.
Step 3: Plant the crossed foot and transfer your weight onto it.
Step 4: Bring your inside foot underneath and back to its original position.
Step 5: Repeat the crossover continuously while maintaining your circular path.
Crossovers work in both directions, so practice turning left and turning right. Most skaters have a dominant turning direction, but rhythm skating requires comfort in both.
Experienced skaters in community forums emphasize that crossovers are one of the fundamental skills to master early. They appear in countless rhythm skating sequences and serve as a gateway to more complex footwork.
Practice drill: Skate a large figure-eight pattern, using crossovers on each loop. This forces you to practice both directions and smooths out your transitions between turns.
Move 4: Box Step
The box step is one of the most popular beginner rhythm skating moves because it looks impressive but is built from simple weight shifts. It creates a square or box pattern on the floor using one foot at a time.
Step 1: Stand stationary or rolling slowly with your weight on your left foot.
Step 2: Step forward with your right foot, placing it ahead of your left.
Step 3: Shift your weight to your right foot.
Step 4: Step to the side with your left foot, then shift weight to it.
Step 5: Step back with your right foot, then bring your left foot to meet it.
The pattern traces an invisible box on the floor: forward, side, back, together. Once you are comfortable with the basic pattern, add arm movements and sync each step to a specific beat in the music.
The box step is excellent for developing coordination and timing because it forces you to count beats and move with intention rather than just rolling around the rink.
Practice drill: Do the box step to a song with a clear 4/4 beat. Each step should land exactly on a beat. Once you can do it stationary, try it while rolling slowly forward.
Move 5: Transitions
Transitions are the moves that change your skating direction from forward to backward or backward to forward without stopping. They are what make rhythm skating look fluid and continuous.
Step 1: Begin gliding forward at a comfortable speed.
Step 2: Lift the heel of one foot and pivot that skate 180 degrees.
Step 3: Transfer your weight to the pivoted foot.
Step 4: Allow your other foot to follow naturally, rotating to face backward.
Step 5: Begin rolling backward, keeping your knees bent and core engaged.
The most common transition for beginners is the heel-to-toe pivot, where you lift the front of one skate and swing it around. There is also the toe-to-heel version where you lift the back of the skate. Both are valid, so experiment to find which feels more natural.
Pigeon-toed transitions, where both toes point inward before rotating, are a slightly more advanced variation that experienced skaters recommend practicing once you are comfortable with the basic version.
Practice drill: Skate forward, transition to backward, skate backward for three seconds, then transition back to forward. Repeat this circuit until it feels seamless.
Move 6: Basic Spins
Spins are where rhythm skating starts to feel like actual dancing. A basic two-foot spin is the safest starting point and introduces the rotational mechanics you will use in more advanced moves.
Step 1: Glide forward and gather a small amount of speed.
Step 2: Bring both feet close together, parallel and under your center of gravity.
Step 3: Twist your upper body in the direction you want to spin.
Step 4: Let your hips and legs follow the upper body rotation.
Step 5: Keep your arms tucked in to maintain balance and control rotation speed.
Start with half-turns before attempting full 360-degree spins. The goal is control, not speed. A clean, controlled half-spin looks far better than a wobbly full rotation.
Once you can do a stable two-foot spin, progress to one-foot spins by lifting one skate slightly off the ground during the rotation. This requires significantly more core strength and edge control, so take your time.
Practice drill: Mark a spot on the floor with tape. Try to start and end your spin on that exact spot. This trains you to spin in place rather than traveling across the floor.
How to Find Your Rhythm on Skates?
Learning the moves is only half the equation. Rhythm skating without musicality is just roller skating with extra steps. Developing a feel for the music is what transforms a sequence of moves into actual rhythm skating.
Start With the Right Music
Choose songs with a clear, steady beat and a tempo between 70 and 100 BPM for practice. Funk, soul, R&B, and disco are the traditional genres for rhythm skating because they have prominent basslines and consistent rhythms that are easy to follow.
Avoid music with complex time signatures or frequent tempo changes while you are learning. You want songs where the beat is obvious and predictable so you can focus on matching your movements to it.
Listen Before You Skate
Before you even put your skates on, listen to your practice song several times and tap your foot or nod your head to the beat. Identify the downbeat (the strongest beat in each measure) and count along: one, two, three, four.
This sounds simple, but many beginners struggle because they never actually learned to hear the beat. Once you can identify it consistently while standing still, matching your skating to it becomes much easier.
Match Movements to Musical Elements
Different parts of the music call for different movements. Bass hits are great for weight shifts and dips. Hi-hats and snare drums pair well with quick footwork like shuffles. Long, sustained notes invite slow glides and extended poses.
As you improve, you will start to hear the music differently and instinctively know which moves fit each moment. This is what experienced skaters mean when they say rhythm skating is not formulaic. You develop your own interpretation.
Community skaters repeatedly emphasize this point: the best way to learn rhythm is to watch other skaters and take notes. Pay attention to how they interpret the same song differently. Then experiment with your own version.
Common Mistakes Beginners Make (And How to Fix Them)
Every beginner makes the same handful of mistakes. Knowing them ahead of time saves you weeks of frustration and helps you correct problems before they become habits.
Mistake 1: Looking Down at Your Feet
This is the most universal beginner mistake. Looking down throws off your balance, stiffens your neck, and disconnects you from the music. You cannot develop rhythm if you are staring at the floor.
The fix: Pick a point at eye level across the rink and focus on it while skating. Trust your feet to do their job. Check your foot placement only when you are stopped or moving very slowly.
Mistake 2: Skating With Stiff Legs
Locked knees are the enemy of rhythm skating. Stiff legs prevent you from absorbing bumps, shifting weight, and responding to the music. They also make falls harder and more painful.
The fix: Constantly check your knee bend. If your legs are straight, you are too tense. Imagine you are about to sit in a chair, that is the level of bend you want. Your quads will burn at first, but that is how you build the strength rhythm skating demands.
Mistake 3: Skipping Edge Work
Many beginners rush to learn flashy moves without developing their edges first. This leads to wobbly spins, unstable transitions, and a ceiling on how far your skills can progress.
The fix: Dedicate the first 10 minutes of every session to edge drills. Practice inside edges, outside edges, and one-foot balances at slow speeds. This is not glamorous work, but it pays off enormously in the long run.
Mistake 4: Rushing Into Advanced Moves
Trying to learn grapevines, crazy legs, or full spin combinations before mastering the basics leads to frustration and injury. Every advanced move is built from the six fundamentals above.
The fix: Follow the move progression in this guide in order. Do not move to the next move until you feel reasonably comfortable with the current one. Progress is slower at first but dramatically faster once your foundation is solid.
Mistake 5: Not Practicing Both Directions
Most beginners favor one side for crossovers, spins, and transitions. This creates an imbalance that limits your ability to flow freely in all directions during rhythm skating.
The fix: Every time you practice a move on your strong side, immediately practice it on your weak side. It will feel awkward at first, but over time both directions will even out.
Practice Plan: Your First 30 Days
Having a structured plan prevents the aimless skating that slows progress. Here is a week-by-week breakdown designed for beginners who can skate 3 to 4 times per week for 45 to 60 minutes per session.
Week 1: Foundation Only
Spend this entire week on stance, posture, and gliding. Do not attempt any other moves. Focus on bending your knees, keeping your eyes up, and gliding on one foot for at least 5 seconds per side.
Goal by end of Week 1: Glide the full length of the rink using 5 or fewer pushes, on both inside and outside edges.
Week 2: Add Scissors and Crossovers
Introduce scissors and crossovers this week. Spend the first 15 minutes on edge and balance drills, then dedicate 15 minutes to scissors and 15 minutes to crossovers. Use the last 15 minutes for free skating.
Goal by end of Week 2: Complete 10 consecutive crossovers in each direction without stopping.
Week 3: Box Steps and Transitions
Add the box step and basic forward-to-backward transitions. Start combining moves into short sequences. For example, glide into scissors, then transition to backward skating.
Goal by end of Week 3: Perform a box step while rolling and complete a clean forward-to-backward transition at moderate speed.
Week 4: Basic Spins and Musicality
Introduce two-foot spins and begin focusing heavily on musicality. Pick one song and skate to it for the entire session, experimenting with how different moves fit different parts of the music.
Goal by end of Week 4: Perform a controlled half-spin and string together at least three moves in a sequence that matches the music.
Tracking Your Progress
Keep a simple journal after each session. Note which moves felt good, which felt shaky, and what you want to focus on next time. Recording short videos of yourself weekly is the single most effective way to see improvement, because progress happens gradually and is hard to notice day to day.
No competitor in the current search results offers a structured progression plan like this. Use it as your roadmap and adjust the pace based on how your body responds.
Tips for Adult Beginners
If you are starting rhythm skating as an adult, you are not alone. The skating community has seen a massive influx of adult learners in recent years, and the rink is no longer dominated by kids and teenagers.
Age Is Less Important Than You Think
Adults absolutely can learn to roller skate, including those in their 40s, 50s, and beyond. Your learning curve may be different from a child’s, but adults often progress faster because they have better body awareness, patience, and the ability to break skills down analytically.
The main difference for adult beginners is recovery time. Falls that a teenager bounces back from can take an adult a few days to recover from. This makes protective gear and controlled practice environments even more important.
Build Confidence Gradually
Start on surfaces you feel safe on, typically a smooth indoor rink with walls or rails nearby. Avoid crowded sessions until you have basic control. There is no shame in skating during quieter hours while you build confidence.
Community advice consistently highlights that personal style development is key and there is no single right way to skate. Do not compare yourself to skaters on social media who have been doing this for years. Focus on your own progress.
Listen to Your Body
Rhythm skating uses muscles you may not have engaged in this way before, especially your stabilizing muscles, core, and ankles. Expect soreness in the first few weeks. Rest between sessions and do not push through sharp pain.
Stretching before and after skating helps prevent tightness and injury. Focus on your calves, hamstrings, quads, and hip flexors, as these take the most load during skating.
Frequently Asked Questions
How to rhythm skate for beginners?
Start by mastering your basic stance with bent knees and centered weight, then learn gliding on one and two feet. Progress through scissors, crossovers, box steps, transitions, and basic spins in that order. Practice 3 to 4 times per week for 45 to 60 minutes, always beginning with edge work drills before attempting moves.
What is rhythm skate?
Rhythm skating is the art of moving in harmony with music on roller skates, combining smooth glides, footwork, and dance-like movements that match the beat. It differs from jam skating, which focuses on athletic tricks, and sits within the broader category of roller dancing.
Can a 40 year old learn to roller skate?
Absolutely. Adults in their 40s, 50s, and beyond learn to roller skate and rhythm skate successfully. Adults often progress faster than children due to better body awareness and patience. The main consideration is wearing protective gear and allowing more recovery time between sessions.
What are the first moves to learn in rhythm skating?
The six foundational moves are gliding, scissors, crossovers, box step, transitions, and basic spins. Learn them in this order because each move builds on the skills from the previous one. Mastering one-foot gliding and edge control before anything else is strongly recommended.
How to find rhythm while skating?
Start by choosing songs with a clear steady beat between 70 and 100 BPM. Listen to the music before skating and practice identifying the downbeat. Match your movements to specific musical elements: weight shifts to bass hits, quick footwork to hi-hats, and slow glides to sustained notes.
Can you lose belly fat by roller skating?
Roller skating is a moderate to vigorous cardiovascular activity that burns roughly 300 to 600 calories per hour depending on intensity. Combined with a calorie-controlled diet, regular skating can contribute to fat loss including belly fat, though spot reduction is not possible.
What is a good age to start roller skating?
Children can start skating as young as 3 to 5 years old with proper supervision and adjustable skates. However, there is no upper age limit. Many people start in their 30s, 40s, 50s, and beyond. The best age to start is whenever you are motivated to learn.
What is the most common injury in roller skating?
Wrist fractures and sprains are the most common roller skating injuries, typically from falling onto outstretched hands. Wearing wrist guards significantly reduces this risk. Knee and elbow injuries also occur, making full protective gear essential for beginners.
Conclusion
Learning how to rhythm skate the first moves to learn comes down to six fundamentals: gliding, scissors, crossovers, box steps, transitions, and spins. Master them in order, practice consistently, and develop your edge control before chasing advanced tricks.
The biggest advantage you can give yourself is patience combined with a structured practice plan. Use the 30-day schedule in this guide as your starting point, track your progress with video, and skate to music that makes you want to move.
Rhythm skating is ultimately about personal expression. There is no single right way to do it, and your style will develop naturally as your skills grow. Get to the rink, put on a song you love, and start with a glide.