
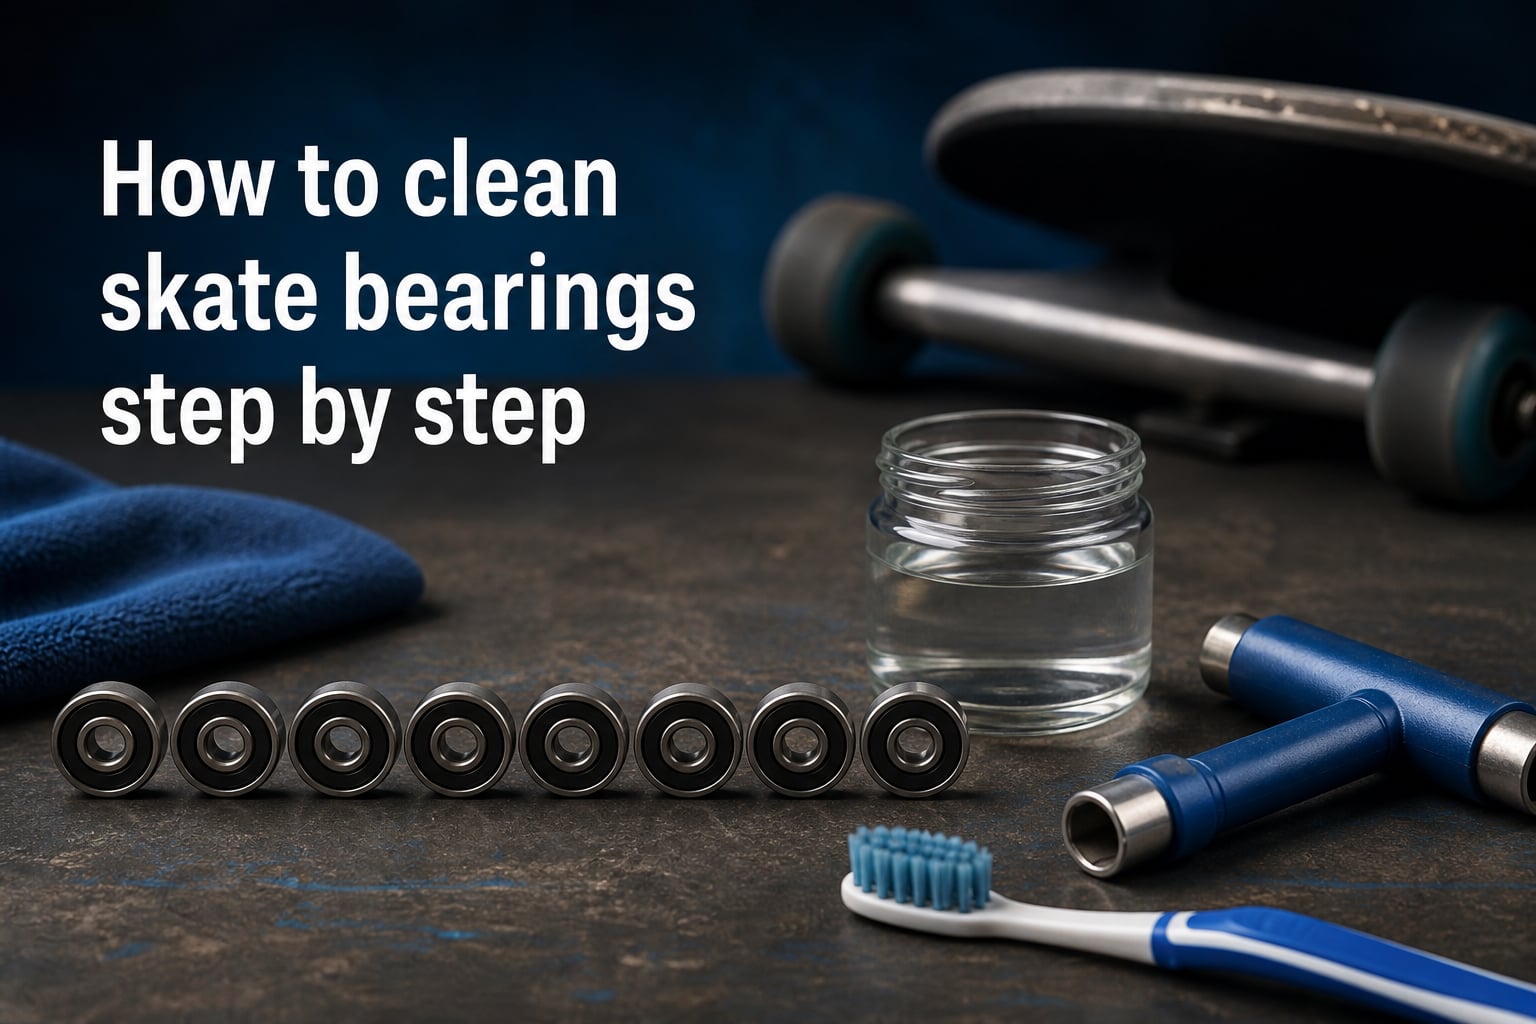
Dirty skate bearings slow you down, make that awful grinding noise, and wear out faster than they should. If you’ve been skating for a while and your board feels sluggish or sounds rough, learning how to clean skate bearings step by step can bring that smooth, fast ride back without buying replacements.
I’ve cleaned hundreds of sets of bearings over the years across skateboards, longboards, and roller skates. The process is the same whether you ride a cruiser, a park board, or a downhill setup. It takes about 30 to 45 minutes once you know what you’re doing.
This guide walks you through every step from removing your wheels to re-lubricating and reassembling. I’ll also cover the tools you need, which solvents actually work, and why WD-40 is the worst thing you can spray on your bearings.
Table of Contents
Signs Your Bearings Need Cleaning
Your bearings will tell you when they need attention. You just need to know what to look and listen for.
Slow spin test: Hold your wheel between two fingers and spin it hard. A clean bearing spins freely for 10 to 15 seconds or more. If it stops within a few seconds or feels gritty, it’s time to clean.
Noise: Healthy bearings are nearly silent. Squeaking, grinding, or clicking sounds mean dirt has built up inside the raceway. A high-pitched squeak usually points to dried-out lubricant.
Sluggish ride: If you find yourself pushing more than usual on flat ground, your bearings are likely dragging through accumulated gunk and old grease.
Visible dirt: Look at the bearing shields. A dark, fuzzy ring of dirt around the edges means contamination has made its way inside.
Rust spots: Any orange or brown discoloration on the bearing surface means moisture has gotten in. Rust destroys bearings fast, so clean and re-lubricate immediately.
After rain or wet surfaces: If you skated through puddles, wet pavement, or got caught in the rain, clean your bearings as soon as possible. Water inside bearings leads to rust within days.
Understanding Your Bearings
Before you start taking things apart, it helps to understand what’s inside a skate bearing. Each bearing has an outer ring, an inner ring, steel or ceramic balls held in a cage, and shields or seals that keep dirt out.
Shielded bearings have a metal cover on one or both sides. These are common on Bones Redz and many stock skateboard bearings. Metal shields pop off for cleaning but need a bit more care.
Sealed bearings use rubber seals instead of metal. Rubber seals are easier to remove by hand and snap back into place. Most longboard and roller skate bearings use rubber seals.
ABEC rating measures manufacturing precision, not durability or speed. An ABEC 3 bearing with proper lubrication will outperform a dirty ABEC 9. Don’t worry about the rating when cleaning. Focus on getting the gunk out and the right lube back in.
Tools and Materials Checklist
Gather everything before you start. Nothing is worse than having dirty solvent-covered hands and realizing you’re missing a key tool.
For removing wheels and bearings:
Skate tool or 13mm socket wrench for axle nuts
Flathead screwdriver or bearing press tool
Truck axle (your skateboard truck itself works as a lever to pry bearings out)
For removing shields:
Push pin, safety pin, or needle for rubber seals
Small flathead screwdriver or razor blade for metal shields
For cleaning:
Isopropyl alcohol, 91% or 99% (70% works but evaporates slower and leaves more water)
Citrus degreaser as an alternative solvent
Small glass jar or plastic container with a lid
Old toothbrush or nylon brush
Paper towels or a clean rag
For lubricating:
Bones Speed Cream, Sabre Bearing Lube, or a dedicated skate bearing lubricant
Light machine oil as a budget alternative (sewing machine oil works)
For drying:
Canned air or an air compressor (fastest method)
Hair dryer on the cool setting
Clean paper towels and patience (air-dry method)
Skate shop employees and experienced skaters on Reddit consistently recommend dedicated skate lubricants over generic oils. Bones Speed Cream comes up in almost every forum discussion because it’s designed specifically for the speeds and temperatures skate bearings operate at.
How to Clean Skate Bearings Step by Step
Follow these nine steps in order. Don’t skip the drying step, even if you’re in a hurry. Trapped solvent dilutes your lubricant and leaves you worse off than before.
Step 1: Set Up Your Workspace
Pick a flat, well-lit surface with plenty of room. A workbench, kitchen table with newspaper, or garage floor all work. You’ll be dealing with small parts and solvent, so lay down paper towels or an old cloth.
Good ventilation matters. Isopropyl alcohol and citrus degreasers produce fumes. Open a window or work outside if possible. Keep food and drinks away from your workspace.
Organize small containers for axle nuts, speed washers, and shields. These tiny parts love to disappear. A muffin tin or egg carton works great for keeping everything sorted.
Step 2: Remove the Wheels
Use your skate tool or socket wrench to loosen the axle nuts. Turn counterclockwise. Remove the nut and the speed washer behind it. Set both aside in your parts container.
Pull the wheel straight off the axle. Repeat for all four wheels. If your nuts are seized, apply steady pressure rather than jerking. Stripped axle threads are a bigger headache than a stubborn nut.
Step 3: Remove Bearings from Wheels
Each wheel holds two bearings, one on each side, with a spacer between them. You can remove bearings using the truck axle as a lever.
Slip the wheel onto the axle, but only halfway so it sits at an angle. The bearing should catch on the tip of the axle. Pry the wheel downward gently. The bearing will pop out.
Flip the wheel and repeat for the second bearing. Remove the spacer from inside the wheel and set it aside. Do this for all four wheels until you have eight bearings total.
If you have a bearing puller tool, use it. It makes this step faster and reduces the risk of damaging the bearing shields.
Step 4: Remove the Bearing Shields
You can’t clean the inside of a bearing without removing the shields. This is where many people bend or break things, so work carefully.
For rubber seals: Take a push pin or safety pin and slide the tip under the edge of the rubber seal where it meets the metal outer ring. Pry upward gently. The seal should pop out. Work around the edge if it resists rather than forcing one spot.
For metal shields: Metal shields are held in place by a thin wire clip called a circlip. Look for a small gap in the clip near the edge. Use the tip of a small flathead screwdriver to hook the clip and lift it out. Once the clip is removed, the metal shield lifts right off.
Some bearings have fixed metal shields that can’t be removed. If you can’t find a circlip, your shields are likely permanent. You can still soak and clean these bearings, but you won’t get them as clean as removable-shield types.
Place each removed shield on a clean paper towel. Keep rubber seals and metal shields separate so you know what goes where during reassembly.
Step 5: Soak the Bearings
Pour enough isopropyl alcohol into your glass jar to fully submerge all eight bearings. Drop them in. Seal the lid.
Let them soak for 5 to 10 minutes. Give the jar a gentle shake every couple of minutes. You’ll see the solvent turn brown or gray as old grease and dirt dissolve out.
Use 91% or 99% isopropyl alcohol for best results. The 70% concentration contains 30% water, which slows cleaning and leaves moisture behind. If 70% is all you have, it still works. Just dry the bearings extra thoroughly afterward.
Citrus degreaser is an effective alternative if you prefer not to use alcohol. Some skaters on Reddit report great results with citrus solvent followed by a quick rinse in alcohol to remove residue.
Step 6: Scrub and Rinse
After soaking, take each bearing out one at a time. Hold it with your thumb and spin it while brushing with an old toothbrush. The brush knocks loose dirt from the ball cage and raceway.
Work over the jar so the solvent catches the debris. Don’t let the bearings touch bare paper towels while wet and gritty, since that presses dirt back in.
If you want a deep clean, you can remove the ball cage and individual ball bearings. This is optional and risky. If you go this route, count your balls (usually 7 per bearing) and keep them with their original cage. Never mix balls between bearings, since they wear in uniquely.
For most skaters, soaking and brushing without full disassembly is plenty. Vandem Longboard Shop and most skate shops recommend the cage removal only for bearings that are heavily contaminated.
Once each bearing feels smooth when spun by hand, drop it back into fresh, clean solvent for a final rinse. A second jar with clean alcohol makes this easier.
Step 7: Dry the Bearings Completely
This step is non-negotiable. Any solvent or moisture left inside will dilute your lubricant and cause rust.
Set each bearing on a clean paper towel and spin it a few times to fling out excess liquid. Then choose one of these drying methods:
Canned air or compressor: Blow air into the bearing while spinning it. This is the fastest method and takes about 30 seconds per bearing. Hold the bearing firmly so it doesn’t fly across the room.
Hair dryer on cool: Never use heat. Hot air can warp the cage or damage the bearing. Use the cool setting and blow air into each bearing while spinning it by hand.
Air drying: Place bearings on a clean paper towel in a dust-free area. Wait at least 30 minutes. This is the slowest method but requires no tools.
The bearing should spin smoothly and silently when fully dry. If you hear any wet sound or feel drag, dry it longer.
Step 8: Lubricate the Bearings
Now that your bearings are clean and dry, they need fresh lubricant. Apply 2 to 3 drops of Bones Speed Cream or your chosen skate lubricant directly onto the balls inside each bearing.
Spin the bearing several times to distribute the lube evenly. You should feel it smooth out almost immediately. The bearing should spin freely with a slight resistance from the oil.
Don’t over-lubricate. Too much lube attracts dirt faster and flings out during skating, leaving a messy wheel. Two or three drops per bearing is all you need.
For grease-based lubricants, use an even smaller amount. Grease is thicker and takes longer to distribute, so spin the bearing for a good 30 seconds to spread it. Grease protects longer but rolls slower than oil. Choose oil for speed and grease for durability.
Step 9: Reassemble and Test
Snap the shields back onto each bearing. Rubber seals press in by hand. Make sure they sit flat with no gaps. Metal shields go back in with the circlip secured in its groove.
Insert the spacer back into the wheel if your setup uses them. Press one bearing into each side of the wheel. You should feel it seat firmly against the spacer.
Slide the wheel back onto the truck axle. Add the speed washer and tighten the axle nut. Don’t overtighten. The wheel should spin freely with a tiny bit of side-to-side play.
Spin each wheel hard and listen. Clean, lubricated bearings spin quietly and smoothly for a long time. If everything sounds and feels right, you’re ready to skate.
The WD-40 Warning
This deserves its own section because the WD-40 mistake is the number one bearing killer I see on Reddit skateboarding forums.
WD-40 is a solvent and water displacer, not a lubricant. When you spray it on skate bearings, it dissolves whatever lubricant remains inside and then evaporates. Your bearings will spin fast for a day or two. Then they run completely dry.
Dry bearings generate excess heat and friction. They wear out in weeks instead of months. In some cases, I’ve seen melted bearing cages and permanently seized bearings from repeated WD-40 use.
If you’ve already used WD-40, don’t panic. Clean the bearings thoroughly with isopropyl alcohol following the steps above, dry them completely, and apply proper skate lubricant. Your bearings can recover if the damage isn’t too far gone.
The confusion comes from the name. WD stands for “Water Displacement,” and the product was designed to prevent corrosion on missile parts in the 1950s. It was never intended as a bearing lubricant. Use dedicated skate bearing lubricant instead.
How Often Should You Clean Skate Bearings?
Cleaning frequency depends on how and where you skate.
Daily or frequent skaters: Clean every 2 to 3 weeks. If you skate every day in a park or on rough streets, dirt builds up fast.
Casual skaters: Clean every 2 to 3 months. A few sessions a week in clean conditions keeps bearings relatively debris-free.
Wet conditions: Clean immediately after skating in rain or on wet surfaces. Don’t wait. Water inside bearings starts the rust process within 24 to 48 hours.
Dusty or sandy environments: Clean every few sessions. Fine grit acts like sandpaper inside the bearing raceway and accelerates wear dramatically.
Indoor skating: Roller rink skaters can go longer between cleanings since indoor surfaces are clean. Check every 3 to 4 months.
The simplest rule: if your bearings sound noisy or feel slow, clean them. Your ears and your feet will tell you before any schedule does.
Troubleshooting Common Issues
Bearings still squeak after cleaning: You probably didn’t use enough lubricant, or the bearing dried out before you applied lube. Add 2 more drops and spin thoroughly. If squeaking persists, the bearing may be damaged and need replacement.
Bearings feel gritty after cleaning: Residual dirt is still inside. Soak them again in fresh solvent and scrub more aggressively. Sometimes a single soak isn’t enough for heavily contaminated bearings.
Rust on bearing surfaces: Light surface rust can be removed during the soak and scrub process. Deep rust that pits the metal means the bearing is permanently damaged. Replace it.
Bent shield during removal: Rubber seals can often be gently reshaped with your fingers. If a metal shield is bent, it won’t sit flat and will let dirt in. Replace the shield or the entire bearing.
Lost a ball bearing during disassembly: Unfortunately, that bearing is done. Mixing in a different-sized ball will cause uneven loading and rapid wear. Replace the whole bearing set for that wheel.
Bearings seized completely: Soak seized bearings in solvent overnight. If they don’t free up after soaking and working them by hand, the internal damage is too severe. Replace them.
Frequently Asked Questions
What is the best thing to clean skate bearings with?
Isopropyl alcohol at 91% or 99% concentration is the best solvent for cleaning skate bearings. It dissolves old grease and dirt effectively, evaporates quickly, and leaves no residue. Citrus degreaser is a strong alternative. After cleaning, use a dedicated skate bearing lubricant like Bones Speed Cream.
Can I spray WD-40 on my skate bearings?
No. WD-40 is a solvent and water displacer, not a lubricant. It strips existing lubricant from your bearings and then evaporates, leaving them completely dry. This causes rapid wear, heat buildup, and eventual seizure. Use dedicated skate bearing lubricant instead of WD-40.
Can I use 70% isopropyl alcohol to clean bearings?
Yes, 70% isopropyl alcohol works for cleaning bearings, but it contains 30% water which slows the process and leaves moisture behind. Always dry bearings thoroughly after using 70% alcohol. For best results, use 91% or 99% isopropyl alcohol, which cleans faster and evaporates with minimal residue.
Can I use Windex to clean my skateboard bearings?
Windex is not recommended for cleaning skateboard bearings. It contains water and ammonia, which can promote rust on steel bearings. Stick to isopropyl alcohol or a dedicated citrus degreaser for safe, effective cleaning.
Can I use Dawn dish soap to clean skateboard bearings?
Dawn dish soap can remove grease from bearings, but it requires significant rinsing with water, which introduces moisture and rust risk. If you use dish soap, rinse with isopropyl alcohol afterward to displace water, then dry completely. Isopropyl alcohol alone is a better choice because it cleans effectively without the water problem.
How do you know when skateboard bearings need cleaning?
Clean your skateboard bearings when they make grinding or squeaking noises, spin slowly when tested by hand (stopping within a few seconds), feel sluggish during skating, show visible dirt around the shields, or have been exposed to water. Regular skaters should clean every 2 to 3 weeks, while casual skaters can go 2 to 3 months between cleanings.
Conclusion
Cleaning your bearings is the single most impactful maintenance task for keeping your setup fast, quiet, and smooth. Now that you know how to clean skate bearings step by step, you can extend the life of your bearings by months and save money on replacements.
The key steps to remember: remove shields, soak in 91% or higher isopropyl alcohol, scrub and rinse, dry completely, lubricate with 2 to 3 drops of skate lube, and reassemble. Skip the WD-40 entirely.
Make bearing cleaning part of your regular skate routine. Your bearings, your wallet, and your ride quality will all thank you. Clean bearings make every push feel effortless and every session more fun.