
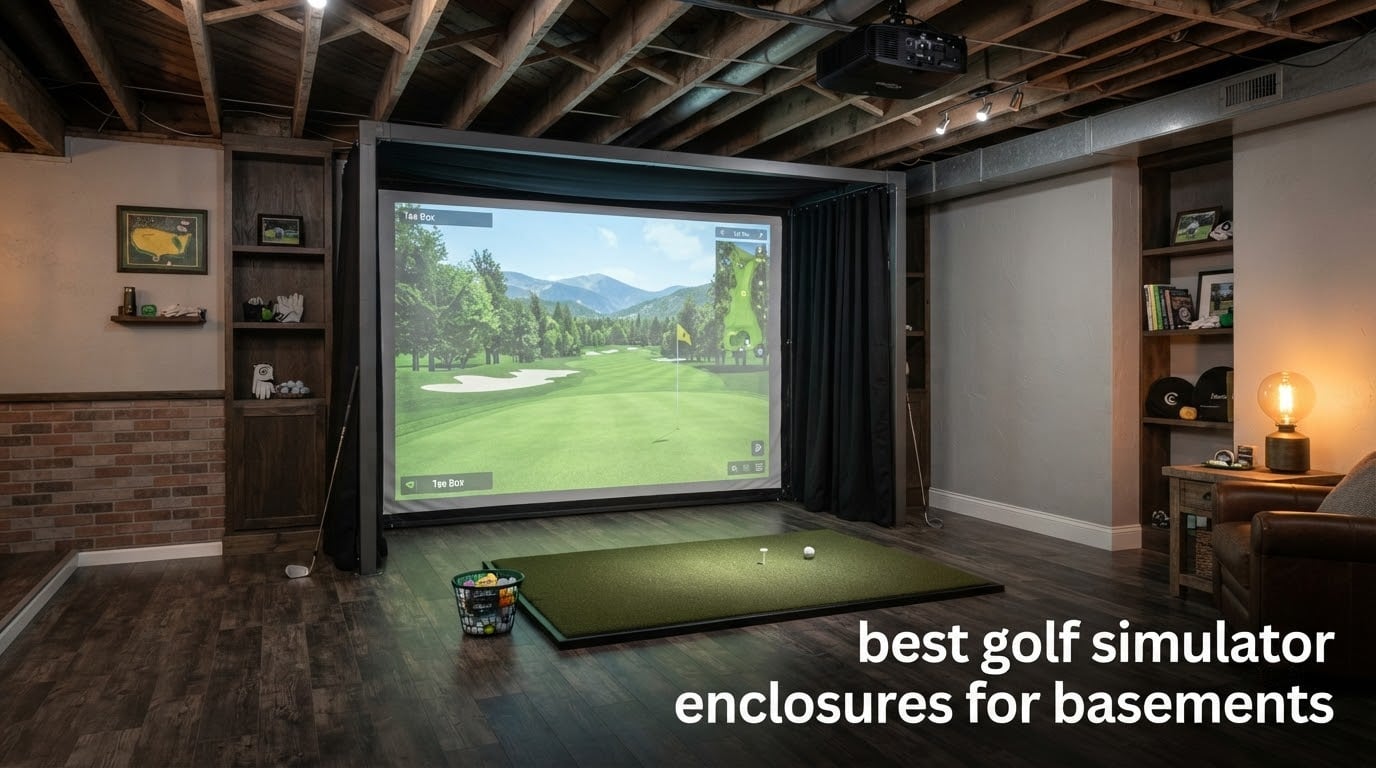
Yes, you can put a golf simulator in a basement, and the enclosure is the piece that decides whether the room works. A basement simulator enclosure is a light-blocking cage built around a ball-stopping impact screen, usually on an alloy steel or PVC frame, with side nets and an enclosed top to catch what the screen misses. In a below-grade room it does three jobs at once: it contains the ball, it damps impact noise before it travels through the foundation walls, and it darkens the space enough for a projected course to look convincing.
Most basement owners we looked at are measuring a real room right now, and the constraint is almost never price. It is ceiling height, depth, a duct run they cannot move, and a family upstairs who can hear every mishit. That is why the picks below are filtered on basement fit first and features second. We scored every enclosure on its footprint against a low ceiling, its light-blocking coverage, its ricochet control, and how much noise it keeps from the rest of the house.
We compared 10 enclosures across three size classes, from a 10 x 8 ft steel cage to a fold-up wall unit that disappears when the room has to become a gym again. If your ceiling is under about 8 ft 6 in, skip straight to the fit checker below before you fall for a footprint that will not clear your driver. If you are still deciding whether you need a full cage or just a net, our guide to the best golf nets covers the cheaper end of the spectrum.
Table of Contents
Basement Fit Checker: Measure Before You Buy
Three numbers decide almost everything: ceiling height, room depth, and room width. Measure them yourself before you read a single product listing, because enclosure footprints are quoted inconsistently and the listed size is rarely the size you need to swing in.
1. Ceiling height bands. Under 7 ft 6 in: do not attempt a projected simulator bay. Between 7 ft 6 in and 8 ft 6 in: a 5 ft tall cage fits comfortably and irons and wedges are safe, but a full driver swing at the ceiling is genuinely marginal. Between 8 ft 6 in and 9 ft 6 in: this is the sweet spot for most basement builders and where most of our picks assume you are. At 9 ft 6 in and above: you have room for an enclosed top net and a ceiling-mounted projector throw. Ten feet and up is comfortable for a driver, and owners with a finished room at 10 ft ceilings, just over 12 ft wide and roughly 20 ft deep from the back wall to the front edge of the mat describe it as a comfortable working bay.
2. Depth. The mat needs about 4 ft in front of it, and you want another 6 to 8 ft between the front of the mat and the screen face for launch monitor reading and for the ball to finish its flight. That means a 10 ft deep hitting area is a realistic minimum and 12 ft gives you a proper gap.
3. Width. Ten feet is the standard footprint in this category and it is the width that lets you set up left or right handed. Fourteen feet is the first size where you can stand inside the bay and play around the screen. Note that a couple of the kits use every inch of their listed width, so a nominal 10 ft frame can need trimming to fit a 9 ft 10 in wall.
4. Obstructions. Walk the ceiling and count joists, beams, duct runs, and support columns. Anything crossing the swing window forces you either to shorten the enclosure depth or to accept a framed top that sits below the obstruction. Below-grade rooms also collect moisture, so pair your enclosure choice with a flooring decision, and our waterproof vinyl plank flooring guide for basements covers what actually holds up down there.
Top 3 Picks for Basement Golf Simulator Enclosures for October 2026
Our three strongest basement fits, with the reasoning behind each one. The full ranking and the other seven follow below.

GoSports Enclosure with HD…
- True blackout dyed panels
- Multi-layer impact screen
- Foam-padded frame
- Three size options

ANYTHING SPORTS Complete…
- Projector mount included
- 4K-ready impact screen
- Side shank nets
- Tool-free setup

Haokelball 10x8FT Simulator…
- Overhead netting
- Anti-sag top rod
- 5-ply netting
- Solid square base
All 10 Enclosures at a Glance for October 2026
Every enclosure in this roundup, with the specs that decide whether it fits your basement. All ten ship as a cage only, so you still need a launch monitor, a projector, a mat, and software.
| Product | Specs | Action |
|---|---|---|
| GoSports Golf Simulator Enclosure Nets |
|
Check Latest Price |
| ANYTHING SPORTS Complete Golf Simulator Enclosure Package |
|
Check Latest Price |
| Haokelball Golf Practice Net 10x8FT Simulator Cage |
|
Check Latest Price |
 HOMEVOL 2 in 1 Golf Simulator Net System HOMEVOL 2 in 1 Golf Simulator Net System |
|
Check Latest Price |
 Durbles Golf Simulator Enclosure Kit Durbles Golf Simulator Enclosure Kit |
|
Check Latest Price |
 Diandian Golf Simulator Enclosure Kit Diandian Golf Simulator Enclosure Kit |
|
Check Latest Price |
 ANYTHING SPORTS Fold Up Golf Simulator Enclosure ANYTHING SPORTS Fold Up Golf Simulator Enclosure |
|
Check Latest Price |
 Sturdum Golf Simulator Enclosure Kit Sturdum Golf Simulator Enclosure Kit |
|
Check Latest Price |
 River Hill Golf Simulator Enclosure River Hill Golf Simulator Enclosure |
|
Check Latest Price |
 ZivPlay Golf Simulator Enclosure ZivPlay Golf Simulator Enclosure |
|
Check Latest Price |
1. GoSports Golf Simulator Enclosure Nets – Best Overall for Basements
GoSports 10 x 8 ft Golf Simulator Enclosure Net – Complete Set with Frame and HD Impact Screen Kit
10 x 8 ft footprint at 5 ft height
79 lb alloy steel frame
True blackout panels
Three size options
Pros
- True blackout fabric noticeably improves projected contrast
- Absorbs very high ball speeds without tearing
- About a one-hour solo assembly with numbered poles
- Three footprint options to match basement widths
Cons
- No hanging baffles to kill wedge rebound off the screen
- Thin frame padding means some owners add their own foam
- Shank nets sold separately at this tier
- Top cover can droop on the 14 ft length until tightened
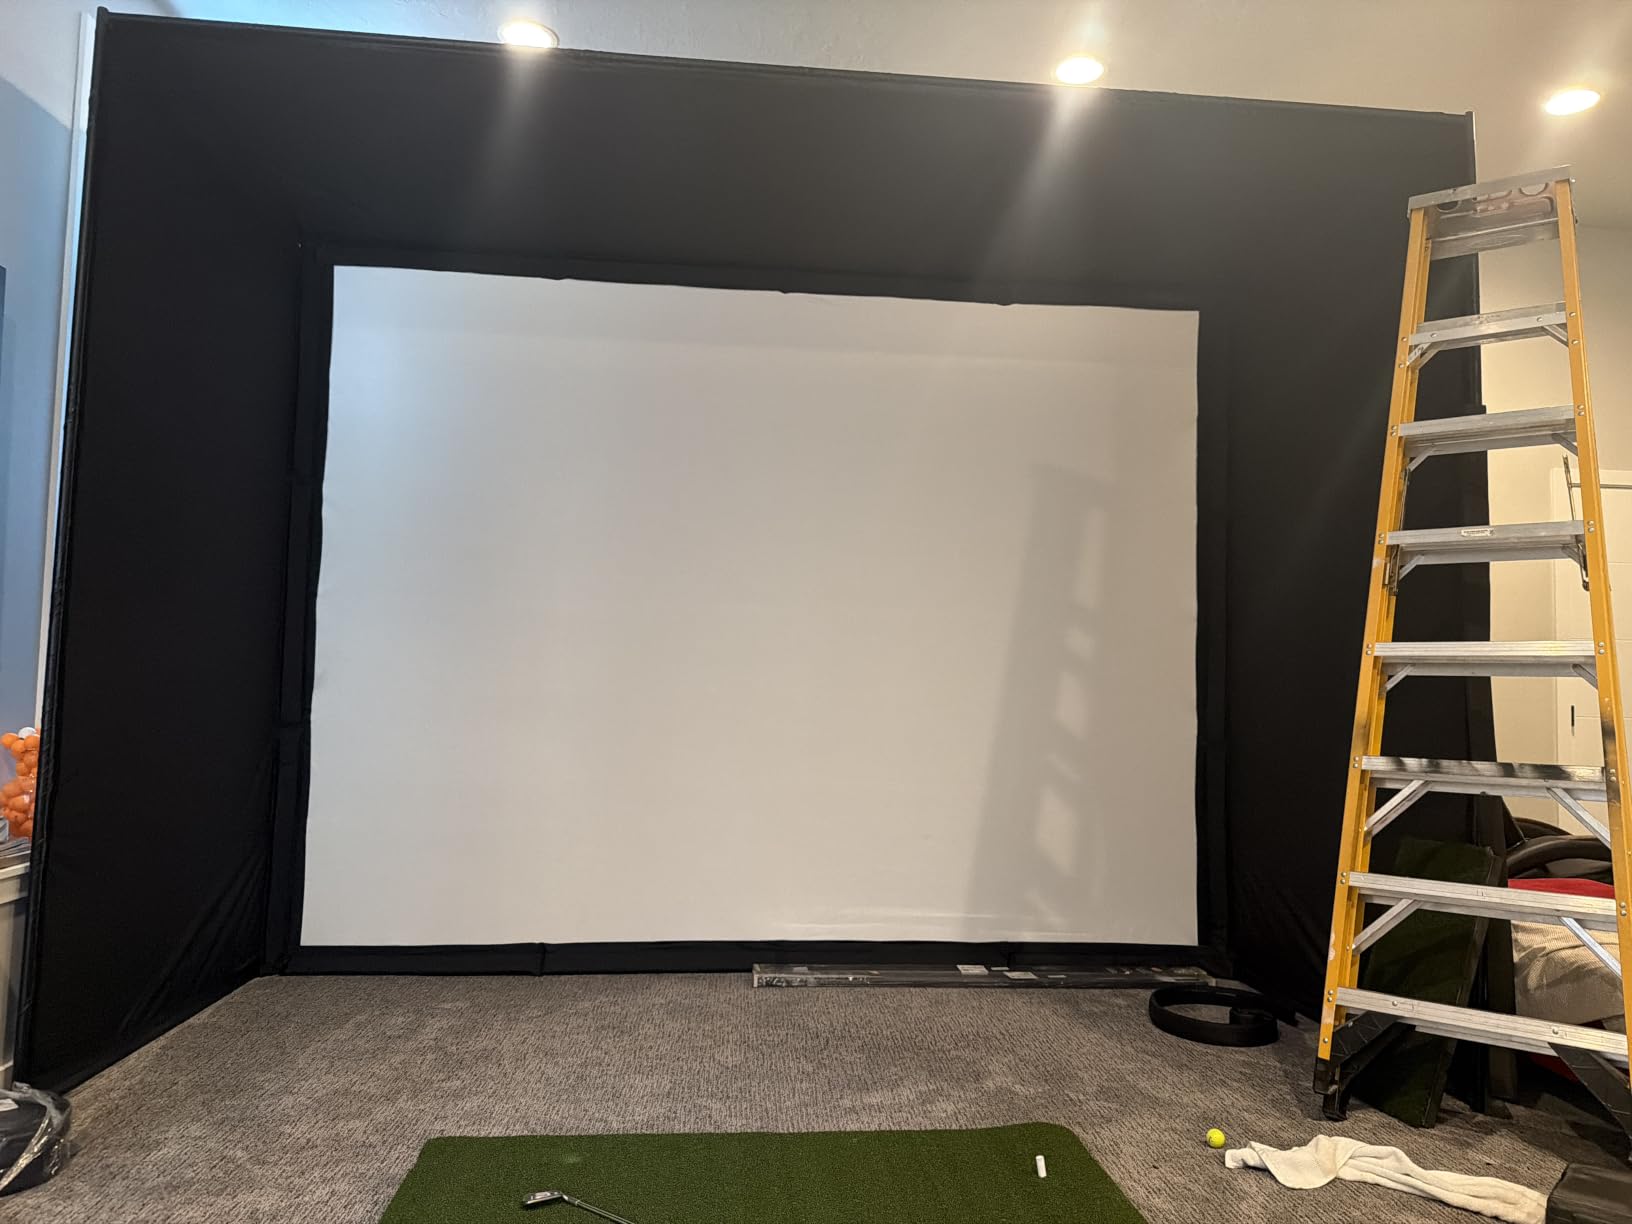
This is the enclosure I would put in a finished basement with a standard 8 ft 6 in to 9 ft ceiling, and it earns the top slot on balance rather than on any one spectacular spec. The panels use a dyeing process that produces a genuine blackout rather than a dark grey weave, and that single detail is what makes a short-throw projector look good in a room with no windows. The impact screen is multi-layer commercial grade, and owners report it swallowing fast ball speeds without tearing after thousands of shots.
Assembly is genuinely quick. Numbered poles and quick-installation hardware get most people from an empty basement corner to a swinging bay in roughly an hour with nothing more exotic than a screwdriver. The frame reads as slim and slightly flexible on its own, but once the fabric and screen go on it firms up into something that stays planted during a full swing.
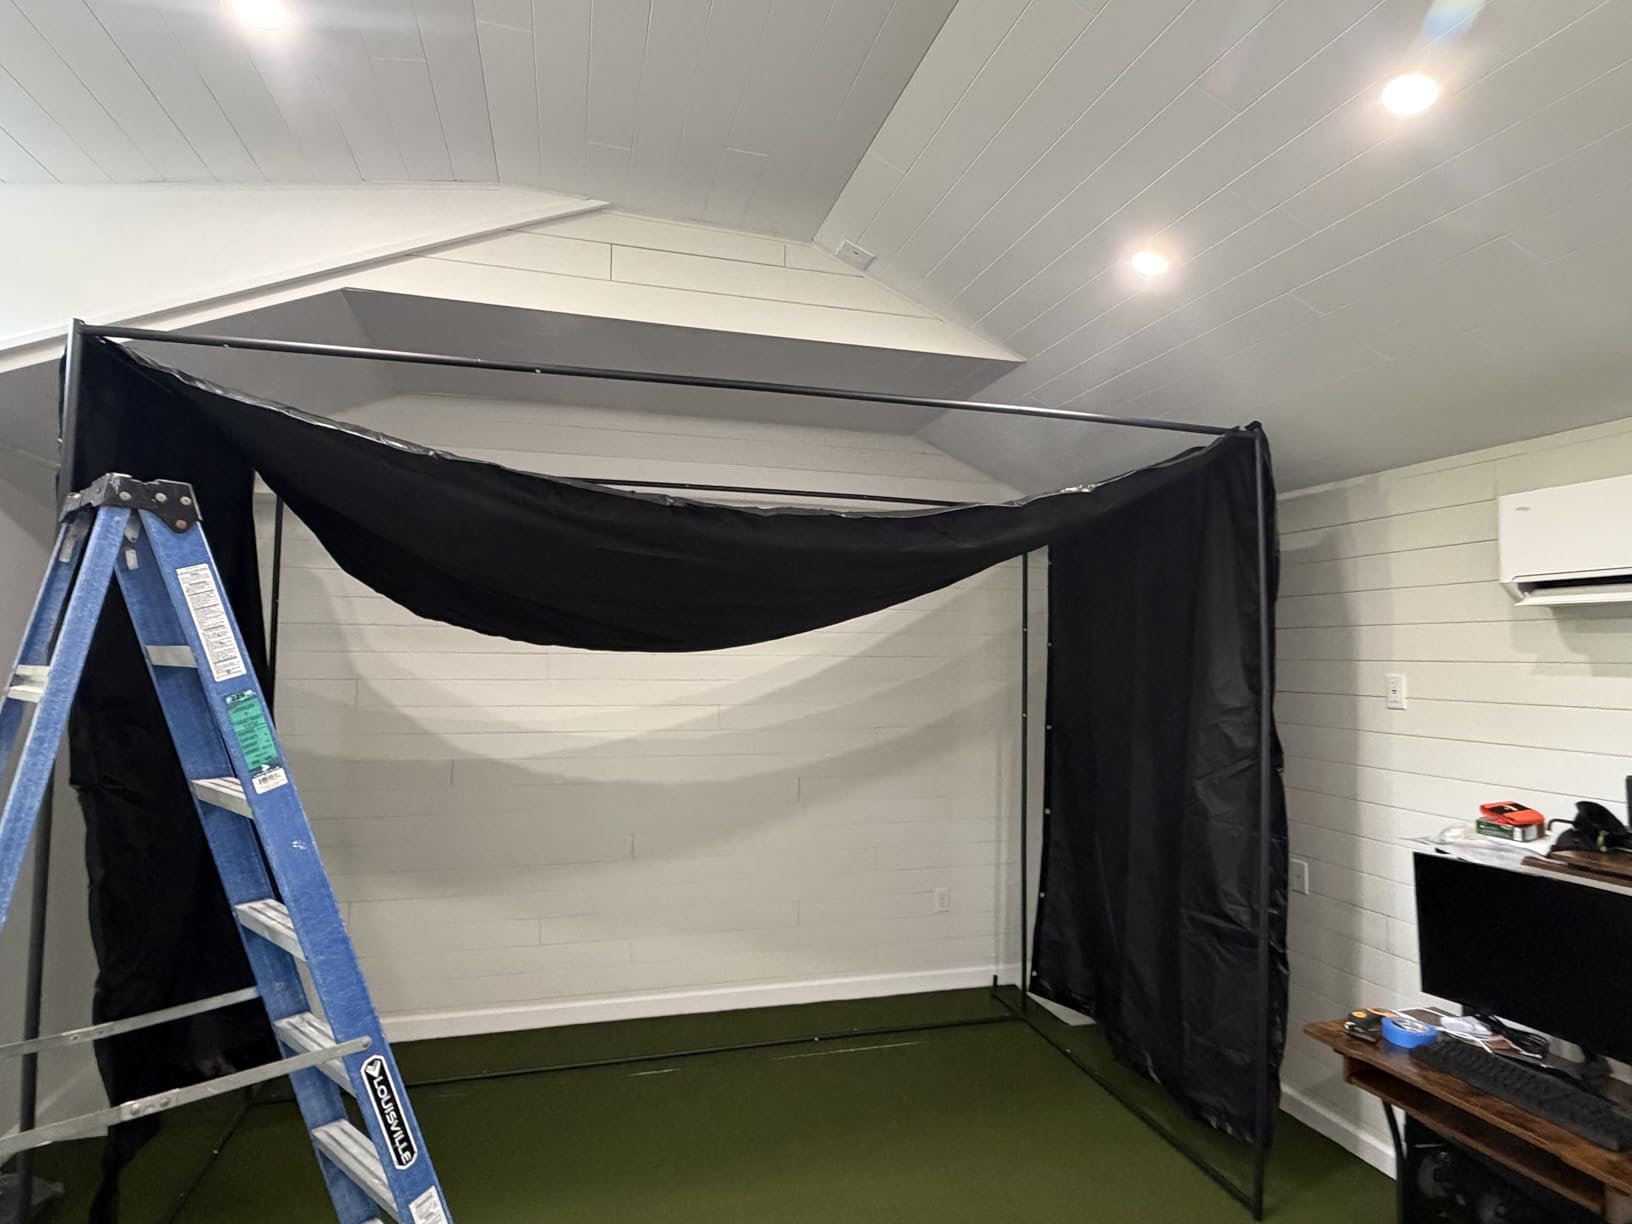
The honest weakness is rebound. There are no hanging baffles in front of the screen, which is exactly the feature that the higher-end permanent bays include to swallow a high wedge coming back off the face. The included frame padding is thin enough that plenty of owners add their own 2 inch foam, and the eyelets along the top of the cover can tear under a hard wedge. None of that is structural failure, but it is the thing you feel in a tight basement.
Re-tightening is part of the ownership story. The fabric relaxes over the first few months, and on the 14 ft length the top cover visibly droops until it is tensioned again. Budget twenty minutes twice a year to walk the bungee lines. Our guide to golf shoes for indoor use matters here too, because a hard flat sole on a mat is what drives balls into that top cover in the first place.
Why it suits a typical 8 ft 6 in basement
At 5 ft of enclosure height with a 10 x 8 ft footprint, it leaves you roughly 3 ft 6 in of headroom over the top of the frame, which is enough to stand and swing a driver without a ceiling collision. The 12 x 9 ft option fits a room that is wider than it is deep, and the 14 x 8 ft option suits a long narrow room. The footprint is the standard one, so it slots between duct runs without any cutting.
Where it falls short
It will not fix a 7 ft 6 in ceiling, and the lack of baffles means a hard wedge comes back at you more often than with a fully padded kit. Shank nets are not in the box, which is a real gap in a room where the nearest wall is a foot and a half from the frame.
2. ANYTHING SPORTS Complete Golf Simulator Enclosure Package – Best Value
Complete Golf Simulator Enclosure Package – 4K-Ready Impact Screen with Blackout Cage, Projector Mount, Frame Poles, Side Shank Nets | Indoor & Garage Practice | Easy Setup | 12-Month Warranty
8 ft 4 in square footprint at 5 ft
Metal frame with blackout cage
Projector mount included
12-month warranty
Pros
- Projector mount and all poles included in one box
- Blackout cage fabric cuts light bleed
- Square 8 ft 4 in footprint fits narrow basement bays
- Tool-free assembly with no drilling
- 12-month no-questions-asked warranty
Cons
- Turf
- projector and simulator hardware are not included
- Compact size options feel tight for full driver swings
- Written fit guidance is thin and marketing copy repeats across sizes
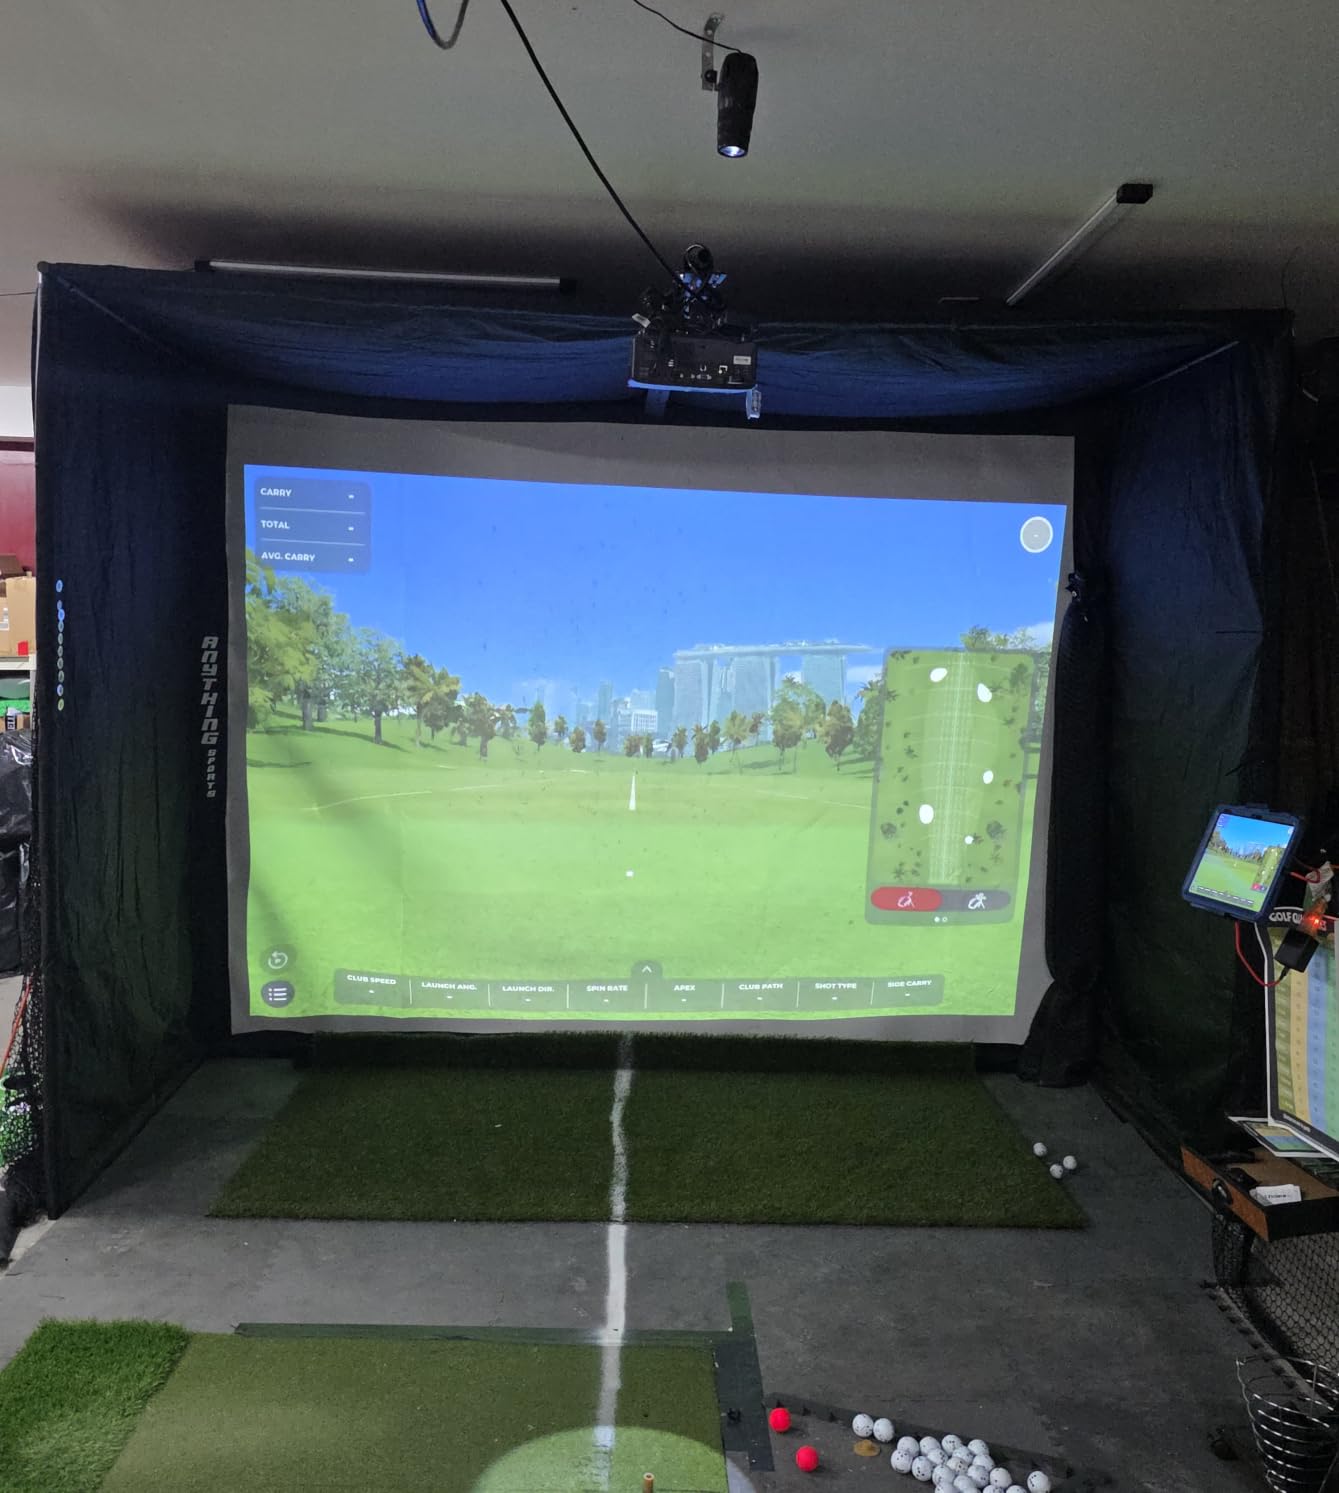
The reason this package sits so high is the projector mount. Nearly every cage in this roundup is sold as a bare enclosure, and the mount is the add-on that quietly inflates the real cost of a starter room. Here it is in the box along with poles, joints, and hardware, which removes the most common first-week purchase.
The impact screen is 4K-ready and deliberately cut about an inch under the frame dimension, which tightens the coverage and keeps light bleed off the picture edges. That blacked-out edge is what separates a course that looks like a video from a course that looks like a window. Side shank nets handle off-line shots, and the whole thing goes together without a drill.
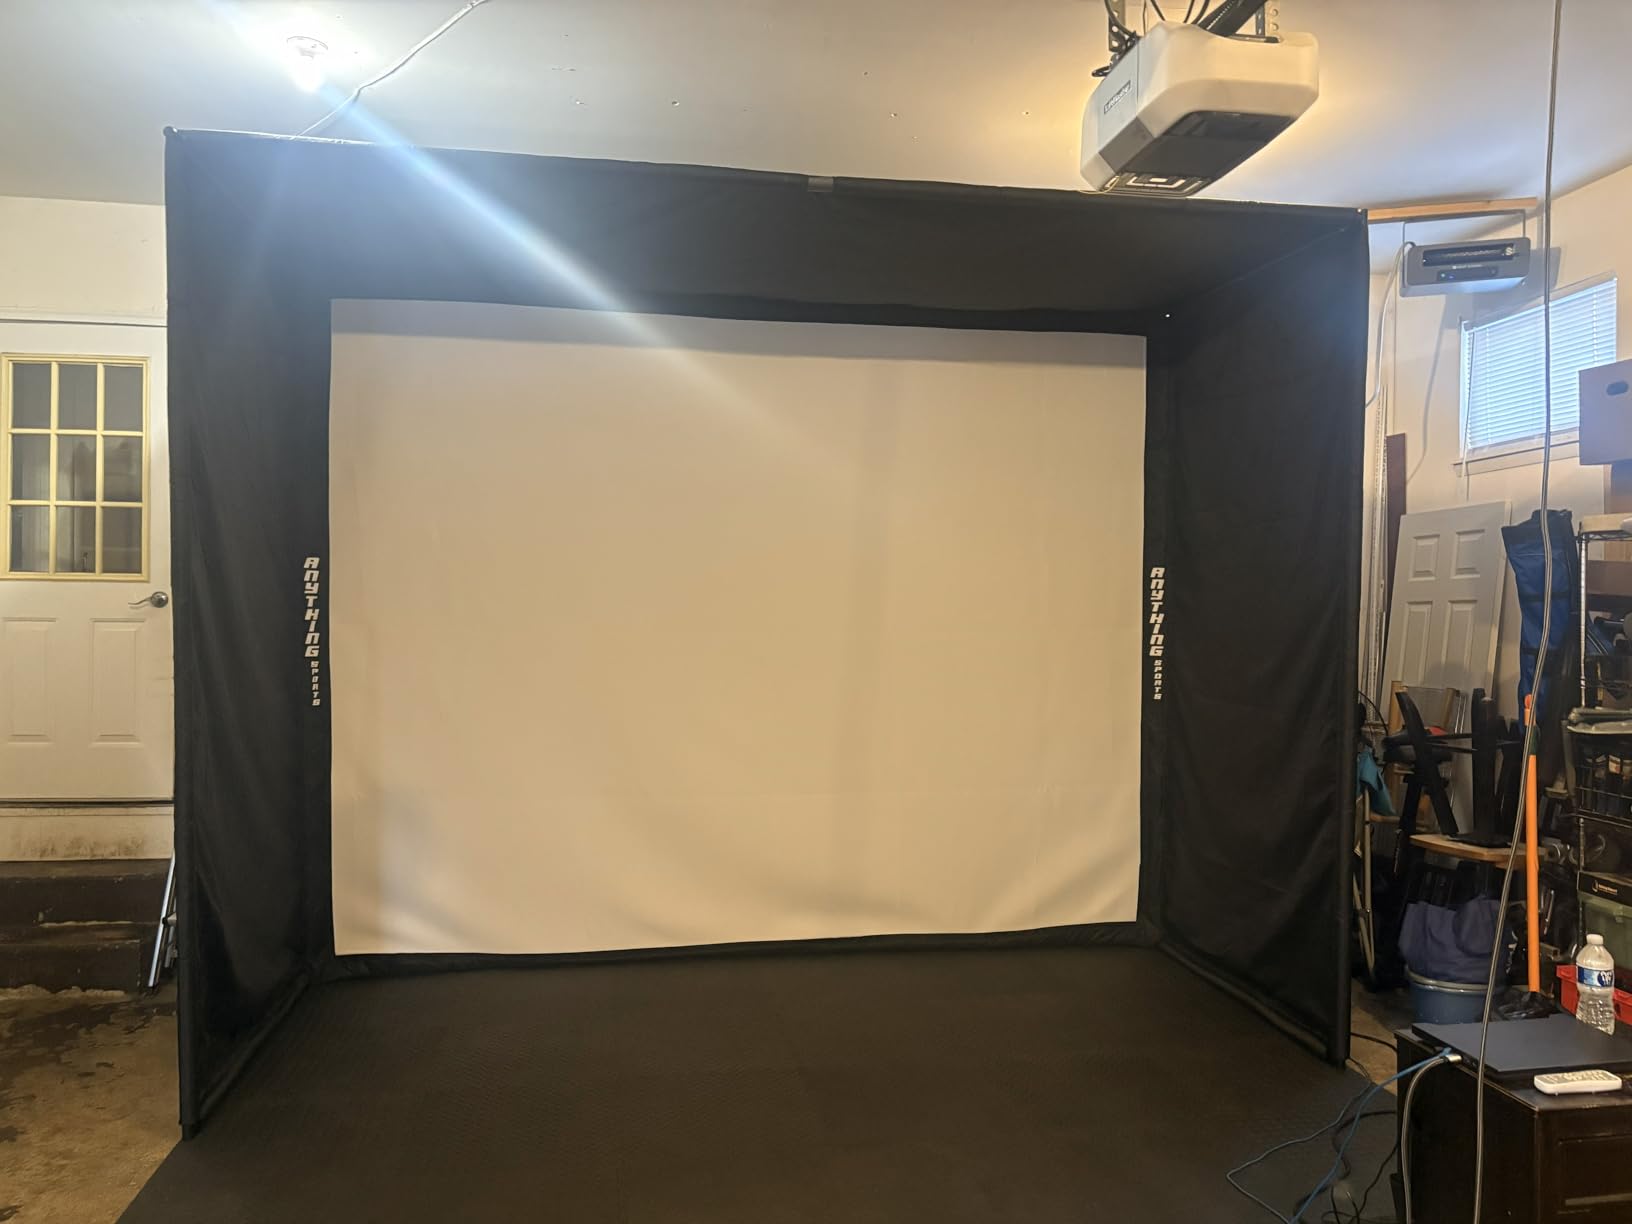
Be realistic about the sizing. The 8 ft 4 in by 8 ft 4 in footprint is genuinely the most basement-friendly square in this group, and there are larger 11 x 8 ft 4 in and 12 x 9 ft 4 in options. But the small square gives you a 4 ft mat and a shorter gap to the screen, so a driver swing feels more cramped than the 10 x 8 ft cages. It is built for iron and wedge practice with the occasional driver, not for a player who swings in the corner of the stance.
The listing is also honest in a way that catches buyers out. Turf, projector, and the simulator hardware itself are all pictured but sold separately, and the marketing copy repeats the same size paragraph across the variants, so the written fit guidance is thinner than the spec count suggests. We are calling that out because it is the single most common support question for this class of kit.
Why it suits a small or oddly shaped basement
A square footprint is the answer when your usable floor is roughly equal in width and depth, which is common where a support column or a stairwell eats one wall. At 5 ft tall it clears an 8 ft 6 in ceiling easily, and the included mount means you can put the projector on the frame instead of hunting for joist-mounted ceiling clearance. The fabric also packs reasonably well if the room does double duty in summer.
Where it falls short
It is a cage, not a studio. There is no top net listed for high pop-up shots, so keep ceiling height on your side. And at the 8 ft 4 in size, anyone taller than about 5 ft 9 in will feel the driver constrained.
3. Haokelball Golf Practice Net and Simulator Cage – Top Rated
Haokelball Golf Simulator Cage, 10x8x6FT Net with Impact Screen for Home
10 x 8 x 6 ft full enclosure
5-ply netting on alloy steel
Solid square base
Top support rod
Pros
- Highest rating in the roundup at 4.6
- Top support rod removes the sag that causes shanks
- Solid square base adds real structural rigidity
- Overhead net catches high pop-up shots near low ceilings
- Ball retriever and target included
Cons
- Ball capture is imperfect and balls can escape past the netting
- Short irons hit from under about 10 ft can work through the net
- Frame may need shortening in a tight room
- First assembly takes longer than the quick-build kits suggest
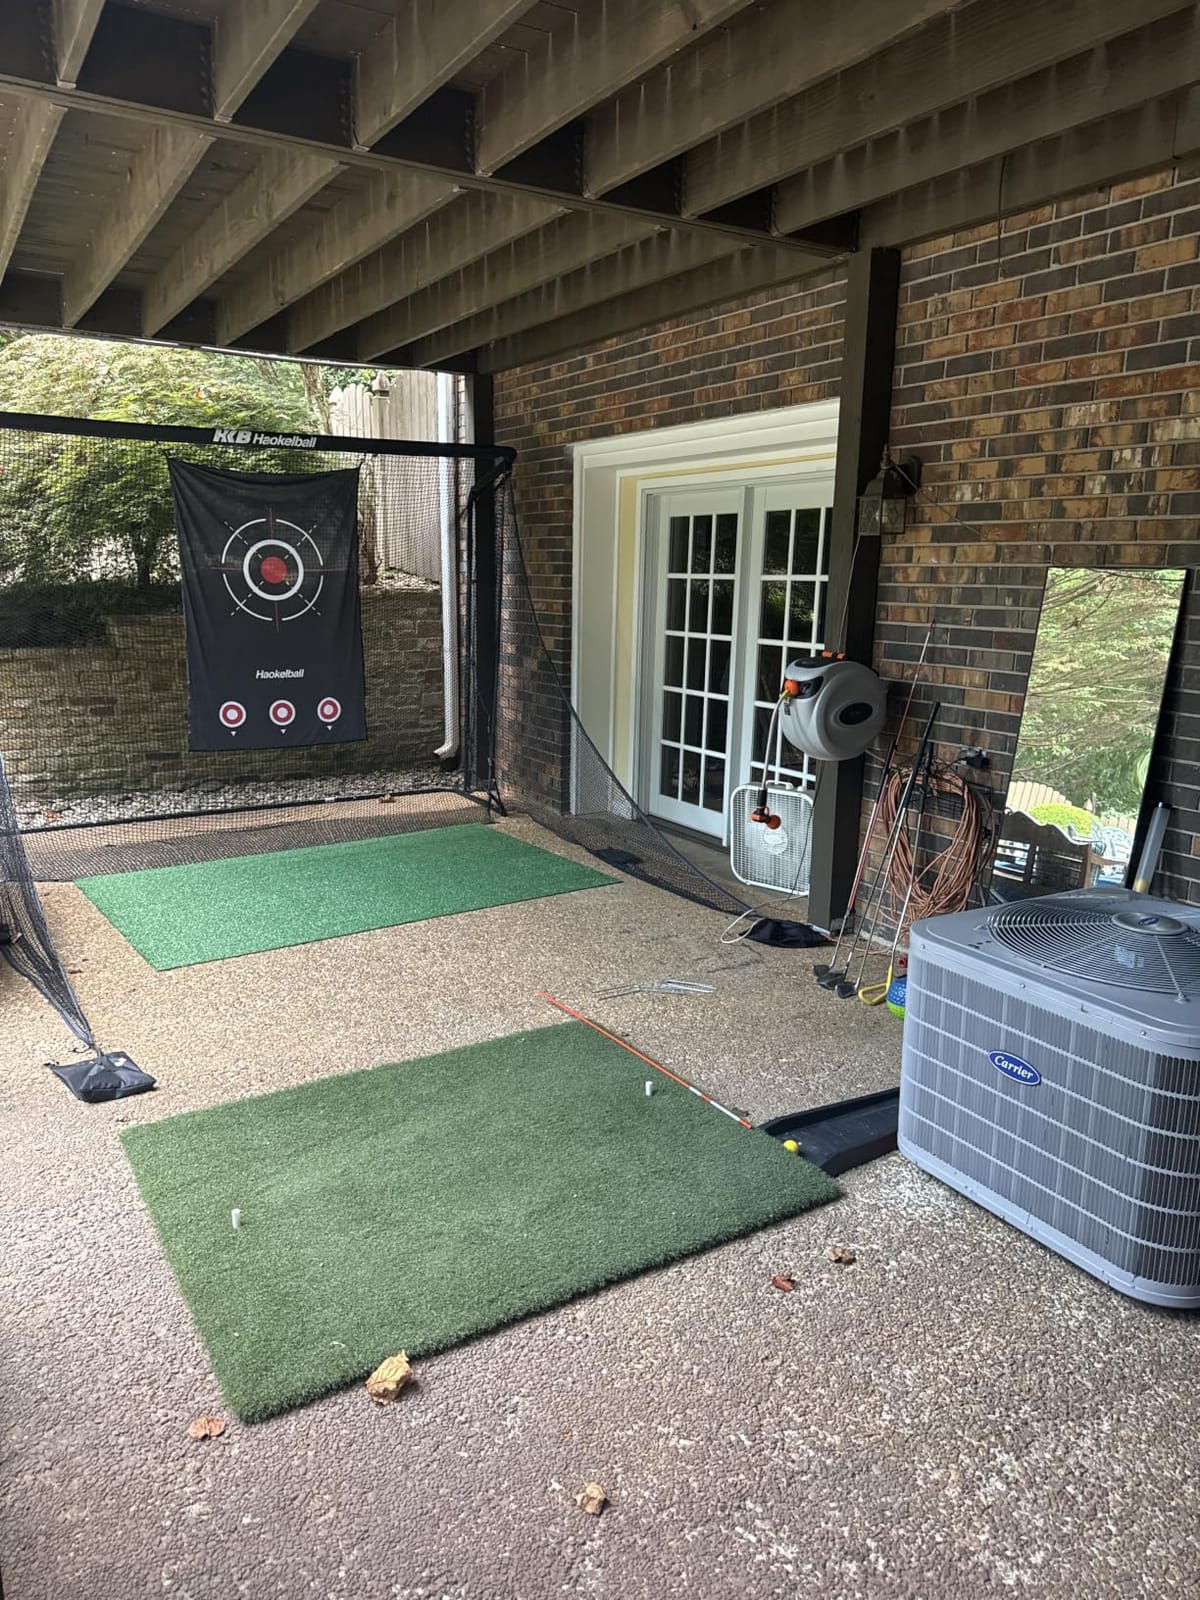
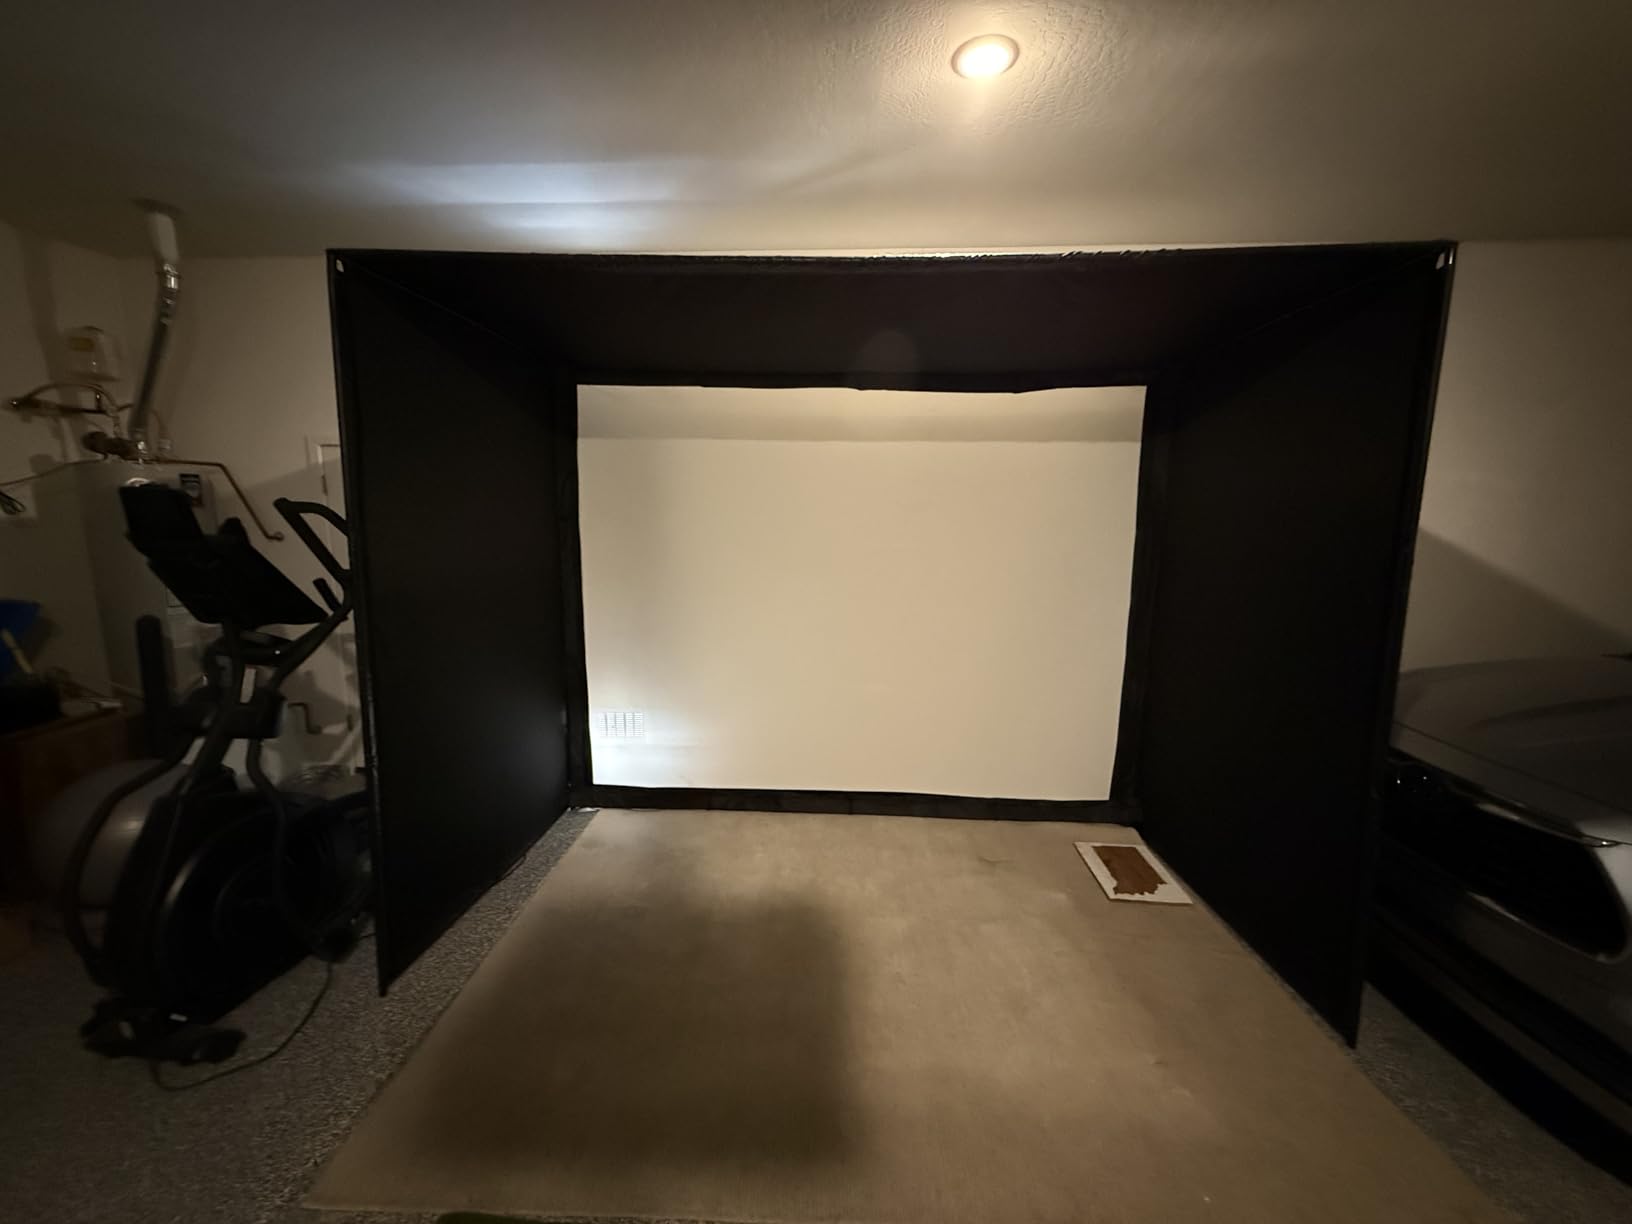
At 6 ft of height this is the tallest cage in the group, and that is the whole argument for it in a basement. Where most 10 x 8 ft enclosures stop at 5 ft and leave a bare ceiling above, this one has a real overhead net and an enclosed top, so a mishit that pops straight up meets netting instead of your joists. For a 7 ft 6 in to 8 ft 6 in ceiling, that difference is the difference between confident and anxious.
The second thing owners consistently praise is the top support rod. It is a reinforced rod across the top with multiple tension points, and it exists specifically to kill the dip in the middle of the screen. That dip is the classic cause of a shank: the ball lands on slack fabric and squirts off toward an adjacent wall. Several reviewers describe it as the first kit they owned that fixed the sag problem rather than explaining it away.
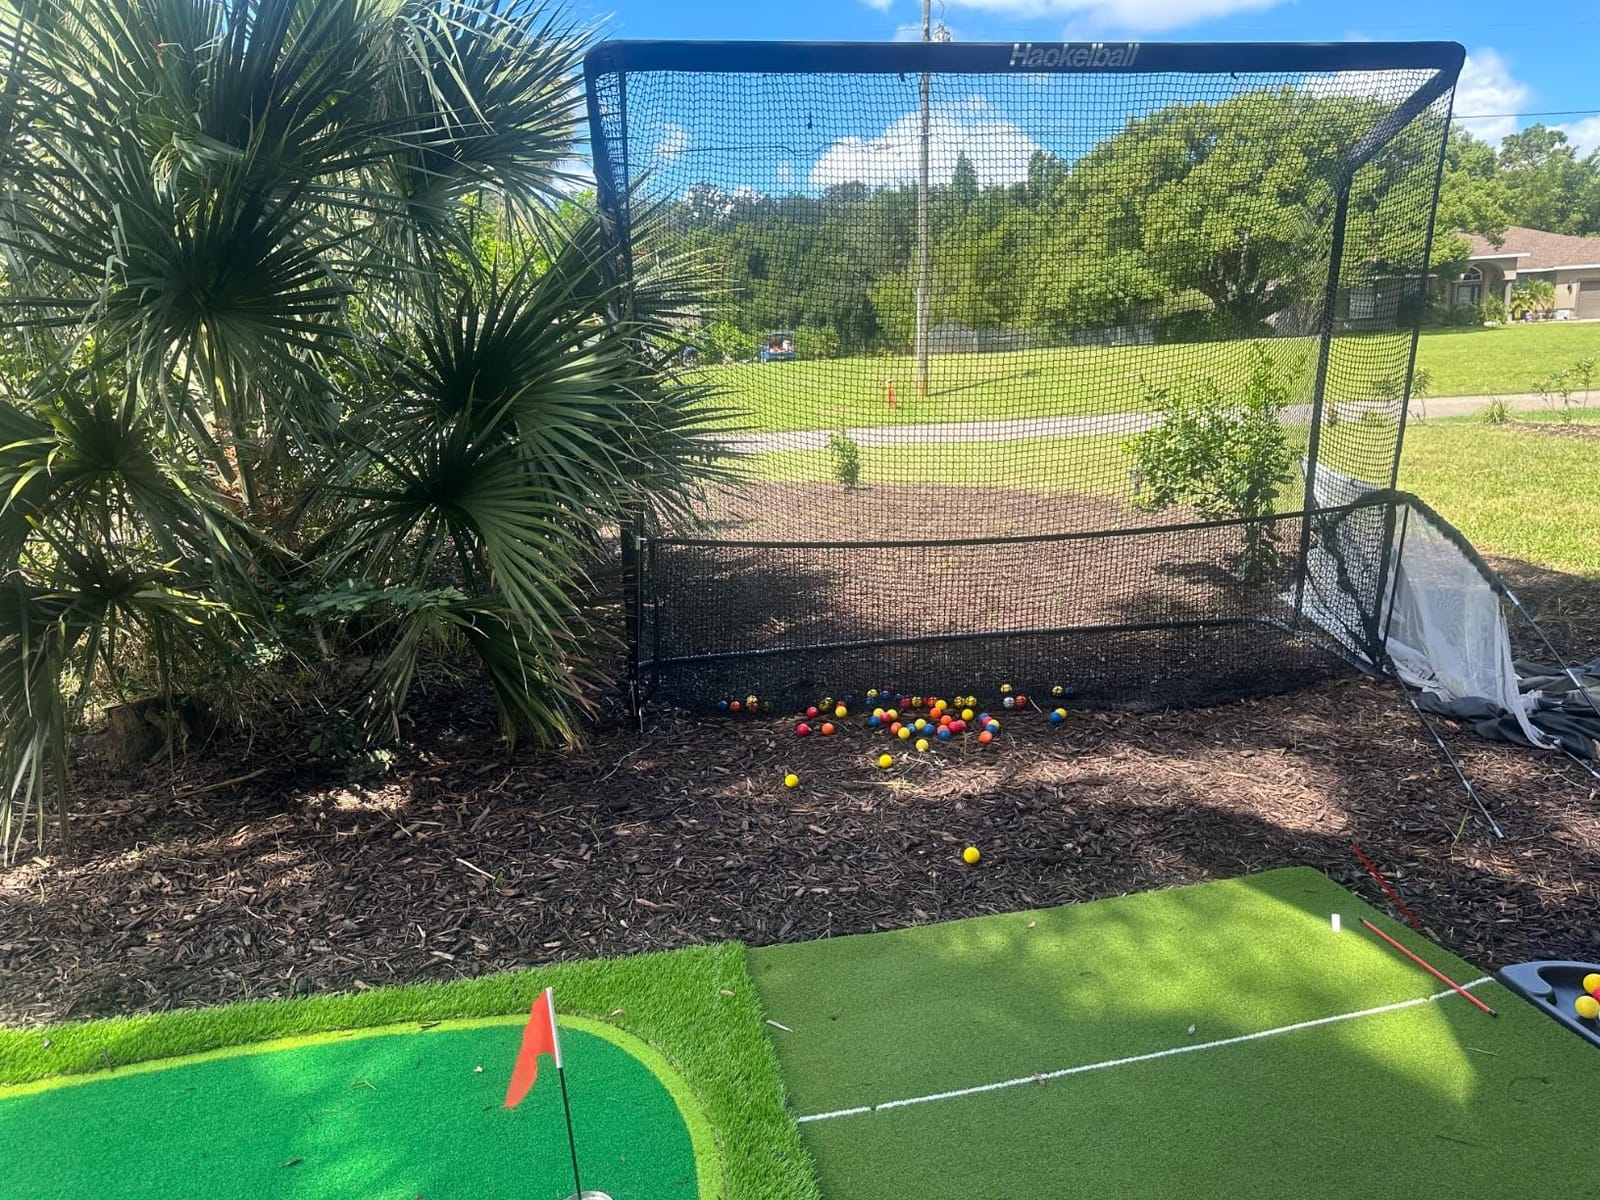
Containment is the tradeoff. The netting is 5-ply, but it is netting, not solid fabric, so a ball can still find its way out after an impact. Owners with a carpeted wall behind the cage will be fine; owners with a bare concrete foundation wall 3 ft behind the frame will not. Short irons struck from closer than roughly 10 ft can work through or past the net entirely, so practice your chip shots from a proper distance.
The solid square base is a real upgrade over two-pole practice nets, and it is why this cage stays planted during a full swing. The base also means the frame is rigid enough that you may need to trim a pole to fit a tight room. Replacement nets are sold separately, which is worth knowing before you commit to a long-term basement install.
Why it suits a low-ceiling basement
Six feet of cage height in a 7 ft 6 in ceiling leaves you a usable margin, and the overhead net means a high wedge has somewhere to go. If your basement is the 8 ft 6 in anxious zone that comes up constantly in owner discussions, this is the enclosure that removes the worry rather than asking you to trust your swing. It also doubles as an outdoor or under-deck setup if you ever want it.
Where it falls short
There is no blackout fabric shell at this tier, so projected contrast is functional rather than cinematic. And the escape rate is real: if your nearest wall is drywall rather than concrete, put a floor mat well beyond the footprint before you start hitting.
4. HOMEVOL 2 in 1 Golf Simulator Net System – Best for Small Basement Bays
2 in 1 Golf Simulator Net System, 10 x 8ft Golf Practice Net Hitting Net with 4K-Ready Impact Screen, Target Cloth, Foam-Padded Steel Frame Cage, Hitting Mat and Balls for Indoor and Outdoor Practice
10 x 8 ft foam-padded steel frame
Switchable target cloth and impact screen
Two-year warranty
Pros
- Switches between a printed target cloth and an impact screen
- Mat
- balls
- stakes and carry bag all included
- Foam padding dampens rebound and impact noise
- Top and side nets protect nearby walls and windows
Cons
- No full blackout cover so basement light control is limited
- No projector mount included
- Simulator projector and launch monitor still have to be bought separately
The switchable design is the clever part. A printed multi-hole target cloth flips over or gives way to a 4K-ready impact screen, so the same cage works as a chipping and putting game station in the morning and a projector bay in the evening. In a basement that has to serve as a play room as well as a sim room, that dual mode is worth more than another foot of width.
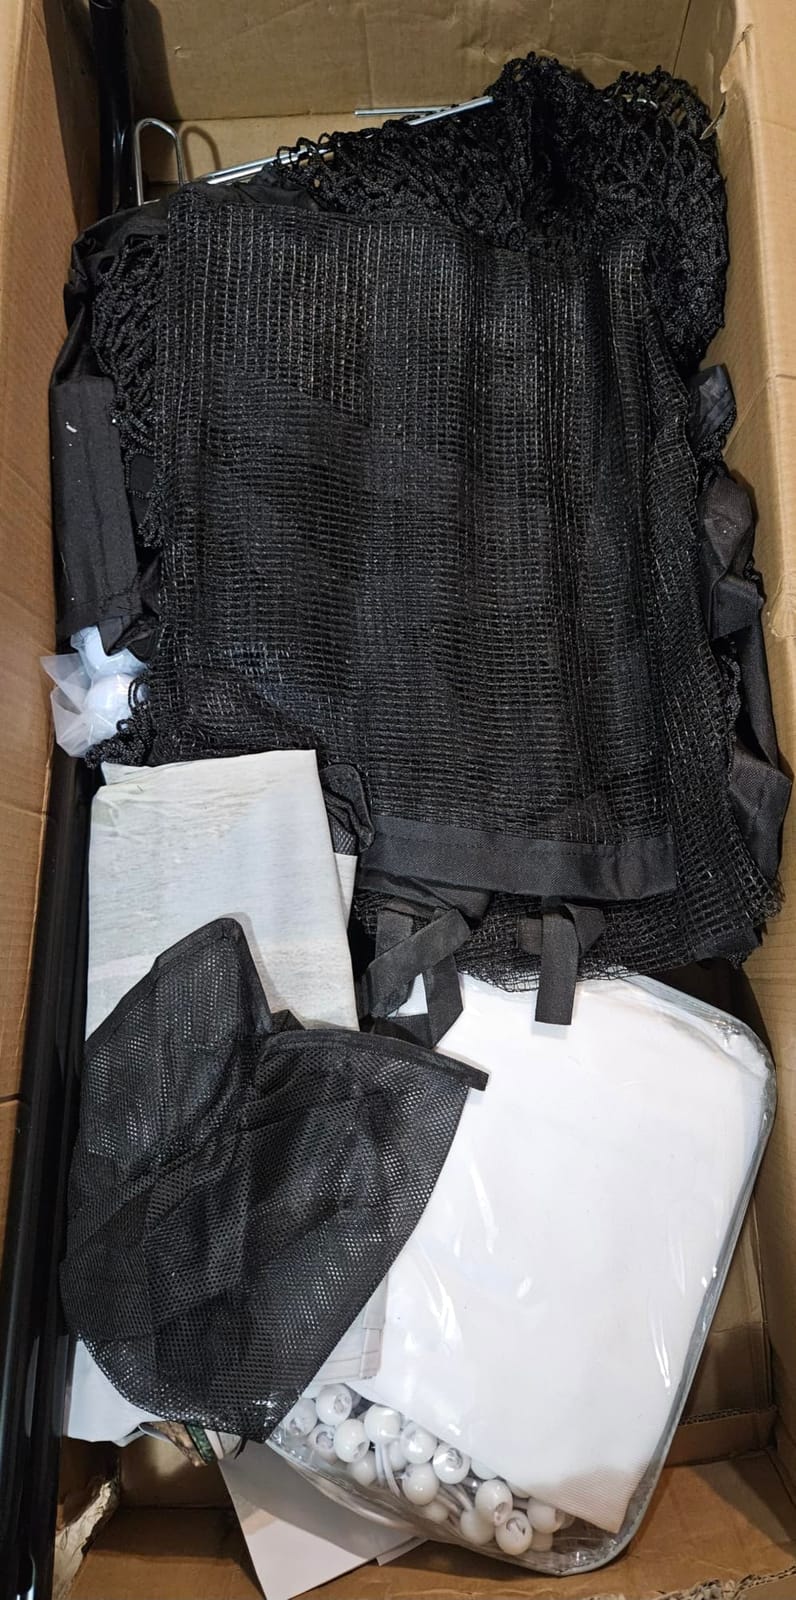
Everything else about the bundle is unusually complete for the money. The hitting mat, two practice balls, six ground stakes, a carry bag, a top protection net, and two side shank nets all come in the box. The foam padding around the frame tubes does more than protect your shins; it dampens the metallic ring that makes an unpadded cage audible through a basement wall, which matters a lot when the room above you is a bedroom.
The limitation is light control, and in a basement it is the limitation that matters. There is no full blackout cover here, so you are working with an open frame and whatever ambient light the room has. If your basement has a finished ceiling with recessed lights, a dimmer on that circuit is doing a lot of the work. A high-contrast grey screen helps more than people expect, but this is a practice cage that can also project, not a blackout studio.
With 63 reviews the sample is smaller than the leaders in this group, so treat the 4.6 rating as encouraging rather than settled. Sentiment is strongly positive, with most of the value coming from the accessory bundle. The two-year manufacturer warranty is longer than most kits in this class offer.
Why it suits a multi-use basement
Carry bag, ground stakes, and a switchable screen mean you can pull the whole thing to a corner between sessions rather than owning a permanent footprint. It suits a family basement where the sim is one activity among several, and it suits a first build where you want to test whether you actually use it before committing to a permanent bay. Pair it with the golf net buying guide if you want a second practice station for short-game work.
Where it falls short
No blackout cover and no projector mount. If your goal is a projected course on a big screen in a lit room, this is the wrong kit and you should step up a class. It is also not a full-height enclosure, so it does nothing for a driver at the ceiling.
5. Durbles Golf Simulator Enclosure Kit – Best for Ricochet Control
Golf Simulator Enclosure Kit with Premium HD Impact Screen, Full Safety Padding & Blackout Curtain, Home Golf Sim Setup Compatible with Launch Monitors, Indoor Cage Net Golfing Accessories (10 x 8 ft)
10 x 8 ft footprint
Triple-layer HD impact screen
Full-coverage foam padding
Blackout curtain
Pros
- Thickest screen and padding in the roundout
- Full-coverage foam is tuned to cut ricochets
- Top blackout cover darkens overhead room lighting
- Foam-wrapped poles feel safe in a tight room
- Bungee tension can be tuned to taste
Cons
- Instructions assume a ceiling over 9.9 ft so lower rooms must build in place
- Frame uses the full 10 ft so poles need trimming in narrower rooms
- About 40 bungee attachments make setup physically tiring
- One report of frame collapse and crossbar bending
Ricochet is the number one worry in every basement thread we read, so this kit gets a section of its own. The full-coverage sponge padding wraps the impact area and the poles, and the manufacturer claims the foam cuts ricochets by more than half. Owners who were worried about a high wedge coming back at their hands say the padding is thick and spongy enough to feel like a deliberate safety feature rather than decoration.
The triple-layer screen also changes the sound picture. A thicker screen face absorbs more of the impact energy before the ball ever turns around, and reviewers consistently describe the impact as noticeably muted compared with a single-layer budget screen. In a below-grade room where impact noise travels up through the floor, that difference is not cosmetic.
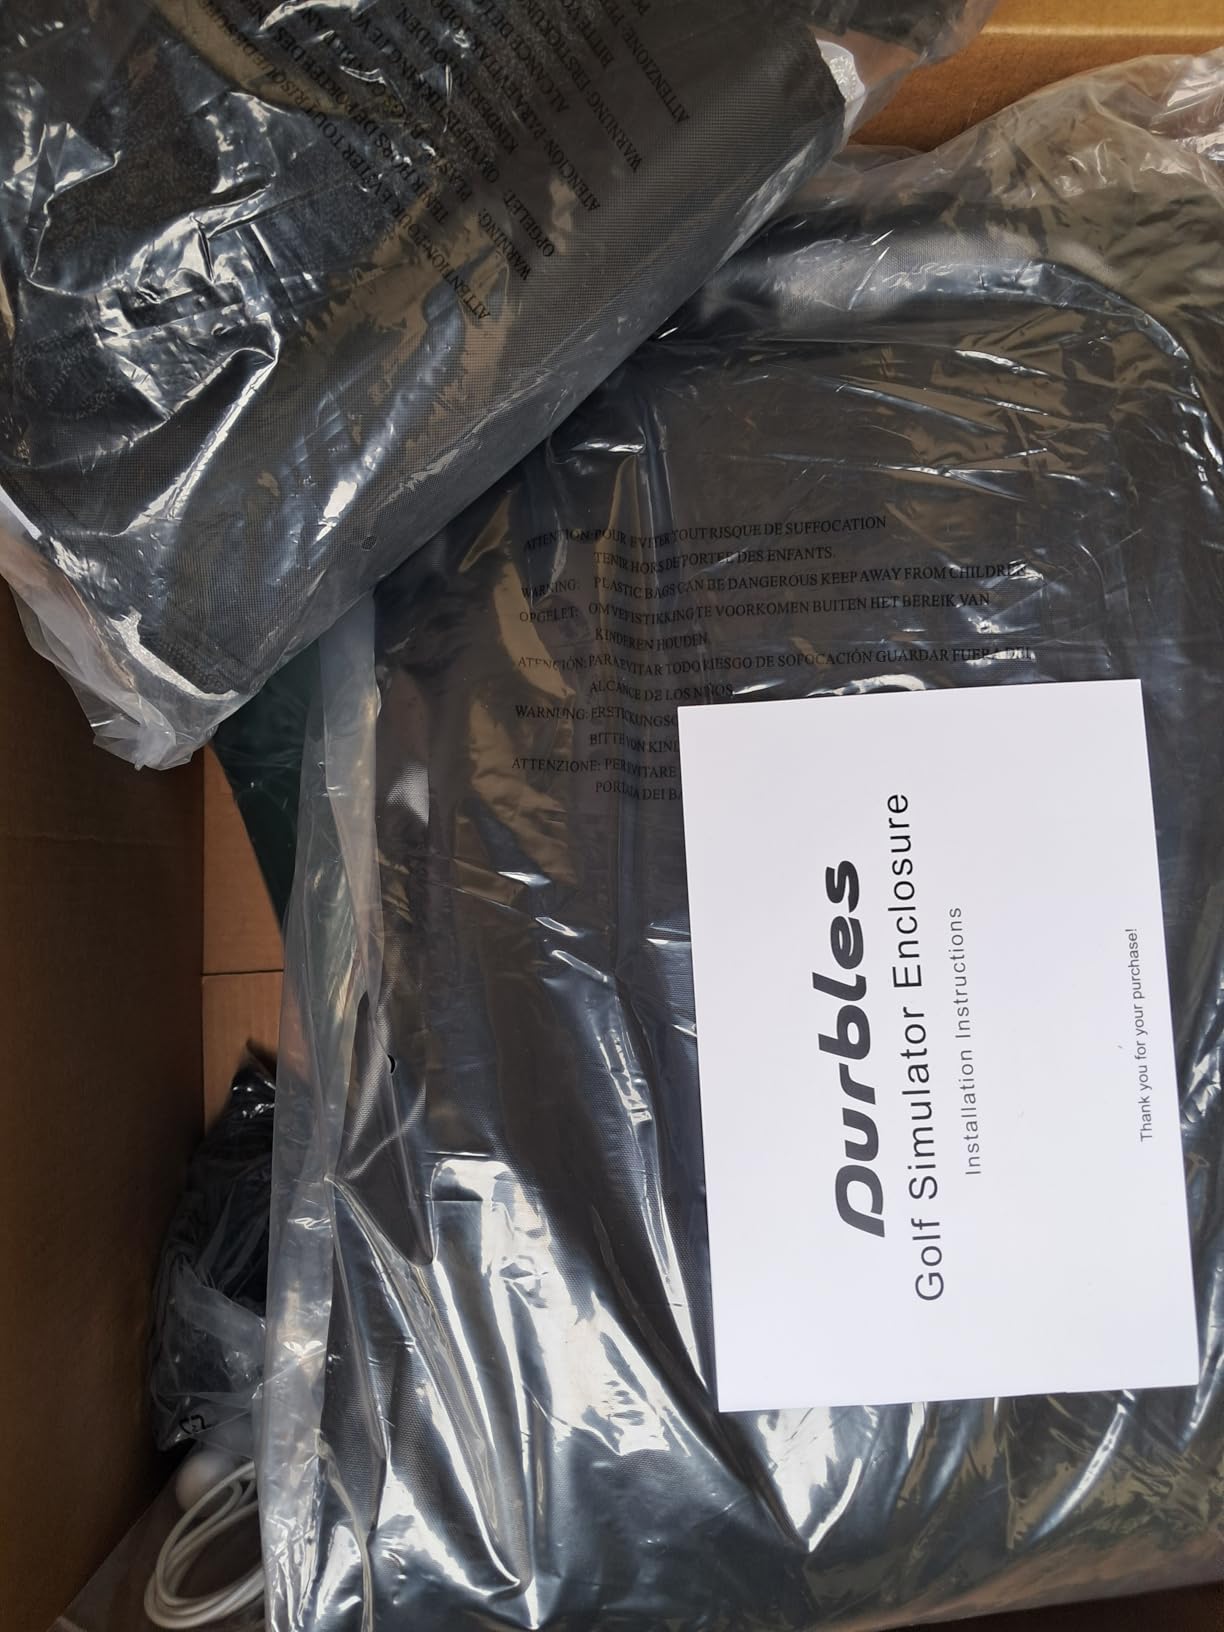
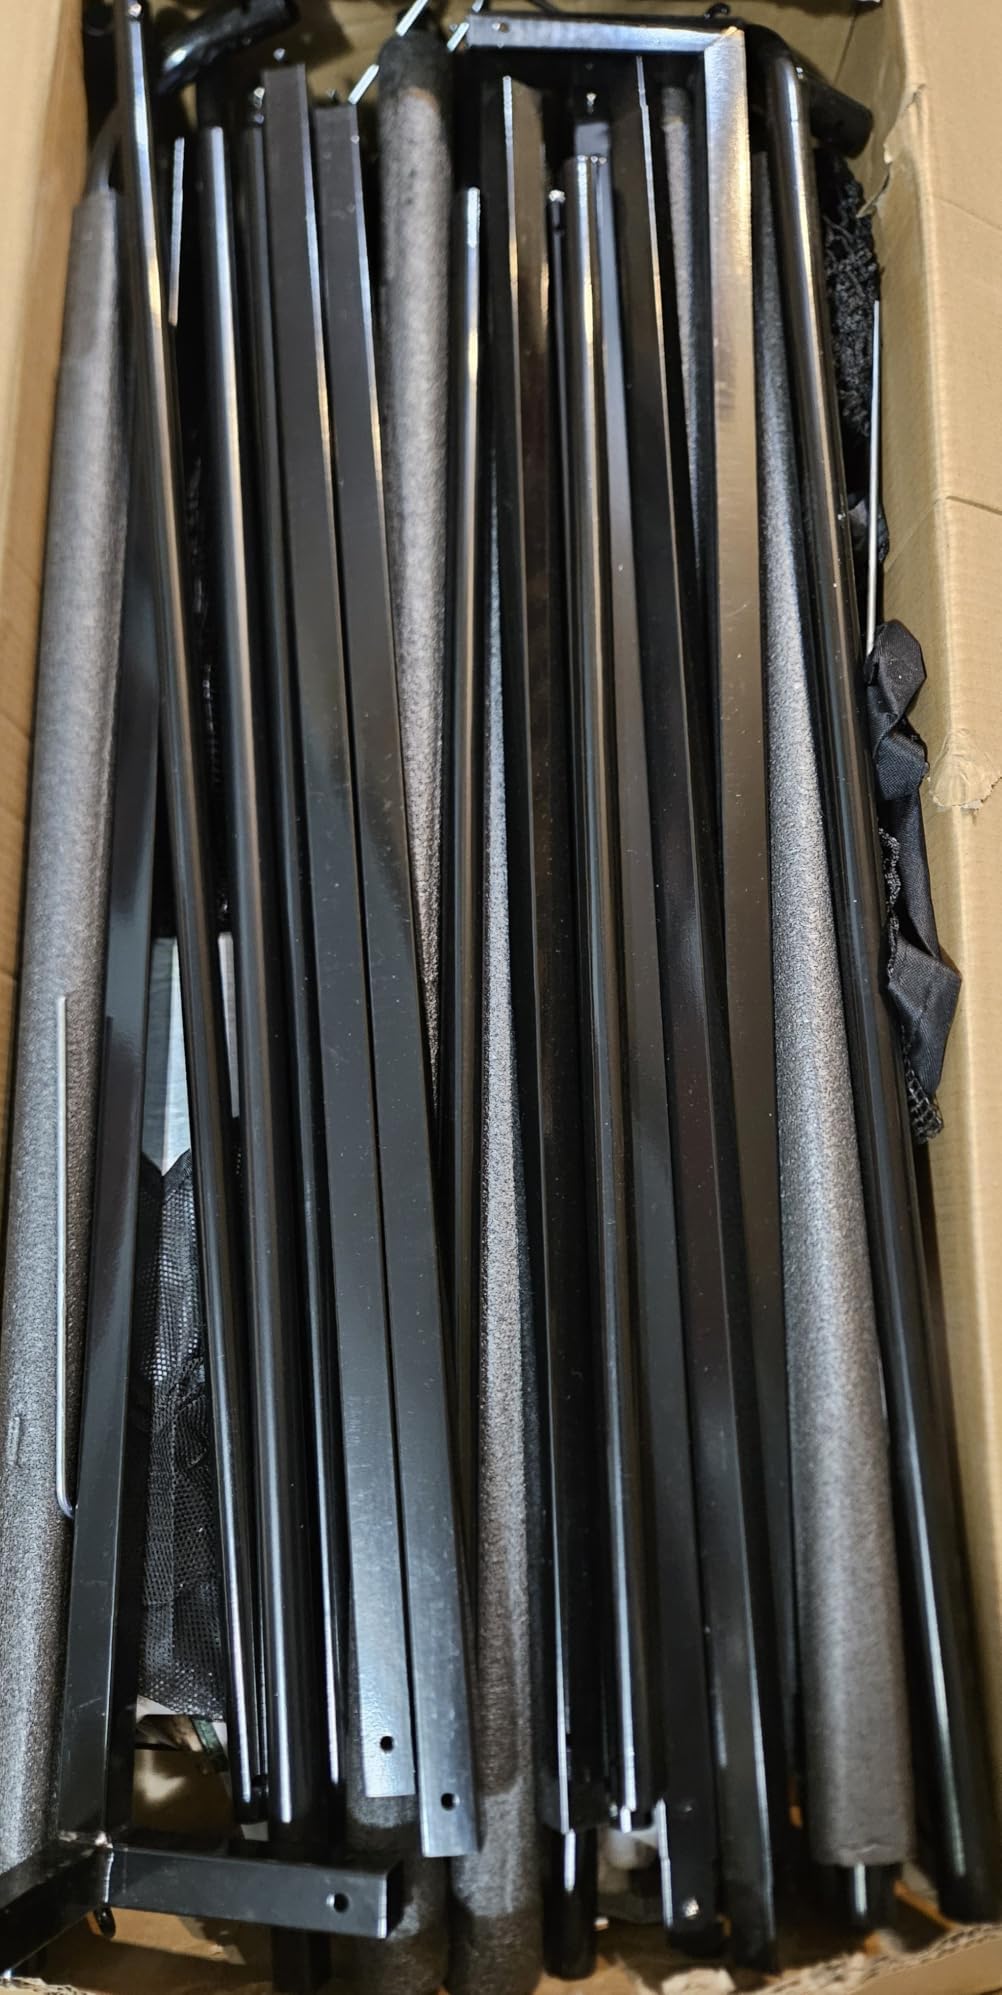
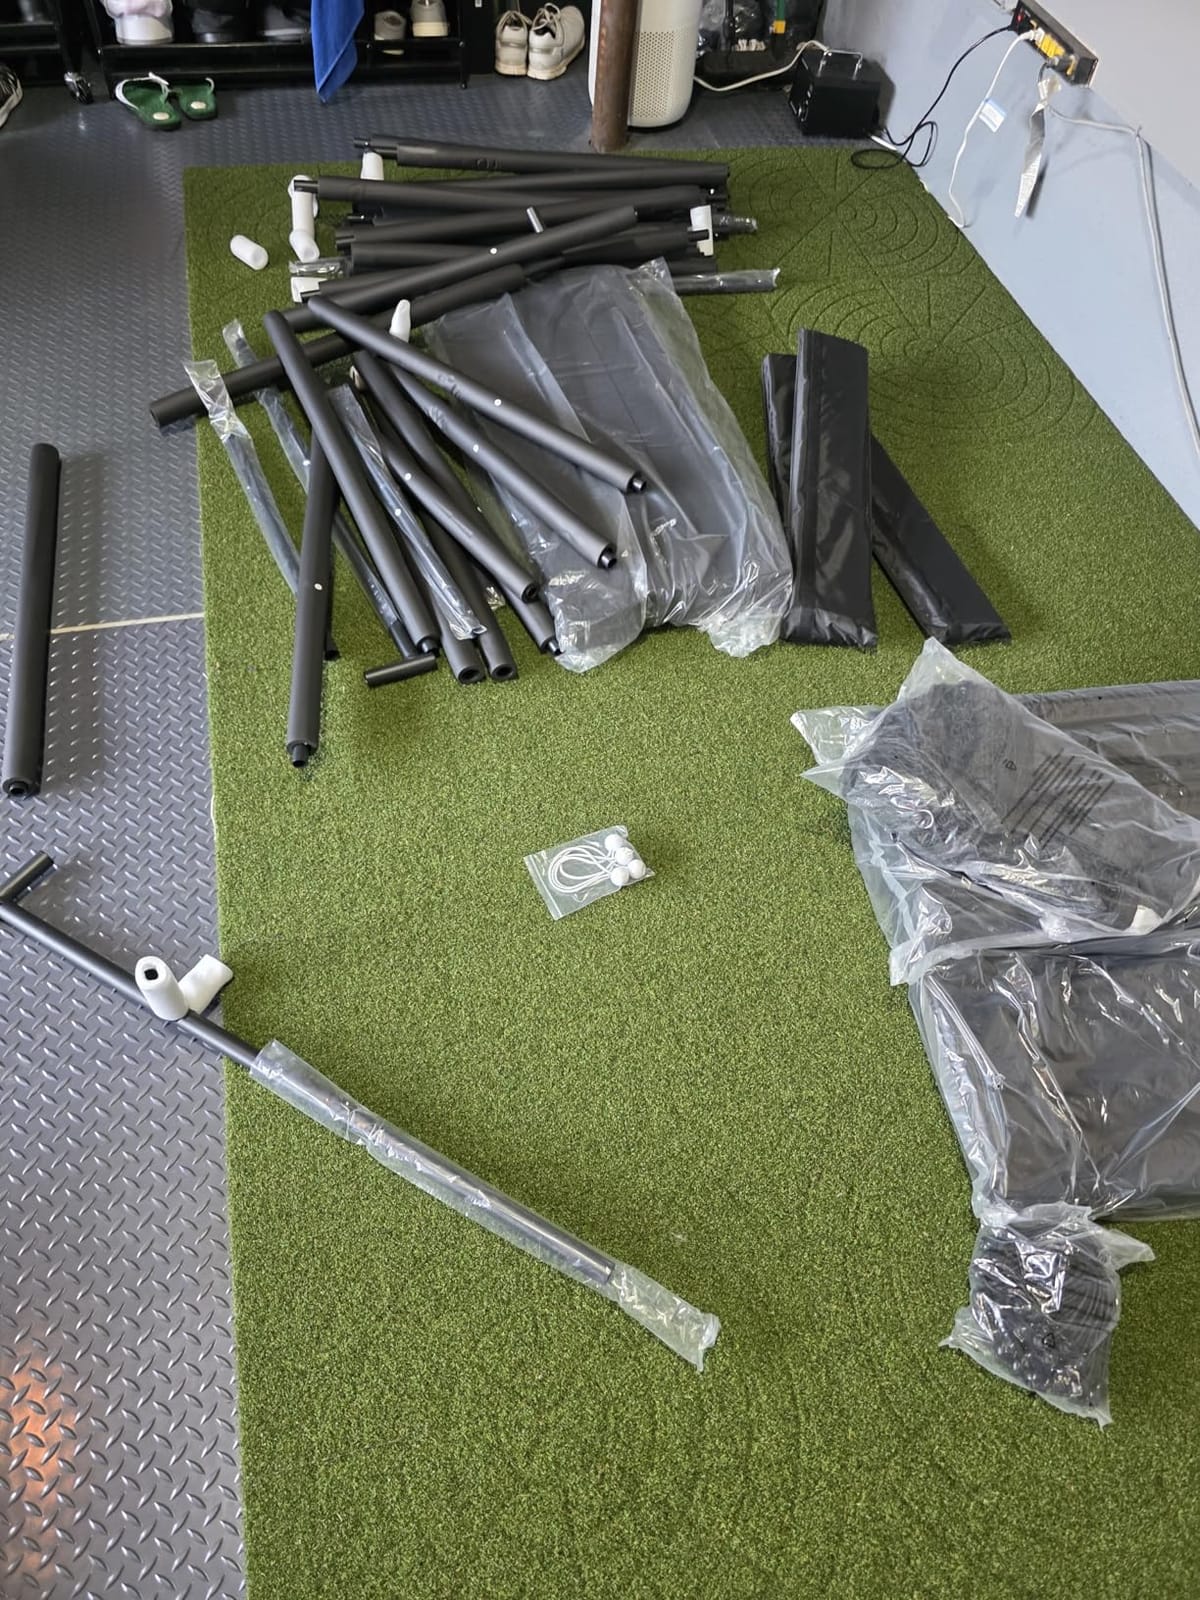
There is a real basement-specific catch here, and it is the instructions. The build is written for ceilings over 9 ft 10 in: lay the frame flat on the floor, then pivot it up into place. In a 7 ft 6 in to 8 ft 6 in basement you cannot do that, so you have to build the frame in place in the corner where it will live. Budget extra time for it. One owner finished the whole setup in about 90 minutes including custom frame cuts.
Also note the frame uses every bit of the 10 ft width, so a room measuring 9 ft 10 in needs pole trimming before assembly. And with roughly 40 bungee attachment points, this is a physically tiring assembly compared with the spring-button kits. One report describes a frame collapsing and a top crossbar bending after two months of casual contact, which is worth factoring into your expectations about build rigidity.
Why it suits a basement with walls worth protecting
If your hitting area is close to a finished wall, a window, or a stair opening, padding is the feature that keeps a bad shot from becoming a repair bill. The blackout curtain over the top of the frame darkens the screen from overhead room lighting, which helps in a finished basement where a single ceiling fixture is the only light source. Reviewers also note it looks like a finished setup rather than a pile of poles.
Where it falls short
The tall-ceiling assumption in the instructions is the main issue for a basement, and the no-slack footprint means it does not forgive a narrow room. The 8.4 x 8.4 ft variant exists and is the safer choice if your width is tight.
6. Diandian Golf Simulator Enclosure Kit – Best for Noise Control
Diandian Golf Simulator Enclosure Kit 10 x 8 ft with 4K-Ready Impact Screen
10 x 8 x 5 ft enclosure
One-piece 600D Oxford blackout cover
Dual-layer 4K-ready screen
Tool-free click-lock frame
Pros
- 600D Oxford fabric is far quieter on impact than tarp screens
- Mesh-backed screen further reduces impact noise
- Enclosed top structure catches pop-up shots near low ceilings
- Fastest assembly in the roundout at about 30 minutes
- Light enough to move between rooms
Cons
- Bottom screen stitching tore within days for one buyer
- Screen wrinkles and roof sag more than ideal
- No projector mount or sandbags included
- Documentation is thin and one box arrived without instructions
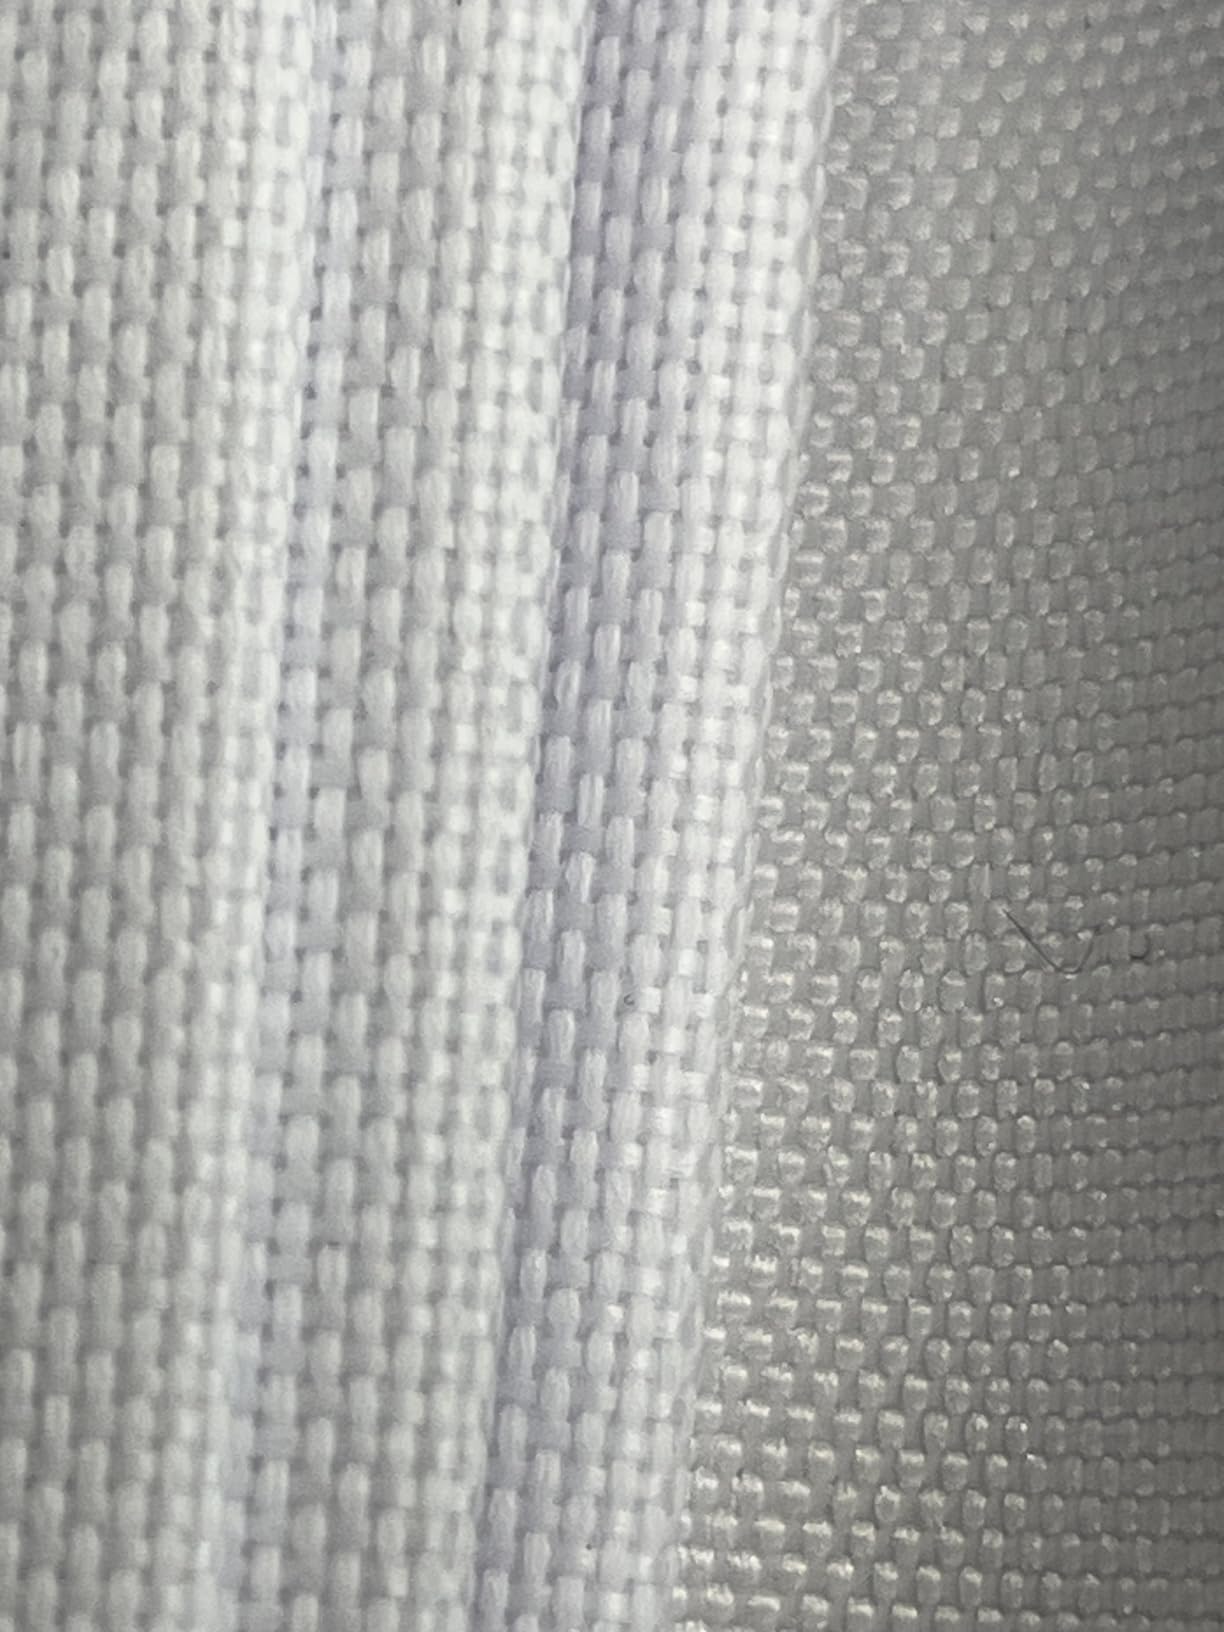
This is the one we would point at for noise, and the reason is material rather than marketing. The one-piece 600D Oxford cover wraps the top, sides, and back in a single piece with no light-leak seams, and owners consistently describe it as much quieter on impact than the tarp-style screens in this price class. A woven Oxford face dissipates the hit rather than ringing it, which is exactly what stops a mishit from carrying up through a basement floor.
The enclosed top structure is the other basement-specific strength. Instead of an open frame above your head, the roof continues overhead and catches high pop-up shots, which protects a low ceiling and reduces the sound of a ball slapping drywall. A mesh-backed screen adds a further layer of noise reduction on the impact itself.
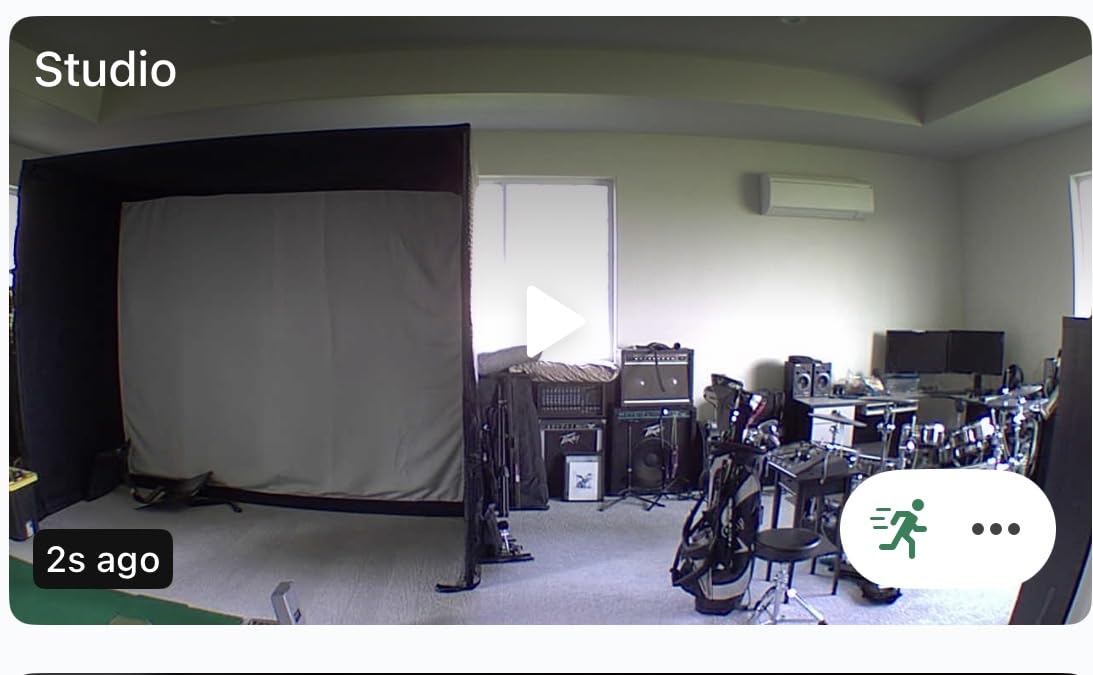
Assembly is the fastest here by a wide margin. The spring-button click-lock joints go together in roughly 30 to 45 minutes, no tools, and the whole thing is light enough to slide across carpet if you ever want to move it. For a basement with a finished floor rather than bare slab, that matters more than it sounds.
The caveats are durability and paperwork. One buyer reported the bottom screen stitching tearing within days of light use, leaving a saggy screen edge, and others mention a screen that arrives wrinkled with a roof that sags more than they would like. Documentation is also the weakest in the roundup: a thin single assembly sheet, and one box that arrived with no printed instructions and no clear route to the seller. The manufacturer recommends a minimum 9 ft ceiling.
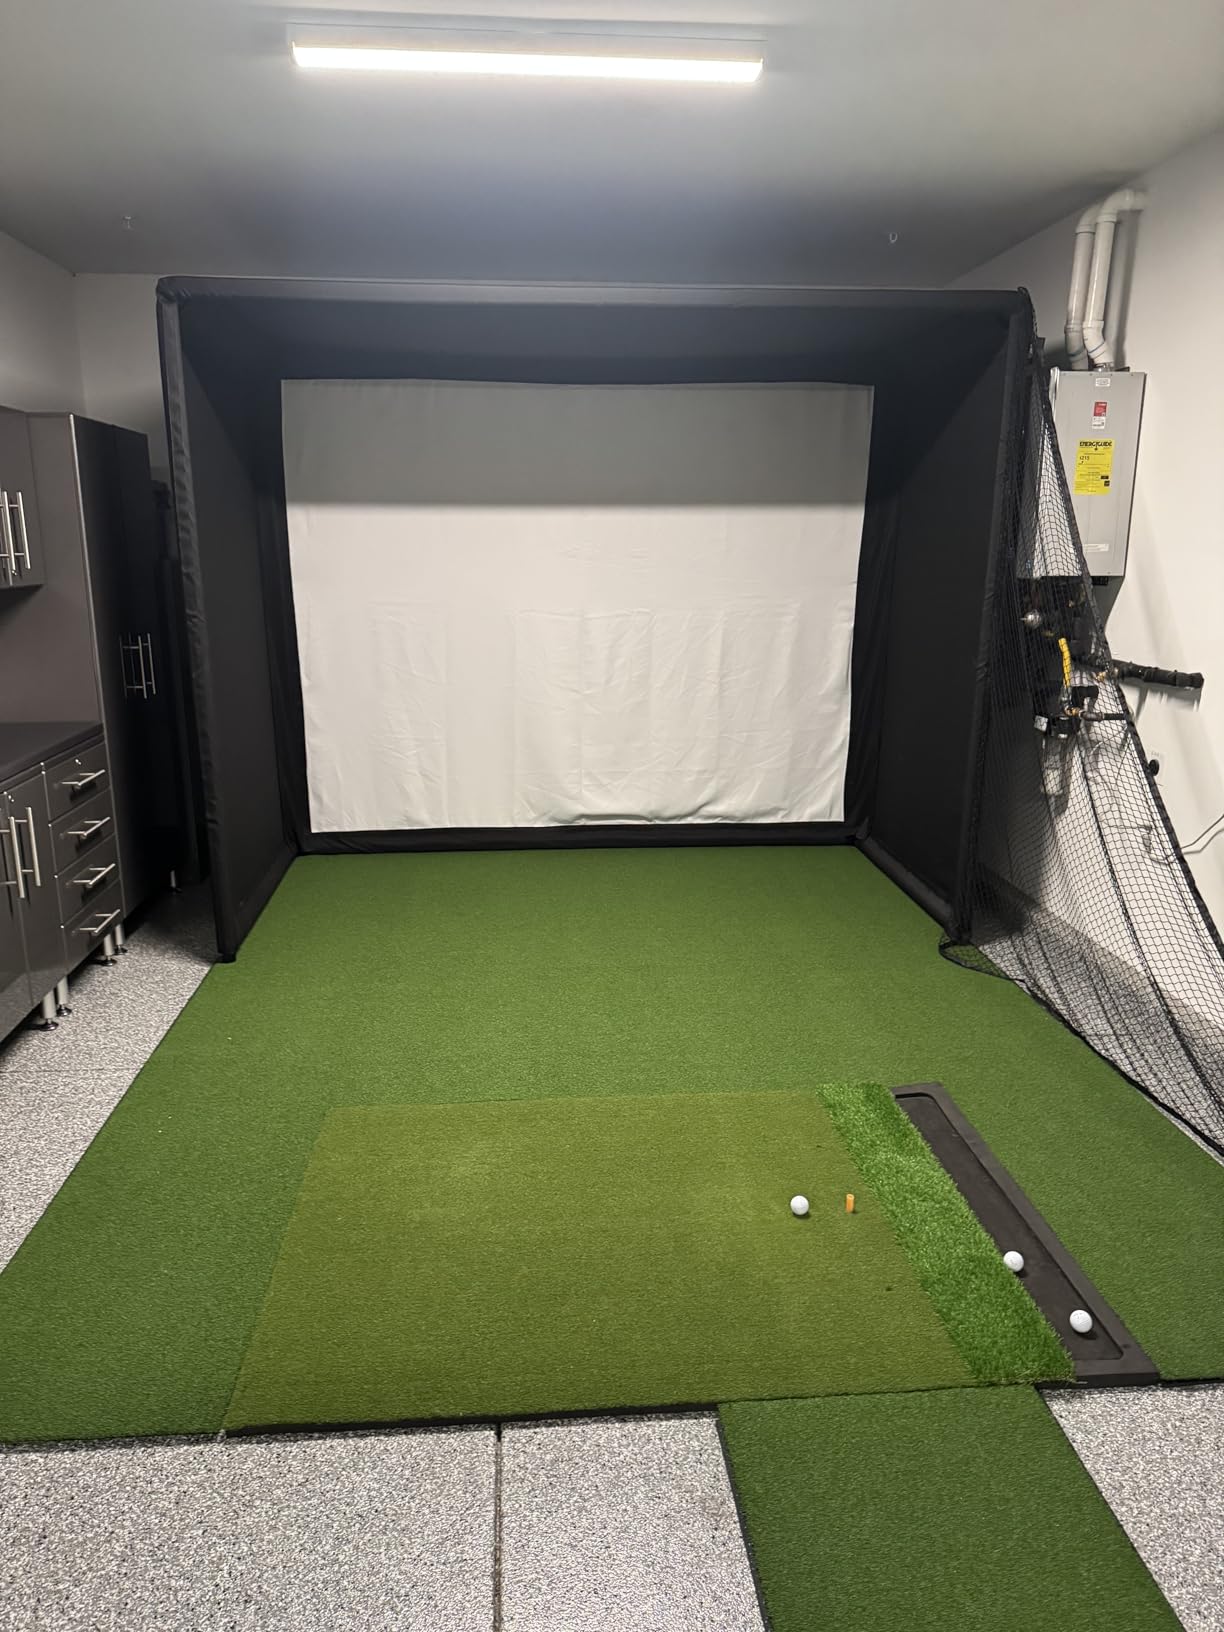
Why it suits a basement under a lived-in part of the house
If the room above your basement is a bedroom or a home office, fabric choice matters more than anything else on the spec list. This cover gives you the quietest hit of the ten we compared, and the enclosed roof stops the airborne part of the sound as well as the impact. It also moves easily, so you can reclaim the corner when guests are coming.
Where it falls short
At 5 ft tall with a recommended 9 ft minimum ceiling, it wants more headroom than a 7 ft 6 in basement can give. And with 30 reviews and a stitching durability report inside the return window, we would inspect the screen edge closely as soon as it arrives.
7. ANYTHING SPORTS Fold Up Golf Simulator Enclosure – Best for Multi-Purpose Rooms
Fold Up Golf Simulator Enclosure (8’4 x 8’4 x 5′)
8 ft 4 in square footprint
91 inch matte impact screen
Wall-mounted heavy-gauge metal frame
Folds in about a minute
Pros
- Folds flat in about a minute and frees the entire room
- Screen
- blackout enclosure
- nets
- mount and sandbags all included
- Closed unit reads as a tidy black curtain
- Side nets reliably contain off-centre shots
Cons
- Very heavy and needs two people to carry and two to mount
- Wall mount needs a flat full-height wall
- Instructions show round poles while square poles ship
- Projector and launch monitor are not included
A retractable design is the answer almost nobody recommends for basements, and it should be. The fold-up action flips the bottom panel against the wall in about a minute, so a basement that has to be a gym, a media room, or a storage space most of the year can still be a simulator bay in the winter. The fold-up design is the one enclosure here that actually gives the room back.
When it is open, the build quality reads well for the format. Double-stitched vinyl blackout enclosure, a 91 inch by 91 inch matte impact screen, and a wall-mounted heavy-gauge metal frame that is largely pre-assembled. The screen absorbs normal strikes without sagging and projects a sharp matte image, and the included shank nets, projector mount, and sandbags make it genuinely all-in-one for the cage itself.
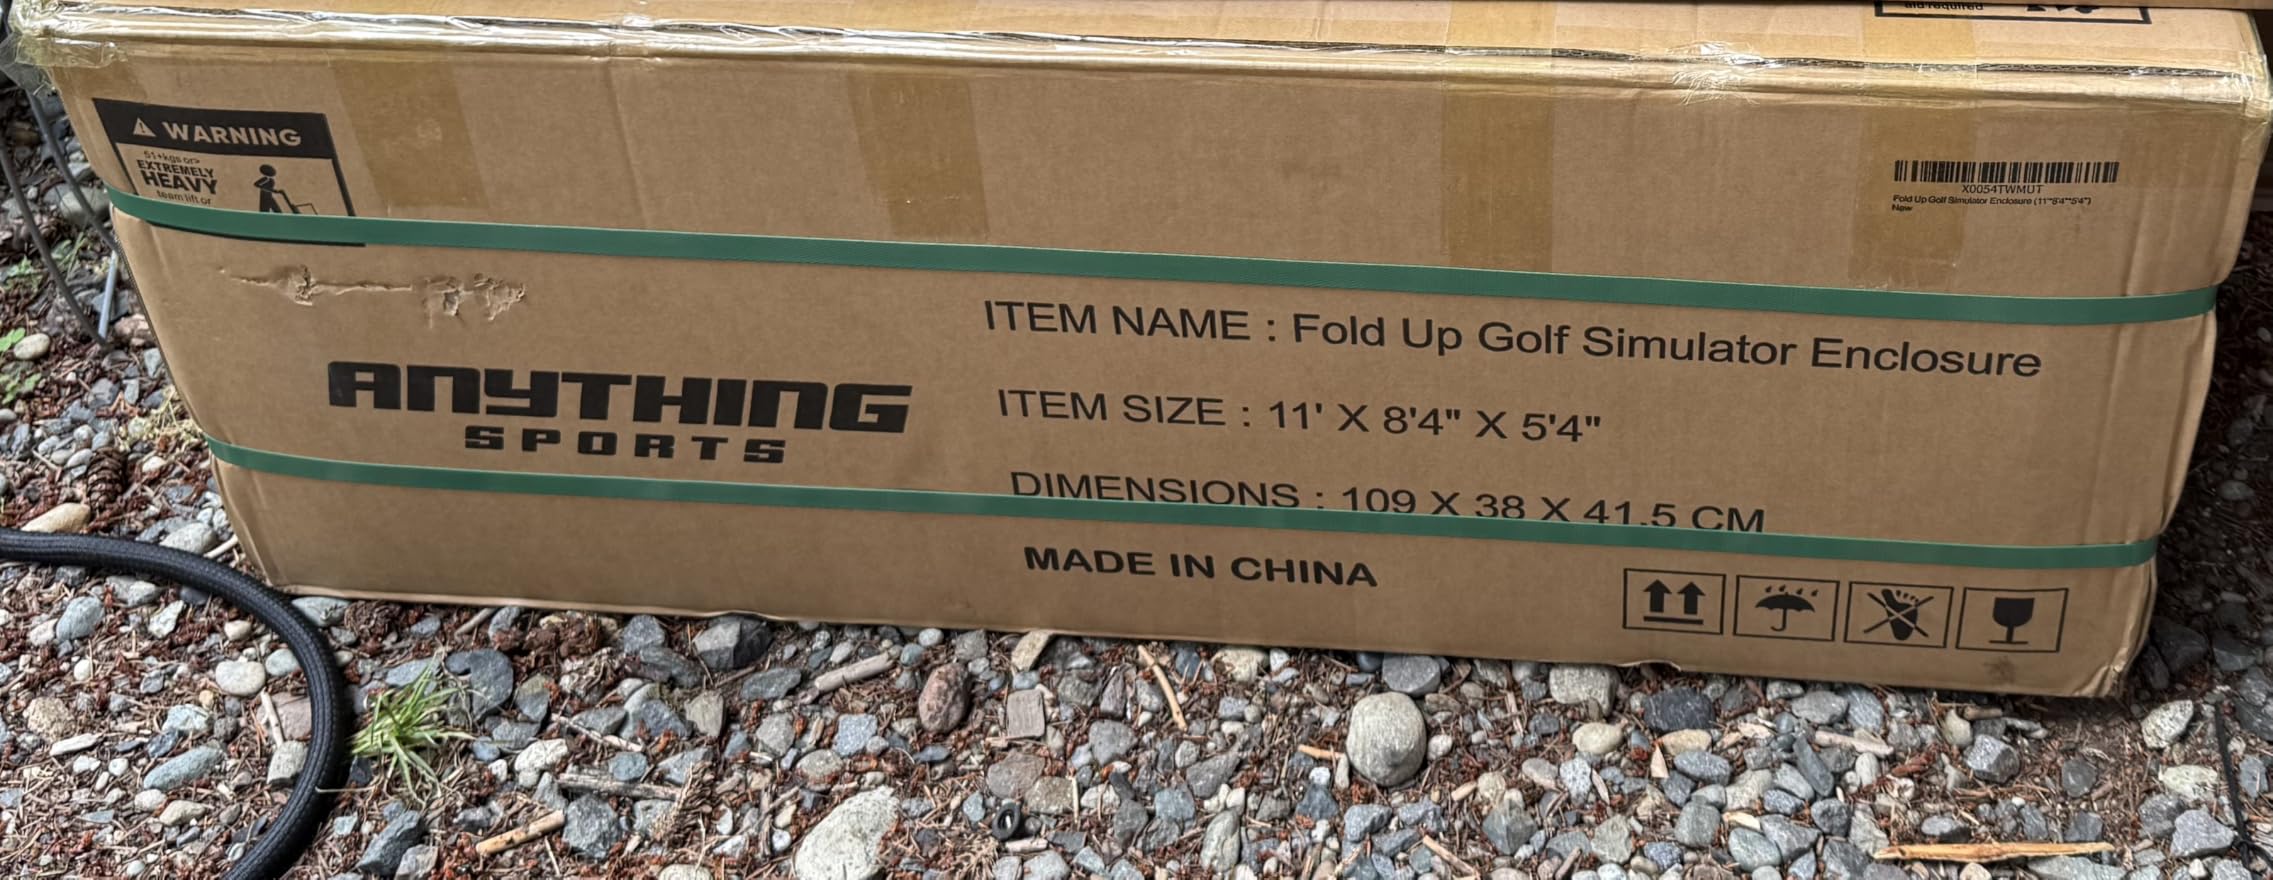
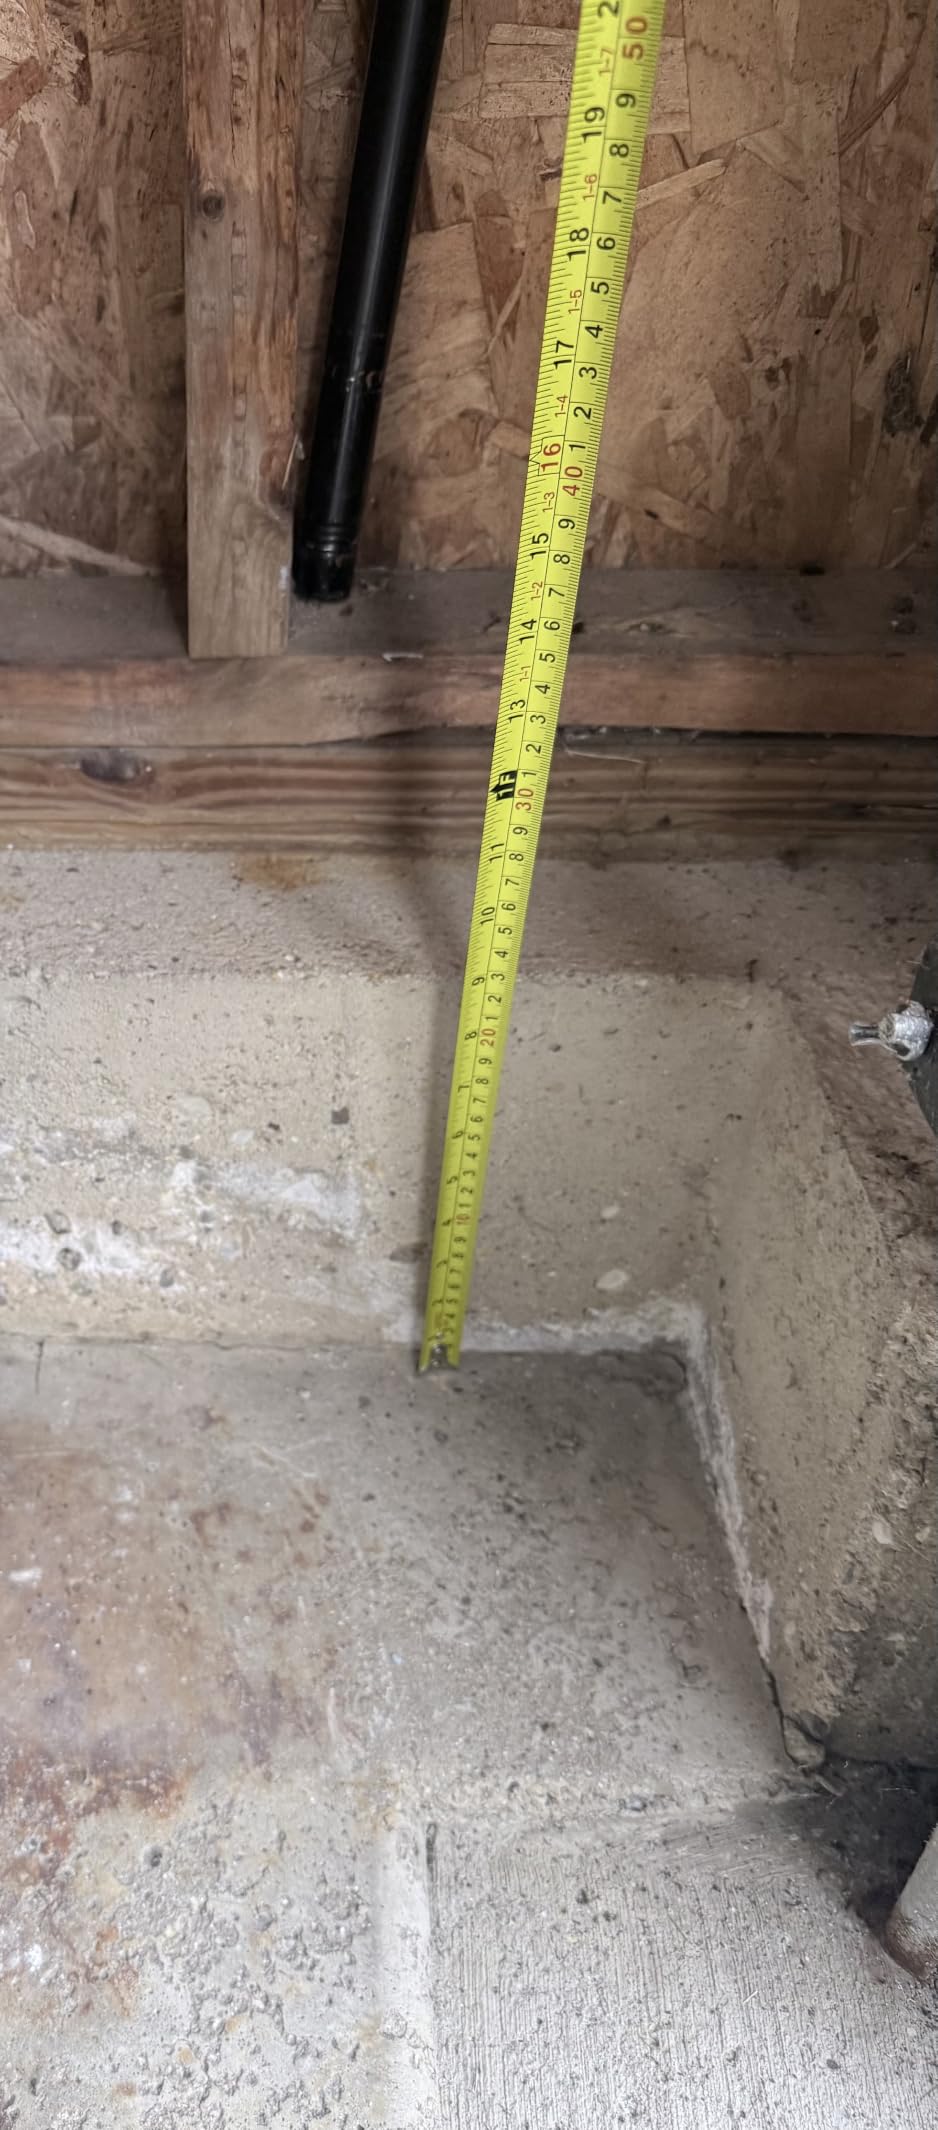
Now the basement part, which is where this one gets interesting and difficult. The mount requires a flat, full-height wall, and a lot of below-grade walls are not that. Poured concrete foundation walls with a protruding lip, a poured stem wall, or uneven studs will all complicate the install, and the review pattern on this product is heavily weighted toward installation logistics rather than performance. Nobody complains about how it performs once it is up.
Weight is the other logistics issue. It is a two-person carry and a two-person hang. You will also want to sort roughly fifty loose screws of three similar lengths before you start, and the instructions illustrate round poles while the kit ships square ones. Depending on your wall, you may need to remove the side panels before folding, so test the mechanism before you commit.
Why it suits a basement that has to do double duty
This is the pick for a finished rec room that cannot be permanently occupied by a golf cage. When it is folded, the footprint is essentially a flat curtain against one wall, which means the same 10 ft by 12 ft area serves as media space or a play area for most of the year. The matte screen and enclosed blackout fabric still give you a usable projected image when it is open.
Where it falls short
It is only 8 ft 4 in square, so full driver swings are tight, and it depends entirely on a flat wall. If your basement is unfinished with exposed studs, budget a day of framing before this one goes up, and get a second person for the mount.
8. Sturdum Golf Simulator Enclosure Kit – Best for Narrow Basement Widths
Sturdum 10x10ft Golf Simulator Enclosure Kit with HD Screen and Steel Frame
10 x 8 ft steel frame
Light-blocking curtains
Impact screen with side netting
One-year warranty
Pros
- Alloy steel frame suited to a dedicated indoor studio
- Light-blocking curtains improve projector contrast
- Complete kit in one box
- Launch monitor ready out of the box
Cons
- Weakest rating in the roundup at 4.1 with a wide spread
- Only one key feature is published so screen and padding specs are missing
- Small review base makes long-term durability hard to judge
The reason this one earns a place is the size menu. Alongside the 10 x 8 ft version there are 8.4 x 8.4 ft and 10 x 7 ft single-layer screen options, and the square variant is the practical answer when a basement wall is shorter than the standard 10 ft. Steel frame, light-blocking curtains, an impact-resistant screen, and side netting all come in the kit, with foam padding elements on the frame.
It is a straightforward build with no projector mount and no top net listed, so treat it as a starter bay rather than a full studio. The steel frame is a genuine plus for a permanent install: it is the piece that stays rigid after a year of full swings.
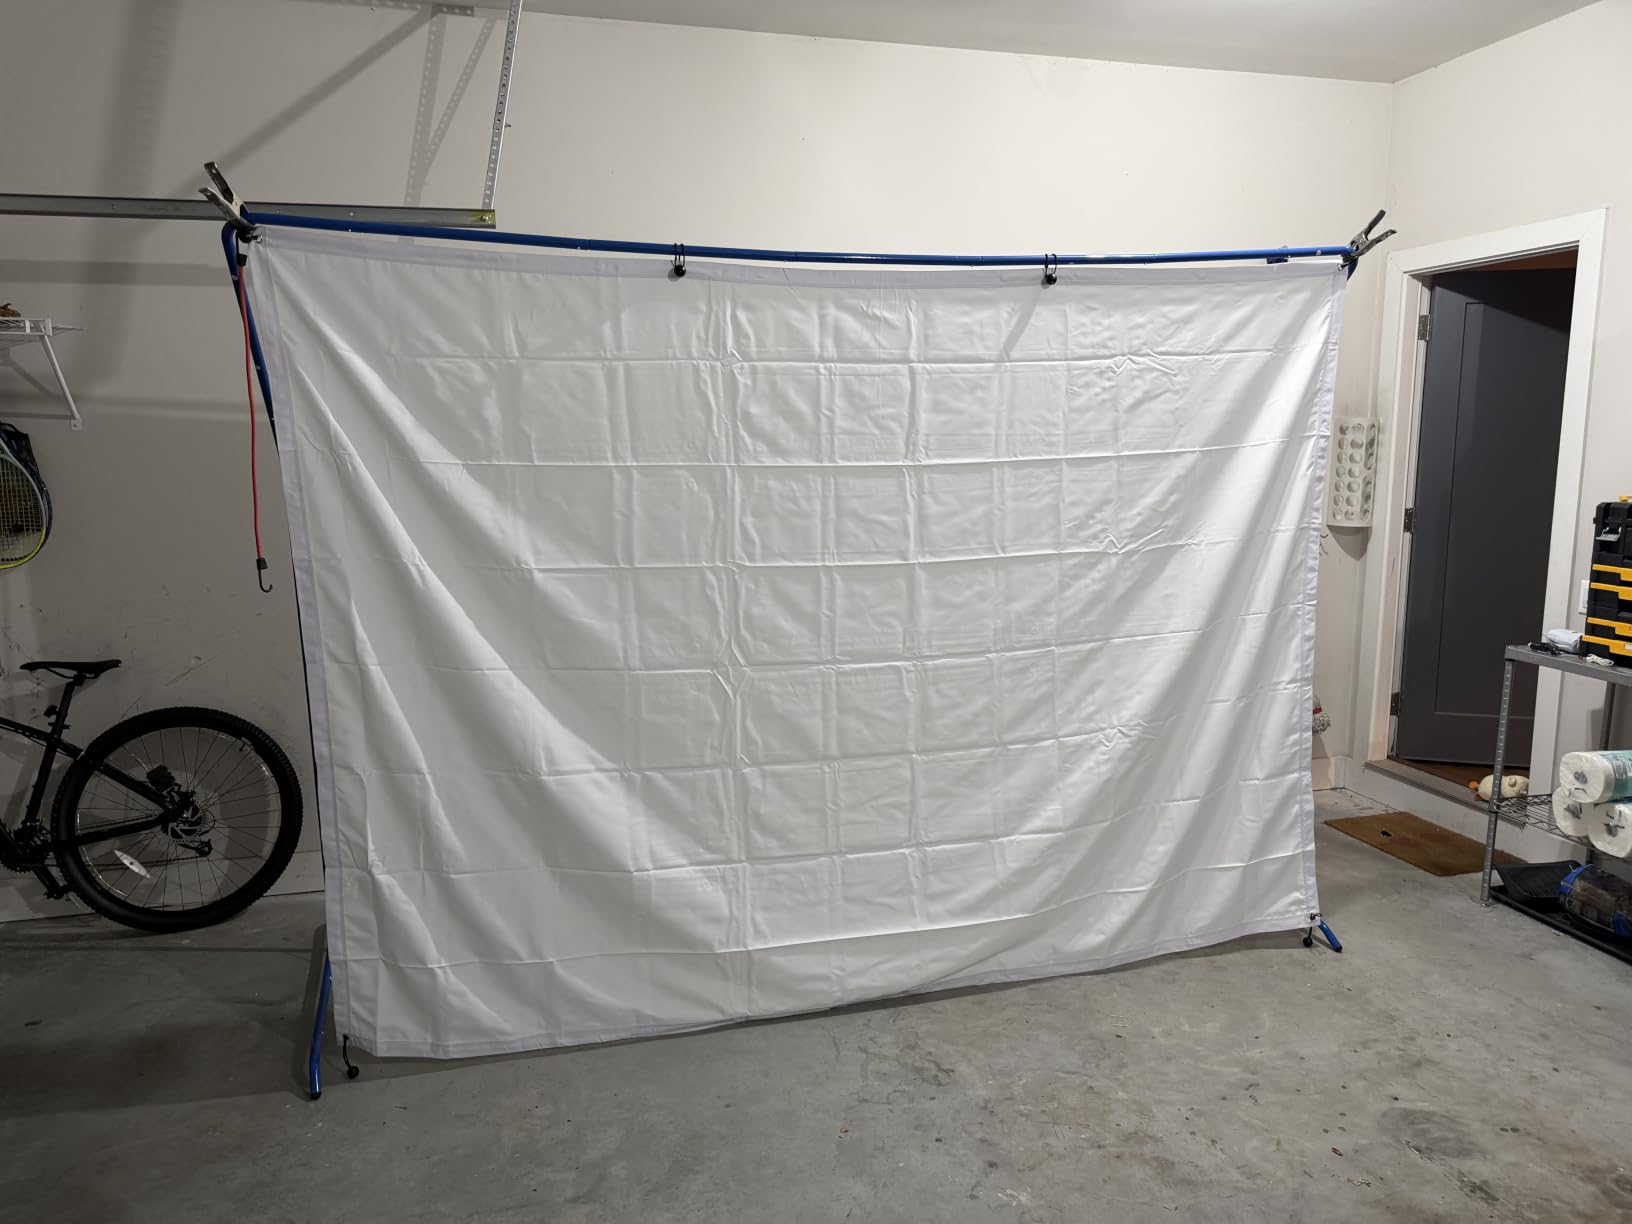
We are going to be blunt about the rest. At 4.1 across 22 reviews, this has the widest rating spread in the roundup, with 11 percent one-star and 11 percent two-star responses. The listing publishes a single key feature, which means there are no published screen thickness, padding, or weight figures to plan your ceiling clearance against. That is not disqualifying, but it means you are buying on the frame and the size options rather than on documented specs.
Compare that with the Durbles kit, which sits in the same class and publishes far more. If the only thing pulling you toward this one is the 10 x 7 ft or 8.4 x 8.4 ft variant, that is a good reason, and a narrow basement is a real problem to solve. If your room is standard width, the better documented options are stronger buys.
Why it suits a narrow or oddly proportioned basement
The 8.4 x 8.4 ft and 10 x 7 ft options are the only real answer in this roundup for a room where 10 ft of width does not exist. At 5 ft of enclosure height, the steel frame, light-blocking curtains, and side netting give you a functional enclosed bay in a footprint that leaves a walkway or a shelf along one side.
Where it falls short
Thin published specifications, a weak rating spread, and a one-year warranty against two-year options elsewhere. The undocumented screen thickness is the practical problem: you cannot check it against your ceiling and mat clearance before buying.
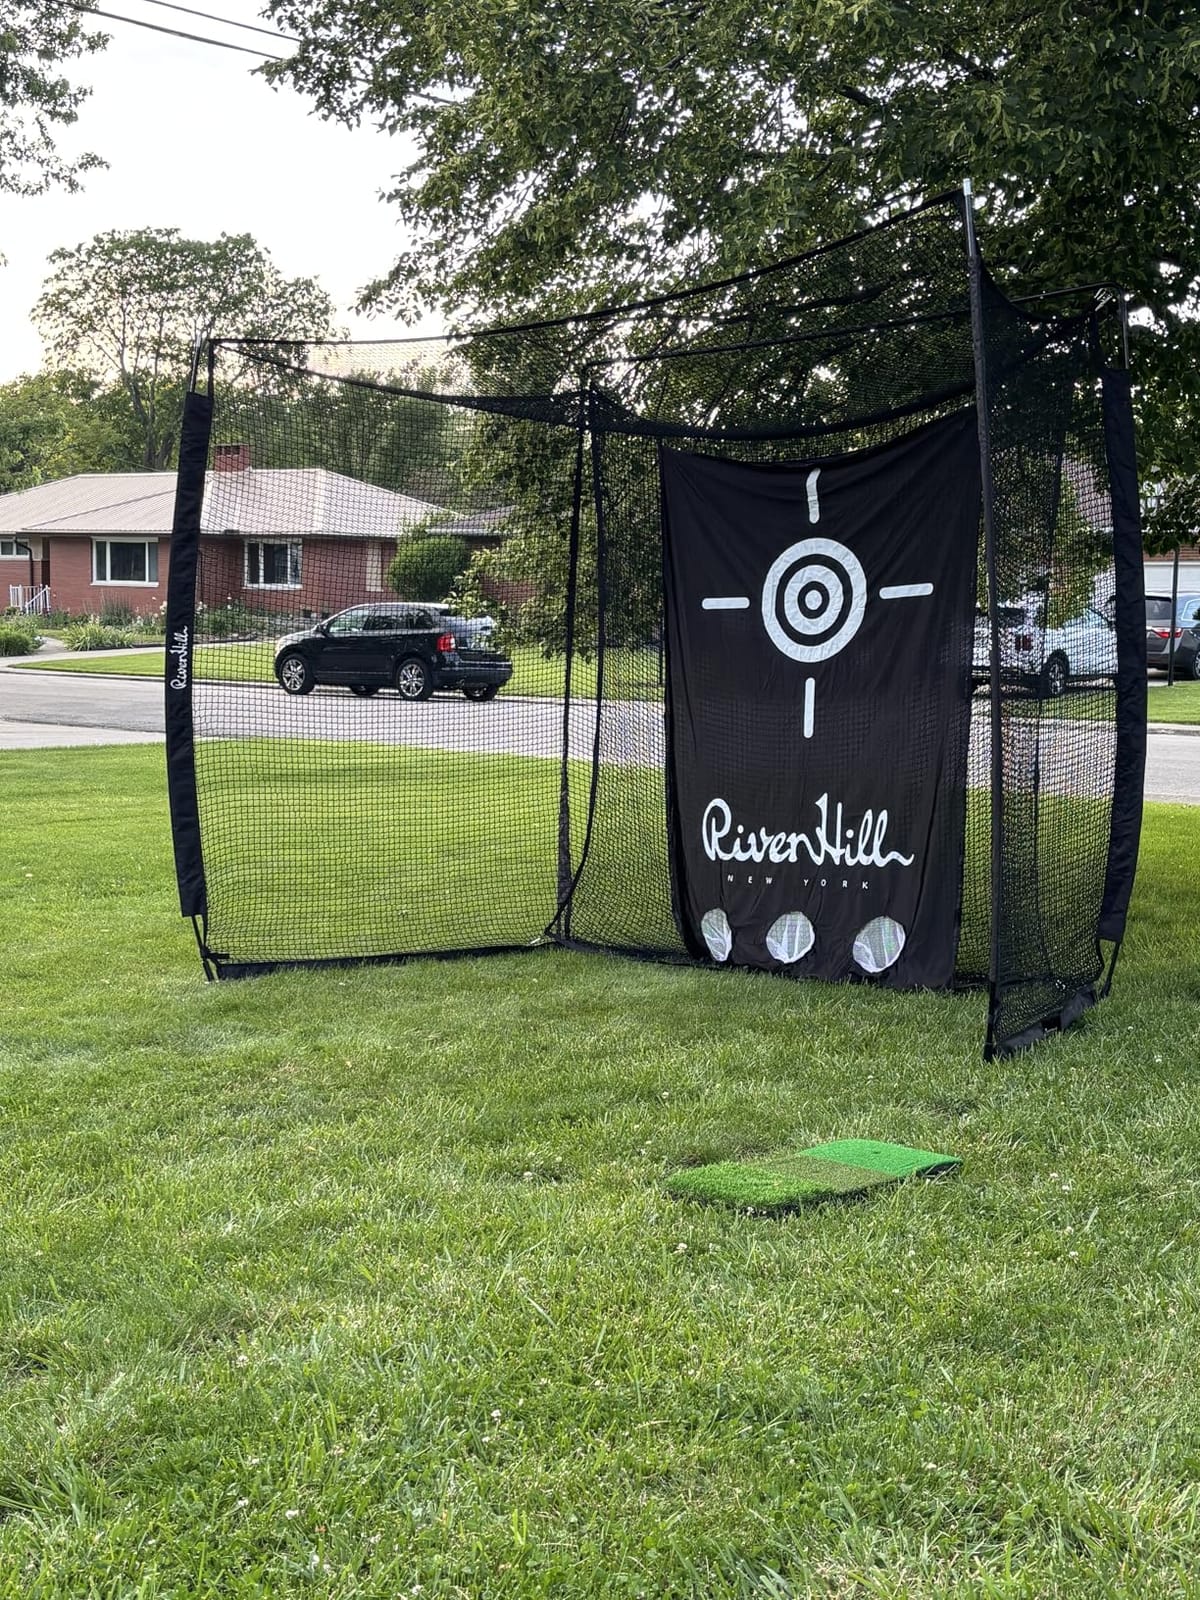
9. River Hill Golf Simulator Enclosure – Best for Three Height Options
Golf Simulator Enclosure, 10×8 Ft Indoor Setup with 3-Layer Impact Screen
10 x 8 ft hitting area
Triple-layer impact screen
Full light-blocking surround
Three height variants
Pros
- Three height variants including a 12.8 ft version for projector placement
- Triple-layer screen stops the ball with minimal sound
- Fast setup and teardown in about an hour
- Full surround fabric improves projector visibility
Cons
- Push-pin connectors leave noticeable wiggle in the frame
- Only six screen attachment points so the screen cannot be tensioned
- Screen aspect does not match common 4:3 or 16:9 outputs
- Thin pole padding compared with premium kits
The height menu is what separates this one. Alongside the standard configuration there is a 3 ft low-profile variant and a 12.8 ft tall version, and that tall one gives you a full-height cage in a basement where the standard 5 ft is not going to hold a projector. It also suits a room where you want a higher top net for pop-up shots rather than a wider floor area.
Otherwise the spec sheet is sensible. A triple-layer impact screen that stops the ball with minimal sound, a full surround of light-blocking fabric on all sides and the back, heavy-duty frame pipes with foam padding, side barrier netting, and sandbags for stability. Setup and teardown in about an hour makes it easy to move the whole thing for a party or a workbench.
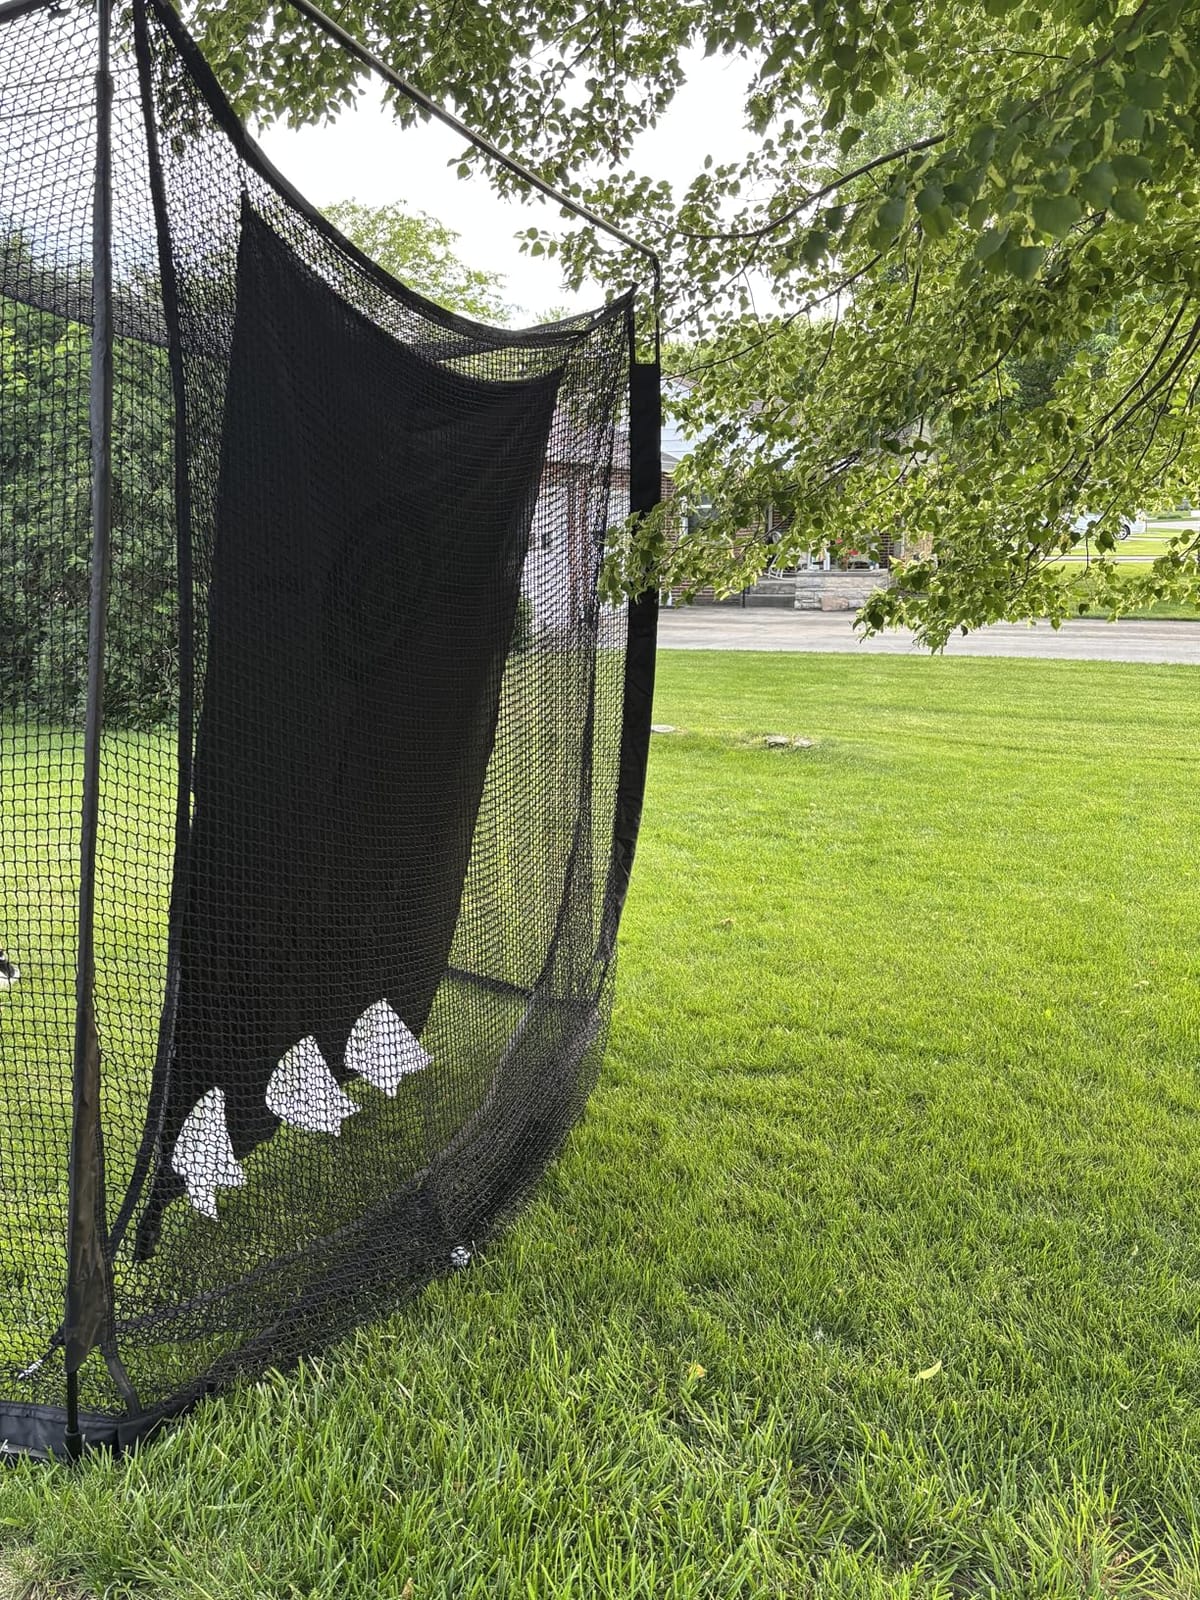
The hardware is where it falls short, and the criticism is consistent. The joints are push-pin connectors rather than screws, so the frame develops a visible wiggle under load, and the screen is held at only six attachment points, which means it cannot be properly tensioned. A slack screen is a shank generator, and that is the single most common complaint in the review set for this product.
There is also a projection shape mismatch. The screen aspect does not align neatly with a standard 4:3 or 16:9 projector output, so you will have dead space at the edges of the image. In a small basement that is wasteful, because the usable picture is smaller than the screen area implies. Instructions are thin and difficult to follow.
Why it suits a basement with a very low or very high ceiling
The 3 ft low-profile variant is genuinely useful when you have a low ceiling and want a real hitting area rather than a full-height cage you have to trim to fit. The 12.8 ft variant is the opposite problem solved, giving a full-height enclosure with projector mounting flexibility. Very few kits in this class publish a low and a high option, which is what makes this one worth measuring against your ceiling before anything else.
Where it falls short
Push-pin joints, six screen attachment points, thin pole padding, and a screen shape that does not match your projector. If you are building this as a permanent room rather than a seasonal setup, the hardware is thin for a room you will hit into for years.
10. ZivPlay Golf Simulator Enclosure – Best for 4:3 Projector Matching
Golf Simulator Enclosure for Home Garage Indoor Sim Practice with Screen
10 ft 7 in wide by 8 ft tall by 5 ft deep
4:3 aspect impact screen
500D polyester screen
Two 8 x 8 ft side nets
Pros
- 4:3 screen shape matches older projector outputs exactly
- Steel frame with foam padding feels solid for the money
- Screen survives repeated direct impacts without damage
- Side nets and sandbags included for wall protection
- Assembly guided at about 30 minutes
Cons
- Screen is springy and bounces unless bungee tension is tuned
- Screen fabric leaves an orange resin film on hands during install
- Instructions are poor and there is no assembly video
- Requires a 9 ft ceiling
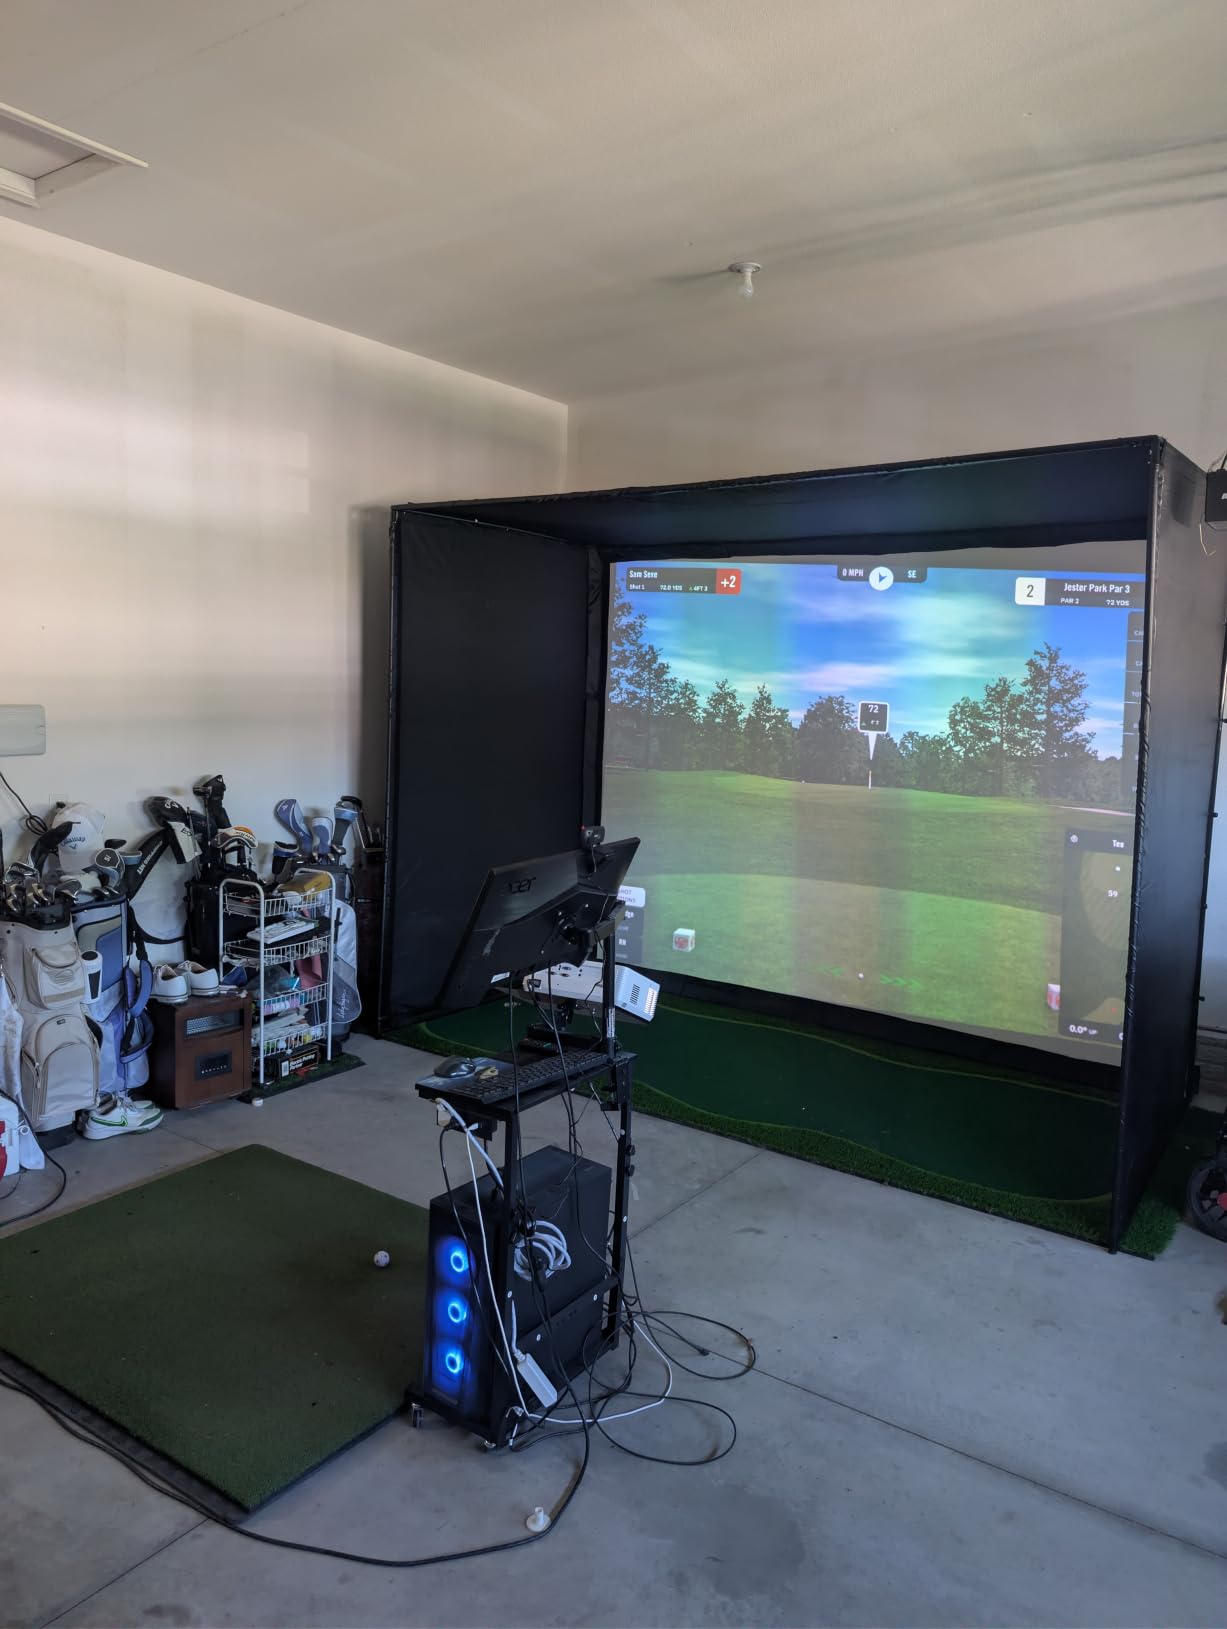
The reason to buy this one is the aspect ratio. The impact screen is cut to 4:3, which means it lines up with the output of a lot of older and inexpensive projectors without letterboxing or dead space. That is a real advantage if you are pairing it with a budget projector in a basement rather than a modern 16:9 unit, and it is why the picture fills the screen instead of sitting in a black band.
The build is otherwise competent for the tier. Steel frame tubes wrapped in edge foam, two 8 x 8 ft side nets with sandbags, and a 500D high-strength polyester screen that owners report survives repeated direct hits with no damage. Assembly is guided at about 30 minutes, and the foam-padded corners reduce the dangerous bounce-back that unmitigated corners produce.
Two practical notes. The screen is springy, so balls bounce rather than dropping unless you tune the bungee tension, and owners have found that fitting every other bungee cord gives them the feel they want. During installation the black screen fabric leaves an orange resin film on your hands, so wear gloves and wash up before you touch anything else.
The instructions are poor and there is no assembly video, which is worth knowing if you are not comfortable improvising. A few mounts also shipped with holes on the wrong side, and the front tarp can be too tight to re-attach once the screen is fitted. The 9 ft ceiling requirement is the one that would disqualify it from a genuinely low basement.
Why it suits a basement with a standard projector
If your plan is a budget 4:3 projector rather than a modern widescreen unit, the screen shape alone justifies this pick. It is a wide 10 ft 7 in by 8 ft footprint, which is one of the larger hitting areas in the group, and the two full-size side nets give the wall protection that the smaller kits in this roundup leave as an add-on. It is also one of the cheaper steel-frame options with a documented weight and dimension set.
Where it falls short
The 9 ft ceiling requirement, a springy screen that needs bungee tuning to stop bouncing, and documentation thin enough that you will be working from a diagram. If your basement is under 9 ft, this one is out.
Basement Golf Simulator Buying Guide
Enclosures are one line in a basement build, and the constraints that decide your purchase are mostly about the room rather than the product. Here is what we would settle before you spend anything.
Ceiling height: how low you can actually go
Seven feet is where a projected simulator stops being realistic. Between 7 ft 6 in and 8 ft 6 in you can run a 5 ft cage plus a 6 ft enclosure with an overhead net and hit every club, which is the experience owners at 8 ft 6 in describe as workable but still slightly anxious. Nine feet is the comfortable floor for a full driver with an enclosed top. Ten feet and up removes the question entirely, and owners with finished rooms at that height describe a 12 ft wide by 20 ft deep bay as the configuration they would build again.
Size the height to the tallest person in the house plus margin, not to the average. That is the single most useful piece of advice in the owner discussions we read: a 9 ft 6 in ceiling is comfortable for a 5 ft 9 in player who still wishes they had gone to 10 or 11 ft. If your ceiling is marginal and the joists are already low, an enclosure that shrinks to fit is better than one you have to trim on install day.
Depth and swing space
You need roughly 4 ft for the mat, 3 ft of setup and address space, and 6 to 8 ft between the front of the mat and the screen for the launch monitor to read the shot and for the ball to finish. That is the 8 ft to screen rule, and it is why a 10 ft deep hitting area is the minimum and 12 ft is the version that feels roomy. Measure from the back wall to the front edge of where the mat will sit, not to the wall behind the screen.
Ductwork, beams, and columns
Below-grade rooms break the rectangular assumption. A duct run, a beam, or a support column crossing your swing window means you either shorten the enclosure depth or accept a framed top that sits below the obstruction. Measure the lowest point along the full depth of the hitting area, not the average ceiling. Keeping the enclosure against a wall with nothing crossing it is worth more than any extra foot of width, and it is why the square 8 ft 4 in options exist at all.
Noise: keeping the sim from echoing through the house
Noise travels through structure, not air, so a below-grade hit reaches the rest of the house no matter what you do with the door. Work in this order. First, put the mat on the softest surface you can, since a hard slab amplifies every impact and a floating floor or a quality underlayment cuts the low end. Second, choose a multi-layer or triple-layer screen, because screen thickness is what absorbs the hit before it turns into sound. Third, use a full blackout fabric shell rather than open netting, which is the single largest difference between the quiet kits and the loud ones. Fourth, add door sweeps and weatherstripping to the basement stair door, which is often a hollow-core or operable unit. Fifth, if the room above is a bedroom, add mass-loaded vinyl or a second drywall layer on the ceiling side of the shared wall, and decouple the enclosure frame from the joists with isolation feet rather than bolting it straight into the structure.
Ricochet control for high wedge shots
Do you need padding on the ceiling? For a controlled swing with a mid-iron, usually not. For a high wedge or a mishit in a tight room, yes. Padding earns its place in three places: the full face of the impact screen, the vertical poles beside the screen, and the corners where a ball is most likely to fire back. Return nets on the sides matter more than ceiling padding for most golfers, because the most common bad shot is a pushed slice into the nearest wall. Full-coverage foam across the front of the cage is the best ricochet control in this roundup, and side nets plus sandbags are the cheapest partial fix.
Screen size and projector pairing
Match the screen shape to your projector output. A 4:3 screen pairs with older and cheaper projectors, a 16:9 screen pairs with most modern units, and a screen that does not match your output aspect means dead black space at the edges. On throw distance, an ultra short-throw projector can be tempting for a small basement, but it has to sit almost at the screen and it works best in a bay the width of the image. In a narrow hitting bay, a short-throw projector placed behind the mat is usually the more forgiving choice. Whichever you use, a blackout shell is what makes either one look bright.
Enclosure materials and fire ratings
Nylon and polyester mesh is the standard for side nets, and it is cheap because it is not load bearing. The material that decides price is the impact screen and the blackout fabric, which is exactly what builders on the major build forums say: most of the cost of a mid-tier enclosure is the screen, not the cage. Oxford weave and vinyl are quieter and more premium than a thin tarp-style fabric. PVC is fine for a frame if you are building your own, but steel is what holds rigidity for years, and foam-wrapped poles are worth a few dollars more in a room where you will occasionally clip one with a slice. On fire, look for fabric that carries a UL 68.3 fire-retardant rating, because an enclosure is a large fabric surface attached to the structure of a house and not every imported fabric has been tested.
Do you need an enclosure at all?
Four questions decide it. Do you want to play projected virtual courses, or just launch-monitor numbers? Will anyone in the house swing high or hit hard wedges? Is the room below grade and adjacent to living space, where noise and ricochet become real problems? And does the room need to do double duty? If the answer to the first is numbers only, a hitting net is enough. If the answer to any of the other three is yes, an enclosure earns its place.
Total installed cost, itemised
Budget for six line items, not one. The enclosure itself is the line most people focus on, and it is rarely more than a third of a working basement sim. You will also need a launch monitor, a short-throw projector, a PC capable of running the software, a hitting mat, and the finish work: a dedicated circuit, floor protection that handles below-grade moisture, and acoustic treatment on the shared walls. Add an annual software subscription in year one and again in year two, because most simulator platforms are sold as a year one license with a renewal. Owners consistently report that the screen is the expensive part of the enclosure, and that the enclosure is not the expensive part of the room.
For the moisture and finish side, deal with water before you deal with turf. Below-grade floors need a flooring rated for damp conditions, and if your basement has any history of water, a sump pump is the thing that protects every other dollar you are about to spend. Our basement sump pump guide covers that side of a below-grade build.
Retractable and multi-purpose enclosures
If your basement is also a gym, a media room, or a play space, a wall-mounted fold-up enclosure is the only category in this roundup that actually gives the room back. The mechanism works, and reviewers are close to unanimous on that. The cost is installation logistics: a flat full-height wall, a two-person lift, and a bit of sorting hardware. If your basement is unfinished with exposed studs, finish and level that wall first, because a fold-up frame is unforgiving of a wavy surface.
DIY versus pre-built in a basement
DIY makes sense in a basement when you have a genuinely awkward room, because custom sizing is where the value is. The structure is largely cut-to-fit nylon on simple framing, and the screen is the component worth buying rather than building. A seven-step version looks like this. Choose and cut your footprint to your measured clearances, not to the nominal kit size. Build and level the frame, then level it again in position, because a basement floor is rarely flat. Fit the blackout fabric first, cutting it oversize and trimming to the frame. Tension the impact screen in the centre out to the edges until it is drum-tight, which is what stops shanks. Add side return nets and an enclosed top, and anchor the base with sandbags until the frame stops moving. Finish with a blackout test in a fully dark room before you mount the projector. Pre-built wins whenever your room is a standard size and you want to avoid an afternoon of frame work in a low room.
Frequently Asked Questions
Can you put a golf simulator in a basement?
Yes. A basement works well if you have roughly 8 ft 6 in of ceiling, about 10 ft of width, and 10 ft of depth from the back wall to the front of the mat. Below 7 ft 6 in, a projected simulator bay becomes impractical. Below grade also means you should plan for noise containment, because impact sound travels through the floor and foundation walls.
Are 10 foot ceilings high enough for a golf simulator?
Yes, 10 ft is comfortable. It gives room for a 5 or 6 ft tall cage plus clearance, a full driver swing, and an overhead net that catches pop-up shots. Owners with finished rooms at 10 ft ceilings and roughly 12 ft of width describe that as a configuration they would build again.
What happens if my ceiling is too low for a golf simulator?
You shorten the enclosure rather than the swing. A 3 ft low-profile cage still gives you a real hitting area, and dropping to a mat-only setup loses projected play entirely. Below 7 ft 6 in, stop forcing a full bay and use a short game net instead. Check the lowest point along the whole depth of the hitting area, not the average ceiling.
How can I soundproof my golf simulator room?
Work in this order. Put the mat on the softest surface available, since hard slabs amplify impact. Choose a multi-layer or triple-layer screen, which absorbs the hit before it becomes sound. Use a full blackout fabric shell rather than open netting. Add a door sweep to the basement stair door. If the room above is a bedroom, add mass-loaded vinyl or a second drywall layer on the shared wall.
Do I need padding on the ceiling for a golf simulator?
Only if you hit high wedges or if the room is tight. Padding earns its place on the impact screen face, the vertical poles, and the corners, where a ball is most likely to fire back at you. Side return nets matter more than ceiling padding for most golfers, because the most common bad shot is a pushed slice into the nearest wall.
What is the best material to use for a golf simulator enclosure?
Steel for the frame, multi-layer polyester or vinyl for the impact screen, and a woven Oxford or vinyl blackout fabric for the shell. Nylon mesh is fine for side nets because it is not load bearing. The material that drives cost is the screen, not the cage, which is why a kit with a triple-layer screen often outperforms a pricier one with a thin screen.
Can I use PVC for a golf simulator enclosure?
Yes, for a frame you build yourself, and it is light and cheap to work with. The tradeoff is long-term rigidity. Steel holds its shape for years under repeated full swings, while PVC joint strength is the part most likely to give first. If the room is a permanent basement build, steel is the safer choice.
How much depth does a golf simulator need in a basement?
About 4 ft for the mat, 3 ft of setup and address space, and 6 to 8 ft between the front of the mat and the screen for launch monitor reading and ball flight. That makes 10 ft of depth a realistic minimum and 12 ft comfortable. Measure from the back wall to the front edge of the mat, not to the wall behind the screen.
Conclusion
The best golf simulator enclosures for basements are not the biggest ones, they are the ones that clear your lowest ceiling, black out your room, and keep the ball in the bay. The GoSports enclosure with its true blackout panels and multi-layer screen is the pick we would build around first for a standard 8 ft 6 in to 9 ft basement. Go to the Haokelball cage if your ceiling is low and pop-up shots worry you, the Diandian kit if noise from a bedroom above is the problem, and the fold-up enclosure if the room has to stay a gym.
Measure your lowest ceiling point, your depth from the back wall to the mat, and your width before you order anything, then pick the cage that fits those three numbers without trimming. All of our testing notes and basement measurements are current for 2026, and the fit checker at the top of this guide is the fastest way to qualify yourself before you spend.