
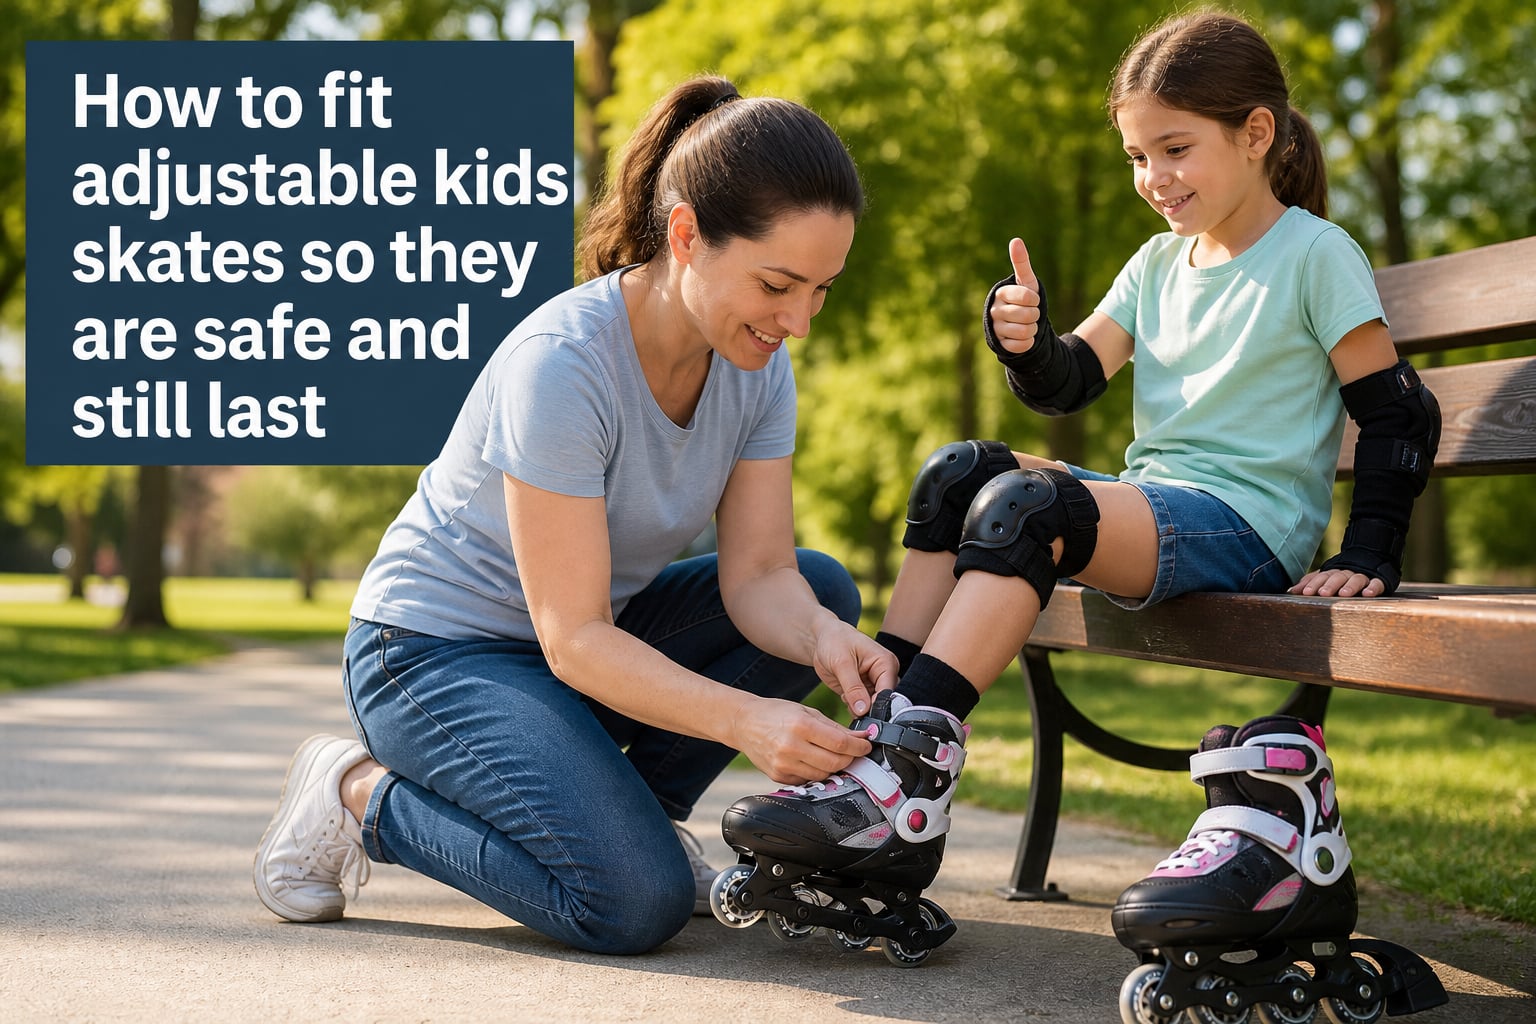
When my daughter got her first pair of adjustable inline skates, I was convinced we were set for years. Three months later, she was wobbling on the pavement with what looked like flippers on her feet. The skates weren’t broken – they were just sized wrong. That single fitting mistake taught me more about how to fit adjustable kids skates than any product review ever could.
This guide is everything I wish I had known before that first pair. We will walk through the exact process for fitting adjustable kids skates so they are safe on day one and still last through multiple growth spurts. Whether you are looking at inline skates, roller skates, or adjustable ice skates, the same principles apply.
Adjustable kids skates are a smart investment for growing feet, but only when fitted correctly. A poor fit turns a great product into a safety hazard. Let me show you how to get it right.
Table of Contents
How should kids skates fit? The golden rules of a safe skate fit
A properly fitted kids skate should feel snug around the heel and ankle, with about a thumb’s width of space between the longest toe and the front of the boot. The foot should not slide inside the boot when your child leans forward or tries to skate.
Most parents either size up too aggressively for growth room or squeeze their child into a too-tight boot because they assume snug means uncomfortable. Both approaches compromise safety and shorten the life of the skates.
The thumb width test explained
The thumb width test is the simplest and most reliable fit check you can do. Have your child stand up straight in the skates with their full weight on both feet. Push the boot’s toe cap forward as far as it goes using the adjustment mechanism. Then have them slide their foot back until their toes just touch the front of the boot.
Now check the gap behind their heel. You should be able to fit one adult thumb – sideways, not flat – into that space. Anything more than one thumb width means the skates are too big. Anything less means they are too tight.
Snug vs tight: finding the right tension
Snug means the boot holds the foot securely without any gaps or slippage. Tight means the boot compresses the foot, restricts circulation, or causes pinching. The difference shows up within five minutes of skating.
After fitting, ask your child to stand and shift their weight from side to side. If their foot slides inside the boot, the closure is too loose. If they complain about pressure on the top of their foot or their toes feel tingly after a few minutes, the closure is too tight. Both mean you need to revisit your fitting process.
How do adjustable kids skates work? Understanding the mechanism
Adjustable kids skates use one of three main systems to extend the boot length as your child grows. Knowing which type you have determines how you fit and adjust them properly.
Button and lever systems
The most common system uses a button or lever located at the heel, side, or front of the boot. Press the button and slide the toe cap forward or backward to set the size. Most models cover three to four shoe sizes in one pair.
These systems are fast and simple but have one major drawback. The frame and wheel base stay the same length regardless of how far you extend the boot. That means when the boot is at its smallest setting, the balance point sits behind the wheels instead of between them.
Frame mounting bolt systems
Some aggressive inline skates and higher-end adjustable models use a system where the frame (the part holding the wheels) slides along the boot. You loosen a set of bolts with an Allen wrench, reposition the frame, and tighten the bolts back down.
This system keeps the balance point correct at every size but requires tools and time to adjust. It also puts more stress on the boot structure over time.
Internal boot adjustment (the better option)
A few brands like Candi Girls adjust the internal boot dimensions rather than extending the boot outward. This system keeps the frame and balance point fixed while changing the interior volume.
Forum discussions with skating coaches consistently mention that internal adjustment systems fit children’s feet better at each size. The trade-off is a smaller size range per pair, usually only two shoe sizes instead of four.
Step-by-step: how to fit adjustable kids skates correctly
Follow these steps in order. Skipping ahead is the most common fitting mistake I see, and it is also the reason so many adjustable skates end up in the garage after a few weeks.
Step 1: Measure your child’s foot accurately
Have your child stand on a piece of paper with their heel against a wall. Mark the tip of their longest toe, then measure from the wall to that mark in millimeters. Always measure both feet and use the larger measurement.
Measure in the afternoon or evening if possible. Feet swell during the day, and you want your fitting to account for the largest size your child’s foot will reach during active skating.
Step 2: Start one size smaller than their shoe size
Skate boots fit differently than regular shoes. You want about one full size of room to grow, but not two. Set the adjustable boot to the size that matches your child’s current foot measurement plus room for about six months of growth.
If your child wears a size 2 shoe and their foot measures 145mm, set the boot to the 150mm to 155mm setting if it offers one. That gives them a thumb’s width of growing room without compromising safety.
Step 3: Put on skating socks first
Fitting skates over bare feet or thin cotton socks gives an inaccurate sense of fit. Use proper skating socks – tall, moisture-wicking, and slightly padded at the ankle and toe.
Thin socks let the foot slide and create friction points. Thick socks compress too much and throw off the thumb width test. Skating-specific socks hit the right balance.
Step 4: Set the boot to the measured size using the adjustment mechanism
Press the adjustment button or lever and slide the toe section to match your measurement from Step 1. Make sure the mechanism clicks firmly into a locked position before proceeding. Most systems have visible or audible indicators when properly engaged.
If your skates use the bolt system, loosen the frame bolts just enough to slide the frame, reposition it so your child’s foot sits centered over the wheels, and retighten the bolts to the manufacturer’s torque specification.
Step 5: Fasten the closure system in the right order
For skates with multiple closure points, always fasten from the bottom up. Start with the ankle buckle or strap, then the middle closure, then the instep, and finally the top cuff buckle.
This order ensures the ankle is locked in first, which is where most of the support comes from. Skating coaches call this “securing the foundation.” Parents who skip to the top buckle first often end up with loose ankles and tight insteps.
Step 6: Perform the thumb width test
With your child standing and bearing weight, check the space behind their heel. Insert your thumb sideways into the gap. If you can fit two thumbs or your whole finger pad, the skates are too big. If your thumb does not fit at all, they are too tight.
Step 7: Test the ankle support
Have your child lean forward slightly with knees bent, as if they are about to push off. Their heel should stay firmly planted in the boot with no lift. If their heel rises more than a few millimeters, the ankle closure needs tightening.
Step 8: Have your child walk, stand, and balance in the skates
The final check is a five-minute walk around on a flat surface. Watch for any limping, toe dragging, or balance corrections. Listen for complaints about hot spots or pressure points. Properly fitted skates should feel like part of the foot within a few minutes.
Signs your child’s adjustable skates fit improperly
This is the part no other fitting guide covers well, and it is the section parents tell me they wish they had read before their first fitting attempt. Kids often cannot articulate when skates fit poorly, so you need to watch for these signs yourself.
Warning signs the skates are too big
The biggest red flag is your child lifting their toes to keep them from sliding forward inside the boot. This compensation pattern is nearly invisible at first glance but is a clear sign the boot is one or two sizes too large.
Other signs include blisters forming on the sides of the feet, the heel slipping out when they lean forward, and an overly soft ankle support that lets the foot wobble inside the boot. One parent on a skating forum described watching her son walk like a penguin for the first ten minutes – that was the heel sliding around in skates two sizes too big.
Warning signs the skates are too small
The opposite problem shows up as numbness in the toes, redness that does not fade within 20 minutes of removing the skates, and complaints of cramping. Kids often assume this discomfort is normal because they have never worn properly fitted skates.
Another sign is the laces or buckles being pulled to their tightest setting just to feel secure. If the closure system is maxed out and the boot still feels loose, the boot itself is too small at the toe.
Why kids can’t always tell you when skates are wrong
Children lack the frame of reference adults have for shoe fit. A six-year-old wearing skates two sizes too big will say they feel fine because they have nothing to compare them to. This is why adult observation matters more than child feedback during the initial fitting.
Forum discussions with parents of beginner skaters consistently mention this issue. Many parents buy adjustable skates based on their child’s enthusiasm and skip the proper fitting checks because the child says they like them. By the time the discomfort becomes obvious, the return window has closed.
Making adjustable skates last longer through proper fit
The other half of this guide is about making the skates last. An adjustable skate that fits well through its full size range will outlast two or three pairs of cheaper fixed-size skates. Here is how to get that extended life.
Don’t extend too far at once
When your child outgrows the current size setting, move up one setting at a time and re-fit the skates using the full process above. Parents who extend the boot to the maximum setting in anticipation of growth end up with skates that are too big today and outgrown faster than expected.
A good rule of thumb is to extend the boot only when the thumb width test shows less than half a thumb of space. That gives you a comfortable fit for two to four months at each setting before the next adjustment.
Check and tighten hardware regularly
The adjustment mechanism and closure hardware loosen with use. Every month, check that the adjustment button or bolts are still fully engaged. Tighten any loose closure buckles or replace worn straps before they compromise the fit.
One of the biggest durability killers is a partially engaged adjustment button. The boot extends slightly during skating, the heel loses its lock, and the ankle support collapses. A five-minute monthly check prevents this cascade.
When to retire the adjustable skates
Adjustable skates reach their end of life when they are at their maximum size and still fit too snugly, or when the closure hardware no longer holds tension even after adjustment. At that point, moving to fixed-size skates is the right call for both safety and performance.
Skating coaches often recommend transitioning out of adjustable skates once a child is skating regularly – more than once a week – and is past age eight or nine. Adjustable skates are excellent learning tools but their balance point compromises make them less suitable for serious progression.
Common fitting mistakes to avoid with adjustable kids skates
I have watched dozens of parents make the same handful of fitting mistakes at the rink. Skipping these pitfalls saves you from buying replacement skates twice in one season.
Sizing up too early for room to grow
The single biggest mistake is buying or adjusting skates to the maximum size setting on day one. This gives your child too much room, which causes blisters, instability, and poor technique. The adjustable feature is meant to extend the useful life as your child grows, not to skip sizing altogether.
Ignoring the closure order
Tightening the top buckle first feels intuitive but it leaves the ankle loose. Always start with the ankle closure and work upward. This is especially important for inline skates, where ankle support is the main safety feature.
Skipping the break-in monitoring
Properly fitted skates still have a break-in period of one to two weeks. Check the fit daily during this window. Hot spots, redness, or complaints of discomfort usually mean a minor adjustment is needed before the skates feel truly custom-fitted.
Frequently asked questions
How to adjust adjustable size skates?
Press the adjustment button or lever, usually located at the heel or front of the boot, and slide the toe section forward or backward to the desired size. Listen for the mechanism to click into a locked position, then have your child stand in the skates and perform the thumb width test behind the heel.
Are kids’ adjustable skates good?
Adjustable skates are good for beginner and casual skaters because they grow with your child and cost less than buying multiple fixed-size pairs. They are less ideal for serious progression because the balance point shifts as the boot extends, which can affect technique development in frequent skaters.
Is it better for roller skates to be too big or too small?
Neither. Properly fitted skates should feel snug with about one thumb’s width of space behind the heel. Skates that are too big cause blisters, instability, and falls. Skates that are too small cause pain, numbness, and cramping. Always fit for current size with minimal room to grow rather than choosing between too big or too small.
How to make rollerblades tighter?
Start by loosening all closures, then retighten them from the bottom up – ankle buckle first, then middle closure, then instep, then top cuff. The ankle closure should be the tightest because it controls heel lock. If the boot still feels loose after tightening, the skates may be sized too large and need adjustment.
When should kids switch from adjustable to non-adjustable skates?
Most skating coaches recommend transitioning to fixed-size skates once a child skates more than once a week, is past age eight or nine, or has outgrown the maximum adjustment range. Adjustable skates are great learning tools but their shifting balance points limit progression in serious young skaters.
Final thoughts on fitting adjustable kids skates
Fitting adjustable kids skates is one of those parenting tasks that looks simple but has real consequences when done wrong. A good fit keeps your child safe, helps them learn faster, and gets you through multiple growth spurts without replacing gear every season.
The core of how to fit adjustable kids skates comes down to three things. Measure carefully, set the size for today’s foot with one thumb’s width of growing room, and check the closure order every time. Skip any of those three and you are gambling with both safety and the lifespan of the skates.
If you remember nothing else from this guide, remember the thumb width test. It takes ten seconds and tells you more than any size chart ever could. Use it every time you adjust the boots, and your child will skate safer and the skates will last longer.