
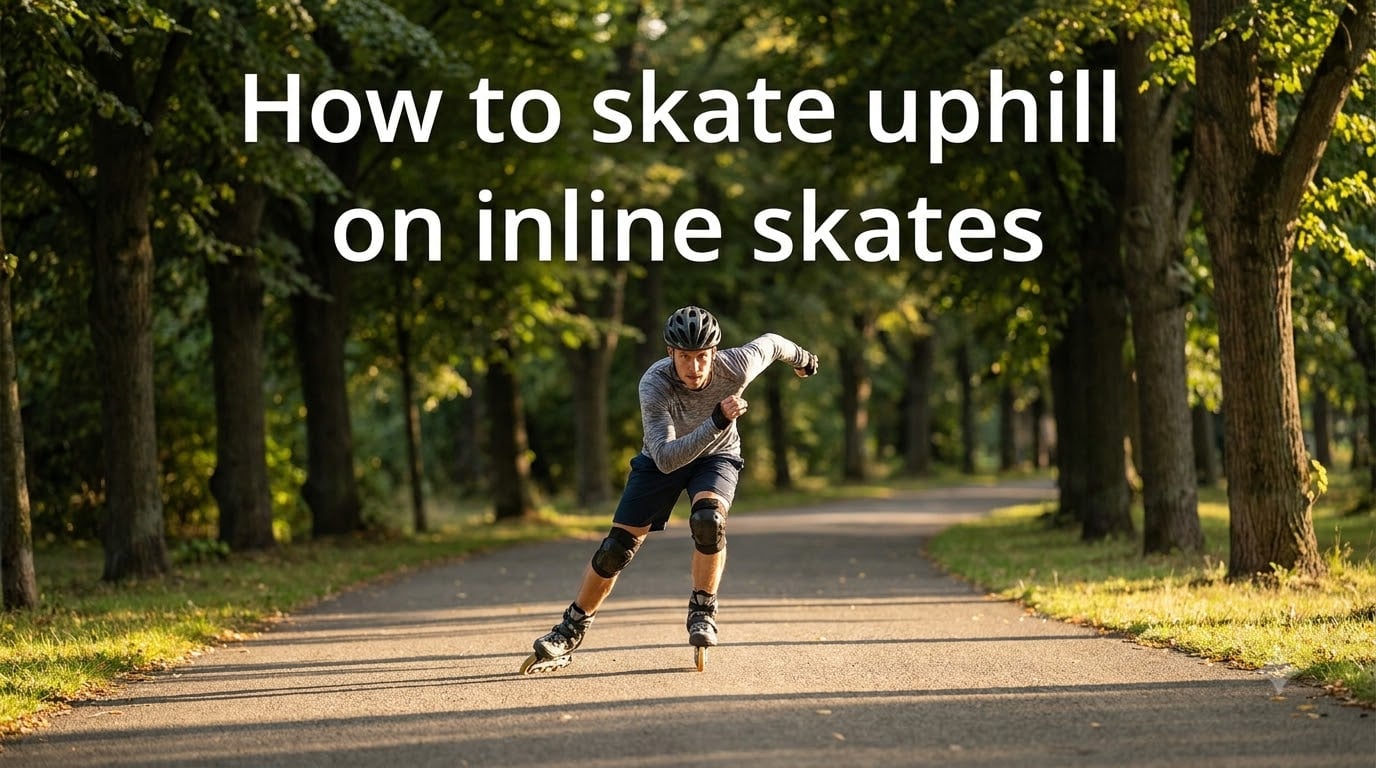
Learning how to skate uphill on inline skates is one of those skills that separates flat-ground skaters from real-world riders. Yes, rollerblades can absolutely go uphill; you just need to adjust your stance, push harder, and shift your weight more deliberately than you do on level pavement.
I spent three summers skating the hilly paths around our local park before uphill felt natural. The first few weeks were brutal on my quads. After about a month of focused practice, what used to wipe me out in 30 seconds now feels almost effortless. This guide walks through everything I learned, plus the techniques our team has tested on slopes ranging from gentle inclines to punishing 12% grades.
Table of Contents
How to Skate Uphill on Inline Skates: Step-by-Step Technique
To skate uphill on inline skates, get into a low ready position with knees bent, push in a wider V-shape from the heel, and increase your stride frequency while keeping your shins pressed against the skate tongues. The five steps below break down the exact technique.
Get into the ready position. Stand with knees bent, feet shoulder-width apart, weight centered, and arms relaxed at your sides.
Widen your stance into a V-shape. Push your toes slightly outward so your wheels form a wide V, creating a stronger platform against gravity.
Press your shins forward into the skate tongues. This engages your shin muscles and keeps your weight forward over the wheels where it belongs.
Increase stride frequency. Switch from long glides to short, vigorous steps. Quicker steps beat longer glides every time on a slope.
Keep your head up and eyes forward. Look at the top of the hill, not at your feet. Your body follows where your eyes go.
If a slope feels too steep or your wheels start rolling backward, step off and walk. There is no shame in walking, and arriving safely is always better than falling.
Proper Stance and Body Positioning for Uphill Skating
Your uphill stance starts in the position experienced skaters call the “ready position.” It is the same balanced posture you use before a sprint or a tight turn, just tilted forward slightly to fight gravity.
The upright ready position
Knees should be bent at roughly 120 degrees, with your hips dropped low. Your back stays straight, chest up, and shoulders relaxed. Think of crouching slightly, not squatting. This posture lets your legs absorb the constant micro-adjustments the slope demands.
Knees bent and forward lean
Many beginners lean backward on hills because it feels safer. Do the opposite. Lean forward from the ankles so your weight sits over the front of your skates. Your shins should rest against the tongue of each skate. The forum veterans over at r/rollerblading say it best: knees in line with the front of the skates, butt slightly out, head up.
Head, eyes, and field of vision
Keep your gaze fixed about 10 to 15 feet ahead, scanning for cracks, debris, and changes in the slope. Looking down at your feet pulls your weight backward and kills your momentum. Looking too far ahead makes you miss immediate hazards. The sweet spot is roughly two skate lengths in front of you.
Weight Transfer and V-Shape Push Technique
Weight transfer is the core mechanic of uphill skating. Every push you make shifts your body weight from one skate to the other, and on a slope that shift happens faster and harder than on flat ground.
What weight transfer means on a hill
On flat ground, you can ride on two skates for most of your glide. On a hill, you spend almost all your time on one skate at a time. The faster you can transfer your weight from one leg to the other, the more momentum you keep.
The V-shape push breakdown
The V-shape comes from the angle of your push. Instead of pushing straight back like on flat ground, you push outward at roughly 30 to 45 degrees. This pushes you both forward and slightly sideways, creating a stable platform under each foot. The wider V gives you more lateral stability, which matters when gravity is constantly pulling you backward.
Avoiding wobble on inclines
Wobble happens when your weight lags behind your feet. To stay smooth, commit fully to each push. Push hard with one leg, transfer all your weight onto it, then push with the other. Hesitation at the transfer point is what causes the side-to-side sway you see in beginner skaters on hills.
Stride Frequency and Power on Hills
Long, lazy glides feel efficient on flat pavement. They are useless on hills. The faster the slope, the shorter and quicker your stride needs to be.
Why longer glides fail on slopes
Every second you spend gliding uphill, gravity is decelerating you. A 3-second glide on flat ground costs you almost no speed. The same glide on a 6% incline can drop you from 12 mph to 7 mph. You have to keep adding energy through new pushes before you run out of momentum.
Finding your sustainable cadence
Aim for a cadence between 60 and 90 pushes per minute depending on the steepness. On gentle slopes, 60 pushes per minute feels natural. On steep hills, push toward 90. The trick is matching cadence to your heart rate. If you are gasping for air, slow down and accept a slightly lower speed.
Pace vs. steepness
The steeper the hill, the closer your pace gets to a slow jog. Skaters who try to maintain their flat-ground pace on steep inclines burn out their quads in under a minute. Treat a steep hill like a sprint: high effort, short duration, recovery at the top.
Arm Position and Balance for Going Uphill
Your arms do more than look cool while skating. They are critical for balance and they actively drive your momentum uphill.
Bent elbows and natural swing
Keep your elbows bent at about 90 degrees and let your arms swing naturally, opposite to your leg pushes. Right leg pushes forward as left arm swings forward, just like running. This cross-body motion engages your core and gives you rotational stability.
Using arms for momentum
On steeper sections, pump your arms harder. Vigorous arm swings add roughly 10% to your forward drive. They also help you stay upright when your legs start to tire, because a strong arm swing counterbalances a wobbly lower body.
Common Mistakes to Avoid When Skating Uphill
Most uphill skating mistakes come from habits learned on flat ground. Here are the four errors our team sees over and over.
Leaning too far back
Leaning back feels intuitive because it feels safer. It is not. A backward lean shifts your weight off the wheels and onto your heels, killing your push power and inviting a backward fall. Stay forward, shins pressed into the tongues.
Toeing out too much
A slight V is good. A full snowplow stance wastes energy. Your wheels should be roughly 30 degrees off centerline, not 60 degrees. Too wide a stance makes your pushes inefficient and tires your inner thighs.
Trying to glide long distances
Long glides lose to gravity on every slope. If you feel the urge to stretch out a stride and ride it out, resist it. Short, quick pushes preserve your speed and save your legs.
Holding breath or tensing up
Stress makes you clench. Clenched jaws, tight shoulders, and held breath all show up the moment a hill appears. Breathe in through your nose for two steps, out through your mouth for two steps. Relaxed breathing buys you 20% more endurance on tough climbs.
Building Leg Strength for Skating Uphill
Strong quads and glutes are non-negotiable for sustained uphill skating. The good news is that a few simple off-skate exercises build the exact muscles you need.
Why quads and glutes fatigue
Every uphill push loads your quadriceps (front of the thigh) to extend the knee. Your glutes fire on every push to extend the hip. On flat ground, these muscles share the work with your hamstrings and calves. On a hill, your quads and glutes take almost the entire load. No wonder beginners feel the burn in 60 seconds.
Bodyweight exercises for skating
Three exercises cover most of what you need:
Bodyweight squats: 3 sets of 15. Builds quads, glutes, and the hip stability you need for the ready position.
Walking lunges: 3 sets of 10 per leg. Mimics the single-leg push pattern of uphill skating.
Step-ups onto a chair: 3 sets of 12 per leg. Builds the exact leg drive required to climb slopes.
Twice a week for four weeks produces noticeable improvement in uphill endurance.
Off-skate hill training
Walking up steep hills with intention trains the same muscles skating uses. Find a hill that wipes you out on skates and walk it briskly twice a week. Carry water, breathe deeply, and lean slightly forward, just like you would on skates. After a few weeks, that same hill on wheels feels easier.
When to Walk Instead of Skating Uphill?
Knowing when to walk is just as important as knowing how to skate uphill. Even experienced skaters walk sometimes.
Steepness threshold
If a slope makes you slow below 3 mph, walking is usually faster. Skaters who try to grind up anything steeper than about 15% grade often lose momentum, fall backward, and risk injury. A quick check on a phone inclinometer app tells you the grade in seconds.
Narrow pavement and traffic
If the path narrows or cars are present, walking gives you better control. Wobbling on a busy road while exhausted is one of the most common ways skaters get hurt. Stop, step off the skates, and walk until the path widens or traffic clears.
Knowing your limits
Fatigue is real. If you have been skating for over an hour and a serious hill appears, walking is fine. The goal is to enjoy skating for years, not to prove something on one climb. Most of our team walks at least one hill on every long outing, even after years of practice.
Frequently Asked Questions
Can rollerblades go uphill?
Yes, inline skates handle uphill terrain well once you adjust your technique. Use a V-shape stance, push harder, increase your stride frequency, and lean forward with your shins pressed against the skate tongues. Steep hills may require walking, especially for beginners.
How do people skate uphill without falling?
Skaters avoid falls uphill by leaning forward from the ankles, keeping weight centered over the front wheels, and pushing in quick, vigorous steps. Looking ahead instead of down at your feet and keeping your arms bent for balance both help prevent falls on slopes.
Should you use quicker steps or long glides when skating uphill?
Quicker steps are far more effective uphill. Long glides cost too much speed against gravity, while shorter, faster pushes keep your momentum and reduce muscle fatigue. Most experienced skaters use 60 to 90 pushes per minute on hills.
How do you pick up speed going uphill on inline skates?
Build speed uphill by pushing hard in a V-shape, increasing stride frequency, and pumping your arms for added momentum. Strong arm swings can add roughly 10% to your forward drive. Stay low in the ready position to keep your weight forward.
How can I build leg strength for skating uphill?
Bodyweight squats, walking lunges, and step-ups onto a chair all build the quads and glutes used in uphill skating. Two training sessions per week for four weeks produce noticeable improvement. Walking up steep hills off-skates also trains the same muscle patterns.
When should I walk instead of trying to skate uphill?
Walk when a slope is steeper than about 15% grade, when your speed drops below 3 mph, when the pavement is narrow with traffic, or when you are already fatigued. Walking is faster than grinding up a hill at walking pace and much safer.
Final Thoughts on Skating Uphill
Knowing how to skate uphill on inline skates comes down to four habits: stay forward in the ready position, push in a V-shape, use short quick strides instead of long glides, and breathe. Combine those habits with the leg strength work above and you will see real progress in about a month.
Start with gentle slopes near home, master the cadence, then work your way up to steeper hills. Every skater on our team still walks the brutal climbs, and that is part of the sport. The goal is consistent, safe progress, not winning every hill. Get out there, find a slope that challenges you, and put these steps into practice this week.