
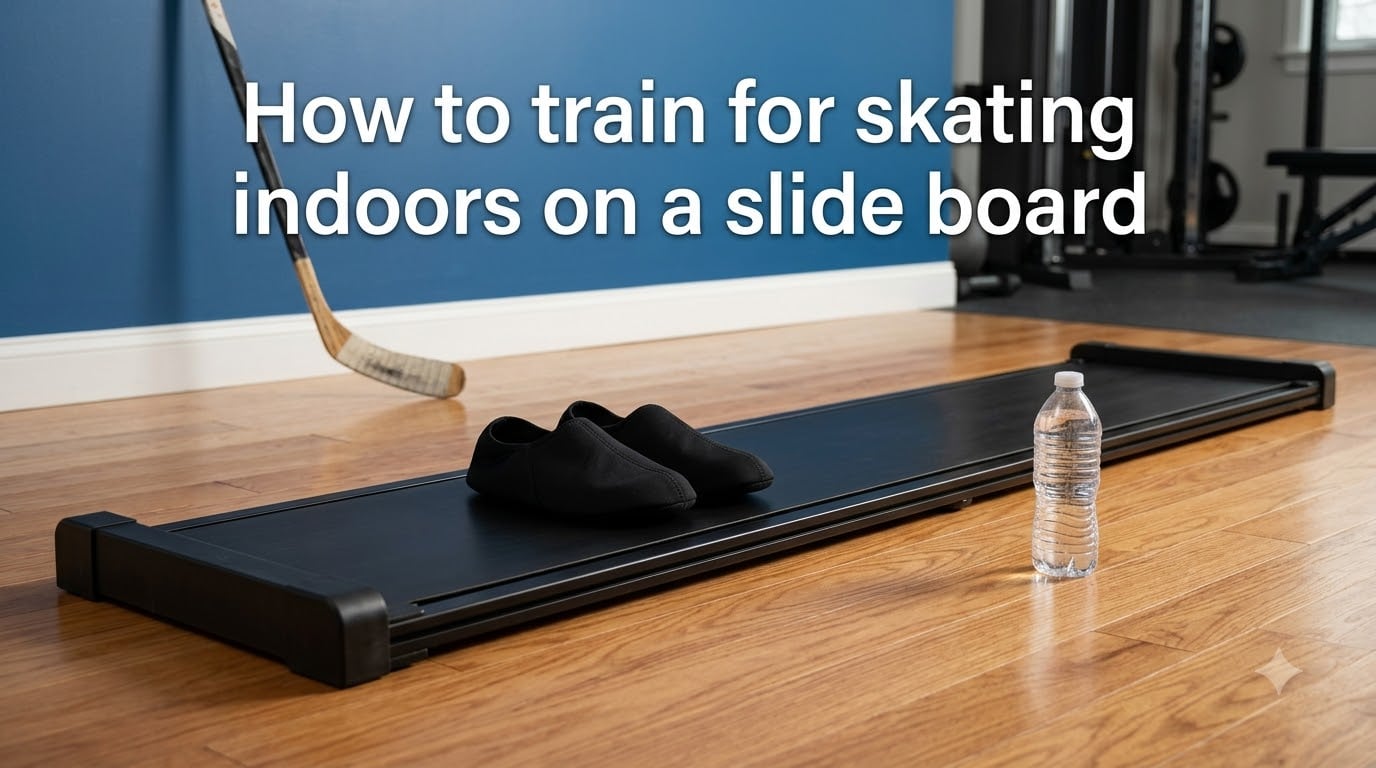
Yes, slide boards improve skating because they reproduce the exact lateral push-and-glide pattern skaters use on ice or roller rinks. When I added slide board sessions to my weekly training two winters ago, my stride depth and recovery speed both measurably improved within six weeks.
If you have ever wanted to know how to train for skating indoors on a slide board, this guide covers the full picture. I walk through what a slide board is, the biomechanics that make it work, the muscles it targets, and a complete training program you can run at home. You will also get the form cues most coaches wish they had learned earlier, plus fixes for the mistakes that frustrate beginners.
Whether you play hockey, figure skate, speed skate, or inline skate, the slide board is one of the few off-ice tools that actually trains your skating stride rather than a generic running motion. Indoor training on a slide board is also low-impact, weather-proof, and accessible year-round.
Table of Contents
What Is a Slide Board and How Does It Work?
A slide board is a long, low-friction platform with end bumpers that lets you push off laterally and glide back and forth. The slick surface mimics the frictionless feel of an ice skate, while the bumpers give you a target to push against with each stride.
Most boards run between 6 and 10 feet long and 12 to 18 inches wide. The surface is usually a hard plastic or laminated wood, and you wear low-friction booties or socks to slide smoothly. Home setups range from commercial boards to DIY versions made from sheet metal, glossy laminate, or even waxed melamine boards.
Here is the basic mechanic: you stand sideways on the board, push off one bumper, glide to the other side, and push back. That single movement is the foundation of every stride you take on ice. The slide board trains it in isolation, without a stick, a puck, or a partner getting in your way.
Slide Board vs Inline Skates: Why the Motion Transfers
Both tools require a lateral push against a low-friction surface. The big difference is that a slide board is stationary, so you can focus entirely on stride mechanics rather than balance. I have found this focus is what makes indoor slide board training so effective for skaters who want cleaner technique.
Why Slide Board Training Mimics Skating Mechanics
Skating is built on a push-glide rhythm where you drive off the inside edge of one skate and glide on the other. Most off-ice exercises, including running, cycling, and even most gym machines, work your legs in a forward-backward sagittal plane. Skating works them in a frontal plane, sideways.
That is exactly what a slide board trains. Every repetition asks your hip to push out laterally, your adductor to control the return, and your standing leg to balance on a single edge. The mechanics match so well that coaches at every level use slide boards for dryland training.
The Push-Glide Pattern Explained
Each stride has three parts. First, you plant your push leg and drive it out to the side. Second, you glide on your stance leg while the push leg recovers underneath you. Third, you plant and repeat on the opposite side. That sequence is the same whether you are doing a hockey crossover or a figure skating three-turn setup.
Inside Edge Activation
When you push off the bumper, your foot rolls onto its inside edge, just like it does on ice. Over time, this ingrains a strong edge push that shows up the moment you step back onto the rink. One of my training partners described it as “muscle memory you can feel in your first stride.”
What Muscles Does a Slide Board Train?
A slide board trains the exact muscle groups that skating demands: glutes, hip abductors, adductors, hip stabilizers, quads, hamstrings, and calves. Your core lights up the entire time because each stride is single-leg balance work.
| Muscle Group | How It Fires on the Slide Board | How It Fires When Skating |
|---|---|---|
| Gluteus Maximus | Powerful lateral extension during the push phase | Drives every stride forward and upward |
| Gluteus Medius / Minimus | Stabilizes the pelvis during single-leg glide | Prevents hip drop on the planted skate |
| Adductors | Controls the recovery pull back to center | Pulls the recovery leg under the body |
| Hip Stabilizers | Keeps the knee tracking over the toe | Maintains edge control through crossovers |
| Quadriceps | Eccentric load on the stance leg | Bends and extends the skating knee |
| Hamstrings and Calves | Assist push-off and stabilize the ankle | Generate power at toe-off |
| Core (obliques, transverse abdominis) | Anti-rotation load during each push | Keeps torso upright and shoulders square |
The key takeaway is that a slide board trains the lateral chain, the inner thigh, glutes, and outer hip, in the same coordination pattern your body uses when you actually skate. This is what makes it one of the most efficient off-ice tools available.
Benefits of Slide Board Training for Skaters
Slide board training is low-impact, joint-friendly, and surprisingly demanding on the cardiovascular system. It also doubles as a physical therapy tool, which is why you will see it in rehab clinics alongside hockey rinks.
Low-Impact Conditioning
Because there is no repeated pounding, your knees and ankles absorb far less stress than they would running or doing box jumps. This makes it ideal for off-season conditioning when you want to maintain stride fitness without grinding down your joints.
Cardio and Calorie Burn
A 20-minute slide board interval session can burn 250 to 350 calories depending on intensity. The combination of single-leg balance, lateral movement, and constant recovery keeps your heart rate high without the impact of running.
Groin Injury Prevention
Strengthening the adductors through controlled lateral work has been shown to reduce the risk of groin strains. Several studies on hockey players have linked adductor strengthening programs to lower injury rates over a season.
Mental Skill Transfer
Skaters often underestimate how much of skating is rhythm. The push-glide cycle on a slide board builds the timing and patience required to extend each glide on real ice, a quality that separates average skaters from great ones.
How to Set Up Your Slide Board at Home?
The biggest practical question I get from readers is space. A full-size slide board needs roughly 8 to 10 feet of clearance, plus a few feet at each end for safety. Most basements, garages, and rec rooms work fine.
Choosing the Right Board Length
Match your board length to your height. Shorter skaters under 5’6″ usually do well on 6 to 7-foot boards. Average adults between 5’6″ and 6’0″ want an 8-foot board. Taller skaters above 6’0″ should look for 9 to 10 feet. One 6’0″ reader told me he cut his 8-footer down to 7 feet because it felt too long, and it actually improved his push power.
Surface and Flooring
Place your board on a hard, level surface. Carpet slows the slide and frustrates beginners. Concrete, hardwood, or tile all work. If you are renting, lay down a hardboard or plywood sheet under the slide board to protect the floor.
Footwear: Booties vs Socks
Most slide boards ship with low-friction booties. Socks work too, but they wear out fast and can catch on the board seams. Dedicated booties slide more consistently and last longer. For beginners, booties are worth the extra cost.
DIY Options That Work
If you are not ready to buy, a 4 by 8-foot sheet of melamine board laid glossy-side up works as a budget option. A few readers on hockey forums have also used large pieces of sheet metal or even waxed hardwood. The key is a smooth, low-friction surface and end bumpers you can push against.
Key Slide Board Exercises for Skating
Start with the basics before adding intensity. These five exercises form the foundation of every solid slide board program for skaters.
1. Basic Lateral Slide
Stand sideways on the board with feet shoulder-width apart. Push off one bumper with your lead leg, glide to the other side, and push back. Keep your chest up and knees soft.
Coaching cue: “Push out, not down.” Most beginners push toward the floor, which kills the lateral power. Drive your push leg straight out to the side, parallel to the board.
2. Single-Leg Reach Slide
Push off the bumper with one leg, then lift that leg and reach it forward before returning. This trains the single-leg balance phase that skating demands during recovery.
Coaching cue: “Eyes forward, hands quiet.” Looking down at your feet breaks your balance and breaks your edge work.
3. Slide Board Lateral Lunge
From a neutral stance, push out laterally into a single-leg lunge on the receiving leg. Hold for two seconds, then drive back to center. This builds eccentric strength in the adductors and quads.
Coaching cue: “Knee tracks over the second toe.” When the knee caves inward, you lose power and risk strain.
4. Slide Board Mountain Climber
In a push-up position with hands on the floor and feet on the board, drive your knees in toward your chest one at a time. This adds a core and upper-body component to the lateral leg work.
5. Figure-Eight Pattern
Instead of sliding in a straight line, slide in a curved figure-eight pattern across the board. This adds rotational demand and mirrors the crossover mechanics used in hockey and figure skating.
How to Train for Skating Indoors on a Slide Board: Sample Workout
This beginner workout takes about 25 minutes including warm-up. Run it three times per week with at least one day of rest between sessions.
Warm-Up (5 minutes)
Start with two minutes of light marching in place, then move into lateral lunges off the board, hip circles, and adductor stretches. Skipping this step is the most common cause of groin strains I see from beginners, so do not skip it.
| Exercise | Sets | Time or Reps | Rest |
|---|---|---|---|
| Basic Lateral Slide | 4 | 30 seconds | 30 seconds |
| Single-Leg Reach Slide (each leg) | 3 | 8 reps | 30 seconds |
| Slide Board Lateral Lunge | 3 | 10 reps each side | 45 seconds |
| Figure-Eight Pattern | 3 | 20 seconds | 30 seconds |
| Slide Board Mountain Climber | 3 | 20 seconds | 30 seconds |
Cool-Down (3 minutes)
Hold a standing adductor stretch for 30 seconds per side, then a kneeling hip flexor stretch for the same time. Finish with a deep squat hold to release the ankles and lower back.
Progressive Training Program: Beginner to Advanced
Measure progress in time, not reps. Counting reps on a slide board is messy because each slide takes a different amount of time based on your glide length. Time-under-tension is cleaner and forces you to slow down and own each rep.
| Level | Weeks | Sessions per Week | Work Interval | Rest Interval |
|---|---|---|---|---|
| Beginner | 1 to 4 | 3 | 20 to 30 seconds | 30 to 45 seconds |
| Intermediate | 5 to 8 | 4 | 30 to 45 seconds | 20 to 30 seconds |
| Advanced | 9 and beyond | 5 | 45 to 60 seconds | 15 to 20 seconds |
By week 8, you should be able to glide further per push and recover faster on the return. That is the real progress marker. Speed will come once technique is automatic.
Common Slide Board Mistakes and How to Fix Them
I have coached enough beginners to know the same five mistakes show up over and over. Fix these and your training transfers faster to the ice.
1. Knees Caving Inward
When the knees collapse toward the center of the board, the adductors do all the work and the glutes switch off. The fix is to consciously press your knee out over your second toe on every push. A mirror or a phone camera filming from the side helps.
2. Pushing Down Instead of Out
Pushing downward kills the lateral power and loads the knees. Think about pushing the bumper straight out to the side, as if you were trying to push a wall away from you rather than stomp on the floor.
3. Skipping the Warm-Up
Cold adductors are the most common injury site. Always spend at least five minutes warming up the inner thighs and hips before stepping onto the board.
4. Looking Down
Watching your feet breaks the balance and breaks the kinetic chain. Pick a spot on the wall at eye level and keep your gaze there throughout the set.
5. Rushing Reps
Going fast before you have built technique just builds bad habits. Slow down, hold each glide for a beat, then push. Quality always wins over quantity on a slide board.
Slide Board vs Other Off-Ice Training Methods
The slide board is not a replacement for everything else. It is the lateral piece most other tools miss. Combining it with complementary methods gives you the best off-ice program.
| Method | Plane of Movement | Best For | Complements Slide Board? |
|---|---|---|---|
| Slide Board | Frontal (lateral) | Skating stride mechanics | N/A |
| Running | Sagittal (forward) | Aerobic base, leg turnover | Yes |
| Cycling | Sagittal (forward) | Quads, cardio without impact | Yes |
| Plyometrics | Vertical | Power and explosiveness | Yes, after a base is built |
| Stair Climber | Sagittal (forward) | Cardio, glutes | Yes |
| Swimming | Mixed | Full-body recovery work | Yes |
The fastest skaters I have trained combine slide board work two or three days per week with one day of plyometrics, one day of aerobic base work, and one day of mobility. That mix covers all the planes of movement a skater needs.
Frequently Asked Questions
Final Thoughts on Indoor Slide Board Training
Learning how to train for skating indoors on a slide board is one of the highest-leverage moves any skater can make during the off-season. You build the lateral strength skating actually requires, you protect your joints, and you can do it from your basement in any weather.
Start with the basic lateral slide, master your form before chasing speed, and progress through the three-level plan outlined above. Within two months you will feel the difference on your first stride back on the ice or rink. Pick up a board, set aside three sessions a week, and let the slide board do the work your gym routine has been missing.