
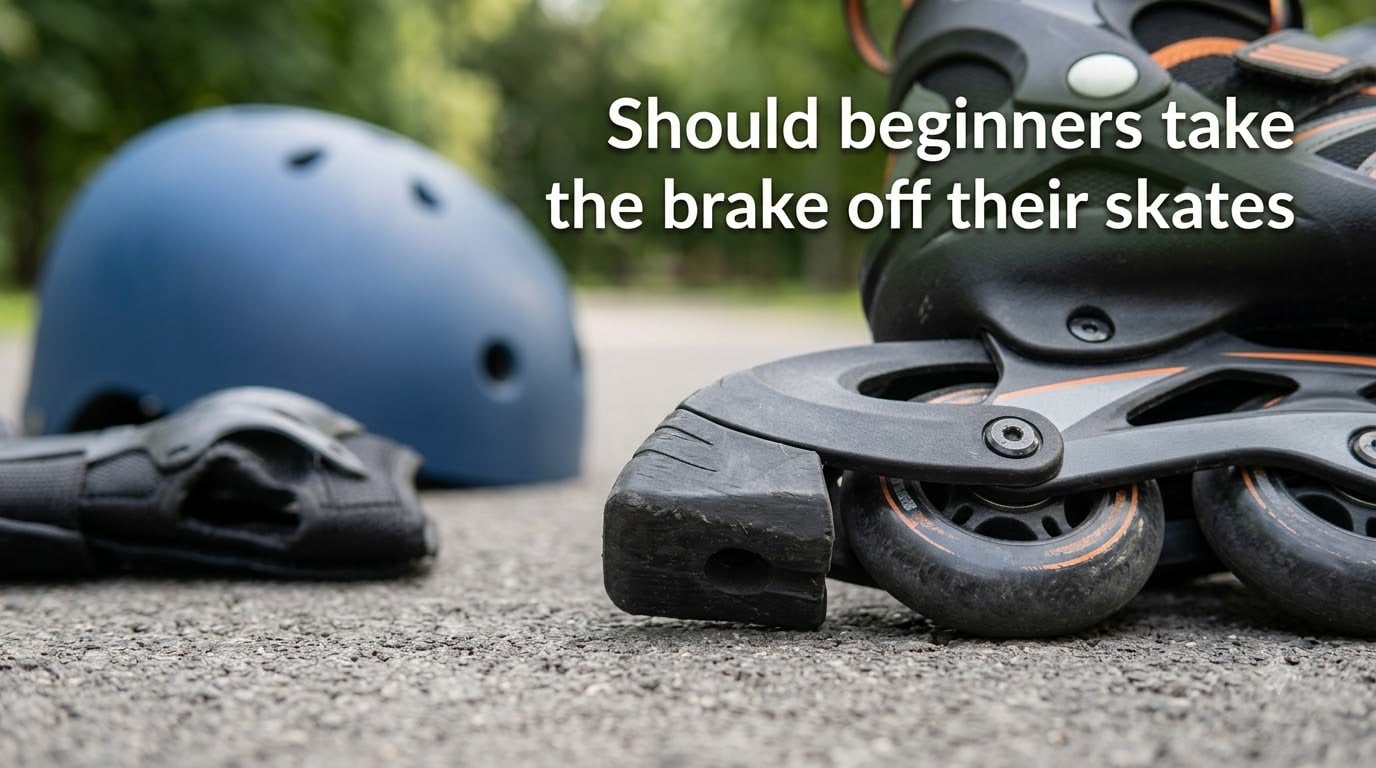
If you are new to inline skating, you have probably asked yourself this question once or twice: should beginners take the brake off their skates? Maybe you noticed more experienced skaters gliding without one. Maybe a friend told you the brake is for kids. Maybe you want to look serious on wheels.
The short answer is no. Beginners should keep the heel brake on until they have mastered at least two to four alternative stopping methods that work at their highest speeds and on the slopes they actually ride. In this guide, I will walk you through why the brake matters, what methods to learn first, how to know when you are ready to remove it, and the most common mistakes beginners make along the way.
Table of Contents
Should Beginners Take the Brake Off Their Skates?
No. Beginners should keep the heel brake on until they can stop reliably without it. Specifically, you should be confident in at least two to four alternative stopping methods that cover your fastest speeds and every hill or slope you encounter in your regular routes.
The brake exists because stopping on inline skates is genuinely hard to learn. Pressing a rubber pad into the ground is reliable, repeatable, and works when you panic. Until you have that same level of trust in your own footwork, the brake is a safety tool, not a beginner badge of shame.
Why the Heel Brake Matters for Beginners?
The heel brake is the single most reliable stopping device you can have on inline skates. It does not require balance, edge control, or coordination under stress. You press, you slow down. That reliability is exactly what new skaters need while their muscle memory is still being built.
What the Heel Brake Does
The heel brake is a rubber pad mounted at the back of one skate, usually the right skate. When you shift your weight back and lift your toes, the pad makes contact with the ground and slows you through friction. Most beginners can learn to use it within their first session.
Unlike other stopping methods, the heel brake does not depend on your ability to balance on edges or rotate your body. That makes it the only reliable option for true emergencies, especially on hills you did not expect.
How to Use the Heel Brake Safely
Using the brake correctly keeps you in control and avoids face-plants. Follow these steps every time:
Get into a slight squat with knees bent and weight slightly forward.
Slide the brake skate slightly ahead of the other skate.
Shift your hips back while keeping your center of gravity low.
Lift the toes of the brake skate so the heel pad touches the ground.
Apply steady pressure, increasing gradually until you slow to a stop.
Keep the heel skate straight behind you, not turned out, to avoid falling sideways.
The biggest mistake beginners make is leaning too far back. Keep your weight low and over the balls of your feet, not your heels. This keeps you balanced and prevents the skate from shooting out from under you.
Alternative Stopping Methods You Need Before Removing the Brake
Before you take the brake off, you need backup options. These are the four stopping methods worth learning, ranked from easiest to hardest.
T-Stop (Beginner-Friendly)
The T-stop is the first stop most skaters learn after the brake. You drag the trailing skate sideways behind you so the wheels form a T shape with the leading skate. Friction slows you down.
It feels awkward at first because balancing on one skate while the other drags sideways is harder than it looks. Expect to wobble for a week or two. With practice, you can stop from moderate speeds on flat ground. Most beginners feel comfortable with the T-stop after two to four weeks of regular practice.
Stepping Plough (Beginner to Intermediate)
The stepping plough, sometimes called the wedge stop, uses both skates. You push your heels outward while keeping your toes pointed in, creating a wedge shape that resists forward motion.
This method is gentle on the knees and works well at slow speeds. It is not a hard stop, but it is a controlled way to scrub off speed gradually. Many beginners use it as a transition between the heel brake and faster stops.
Powerslide (Intermediate)
The powerslide rotates one skate 90 degrees and slides it sideways. It produces serious stopping power and looks impressive, but it requires good edge control, balance, and confidence.
Most skaters need a few months of regular skating before they can powerslide reliably. It is also hard on your wheels, especially softer outdoor wheels. Treat this as a goal, not a starting point.
Magic Stop or Turn Stop (Advanced)
The magic stop spins you 180 degrees to a controlled stop. It is dramatic, fast, and requires a level of edge control that beginners simply do not have. Hockey players and aggressive skaters use it often.
You will likely not need this method for casual fitness skating. But if you skate in tight urban environments or want to handle aggressive terrain, learning a rotational stop gives you another layer of safety once your fundamentals are solid.
Addressing Common Concerns: Curbs, Crossovers, and Hills
Most beginners who want to remove the brake cite one of three concerns: catching the brake on curbs, hitting the brake during crossovers, or feeling limited on hills. Let me address each one.
Will the Brake Catch on Curbs?
It can, but it is avoidable. The key is to lift the brake skate slightly when stepping up or over a curb. Most skaters learn this instinctively within the first week.
When stepping down a curb, lead with the non-brake foot so the brake skate lands second. This protects the pad from impact and gives you a smoother transition. With a little awareness, curb navigation with the brake on is a non-issue.
What About Crossovers?
Crossovers can be tricky because the inside skate, which is often the brake skate for right-foot-dominant riders, does clip the ground. This is where proper technique matters.
To do crossovers with the brake on, lift the inside skate slightly higher than you think you need to. Push off the outside edge of the back skate and bring the inside skate over with clearance. It takes practice but becomes automatic. If crossovers are a major part of your skating (think roller hockey or artistic skating), removing the brake makes sense earlier. For everyone else, the inconvenience is minor.
How Steep Is Too Steep Without a Brake?
A good rule: if you would not feel comfortable bombing the hill on a bicycle with only a rear brake, do not remove your heel brake yet. Steep hills are where beginners get hurt most often, and the heel brake is your insurance policy.
For gentle slopes under five percent grade, the T-stop or stepping plough is usually enough once you have practiced. For anything steeper, keep the brake on until you have a powerslide or magic stop you can rely on.
When Are You Ready to Remove the Brake?
Readiness is not about how long you have been skating. It is about having a portfolio of stopping methods you trust. Here is what I look for before recommending removal.
Signs You Are Ready
You are ready to remove the brake when all of the following are true:
You can T-stop from your normal cruising speed without thinking.
You can powerslide or wedge-stop on the hills you actually ride.
You have stopped safely at speed at least a dozen times without grabbing the brake.
You no longer panic on small downhills or uneven pavement.
You have skated at least three months consistently, two or more times a week.
If even one of these is shaky, keep the brake on another month.
Beginner Progression Timeline
Most casual skaters who practice twice a week should expect six to twelve months before removing the brake feels safe. More aggressive skaters who drill stopping drills may reach readiness in two to three months.
For skaters in flat urban areas, the timeline can be shorter because there is less terrain to cover. For skaters in hilly regions, plan on the longer end and consider keeping the brake indefinitely as a backup.
How to Practice Alternative Stops While Still Using the Brake
You do not have to choose between learning new stops and keeping the brake. In fact, you should not. The brake is your safety net while you build skills.
Pick a flat, smooth stretch of pavement. Skate at a moderate pace and try a T-stop once or twice. If it feels shaky, finish the stop with the brake. Repeat the drill every session. After a few weeks, you will instinctively reach for the T-stop first and only need the brake when speeds climb higher than expected.
This dual training builds muscle memory without putting you at risk. Removing the brake before you have alternatives forces you to learn under pressure, which is how most injuries happen.
Common Mistakes Beginners Make With the Brake
Avoid these pitfalls to get the most out of your heel brake.
Removing the brake too early. Peer pressure and brake shaming lead to injuries. There is no trophy for skating brakeless.
Pressing the brake with a straight leg. Always bend the knee. A straight leg means a hard fall if the brake locks.
Looking down at the brake. Keep your eyes forward. Watching your feet throws off balance.
Replacing the brake with no plan. Removing the brake should be the result of mastering alternatives, not the start of learning them.
Skipping hill practice. Flat-ground T-stops do not translate to downhills. Train on the slopes you actually ride.
FAQ
Should beginners take the brake off their skates?
No. Beginners should keep the heel brake on until they have mastered at least two to four alternative stopping methods that work at their highest speeds and on the slopes they encounter regularly.
How long should beginners keep the heel brake?
Most beginners who practice twice a week need six to twelve months before they are ready to remove the brake. Aggressive skaters who drill stopping drills regularly may be ready in two to three months.
What is the easiest alternative stopping method for beginners?
The T-stop is the easiest alternative. You drag the trailing skate sideways behind the leading skate so the wheels form a T shape, creating friction that slows you down. It takes two to four weeks of practice to feel comfortable.
How do I stop on roller skates for beginners?
The fastest way to learn is to use the heel brake. Shift your weight back, lift the toes of the brake skate, and press the rubber pad into the ground while keeping your knees bent. This gives you reliable stopping power while you learn alternative methods like the T-stop.
Is it safe to skate on hills without a heel brake?
Only if you have mastered a high-speed stopping method such as the powerslide or magic stop. For gentle slopes under five percent grade, a reliable T-stop or wedge stop is usually enough. For steeper hills, keep the brake on as a safety backup.
Final Verdict
Should beginners take the brake off their skates? No, not yet. The heel brake is a safety tool that gives you reliable stopping power while you build the muscle memory for the T-stop, wedge stop, and eventually the powerslide. There is no shame in using it, and removing it too early is one of the most common causes of beginner injuries.
Train alternative stops on every session, drill them on the hills you actually ride, and wait until you trust your footwork at speed before taking the brake off. Six to twelve months of consistent practice is a realistic timeline for most beginners. If you skate in a hilly area, keep the brake on indefinitely as a backup. Skaters in flat urban areas may reach readiness sooner.
Master the brake first, then graduate to brakeless skating on your own terms. Your knees will thank you.