
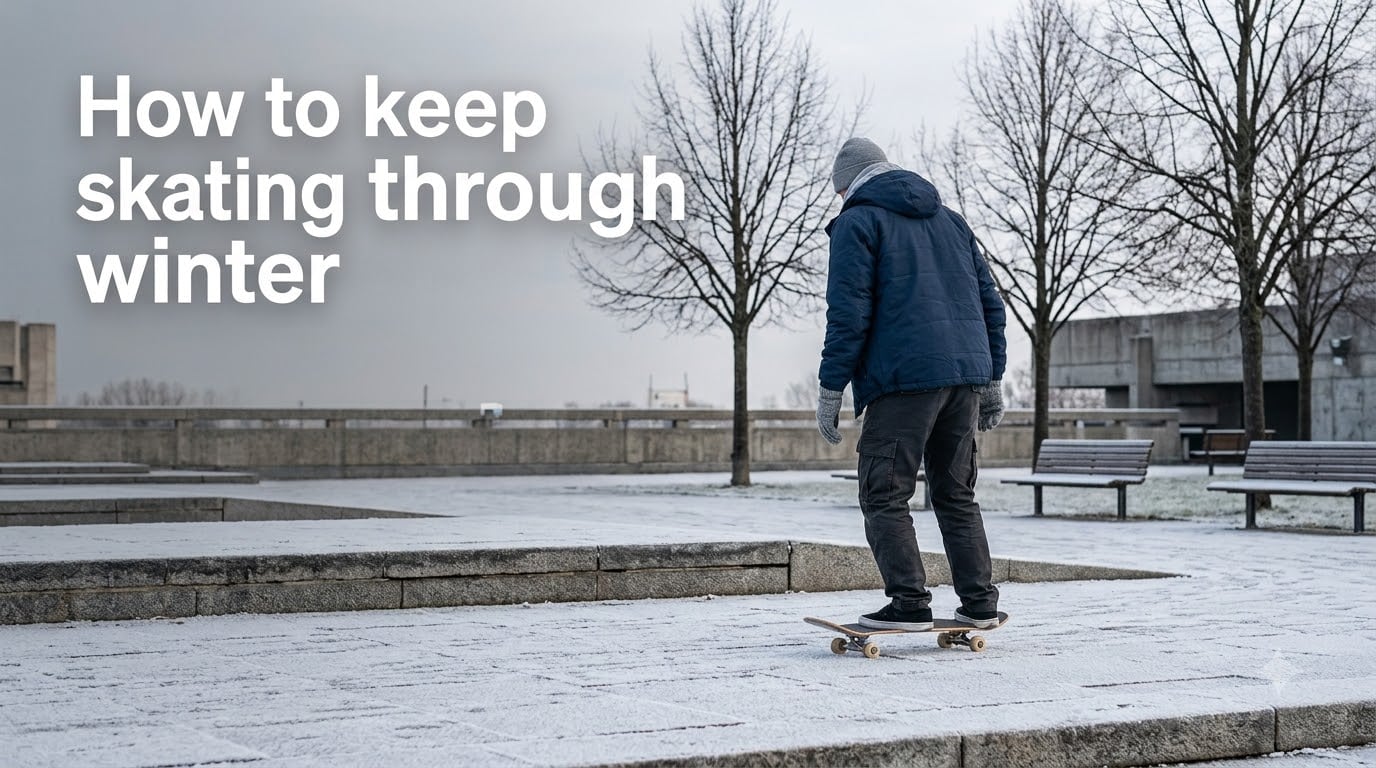
Yes, you can absolutely keep skating through winter. I have spent the last several cold seasons figuring out exactly what works, what fails, and where the line sits between pushing through and calling it a day. Winter skating comes down to three things: the right layers, adapted equipment, and smart spot selection.
If you live somewhere with real winters, you already know the temptation to hang up your skates or board the moment temperatures drop. But here is the truth: with a few targeted adjustments, you can keep your skills sharp, your fitness up, and your connection to the skate community alive all year round. This guide breaks down everything from temperature-specific guidelines to equipment maintenance, so you never have to sit out a season again.
Our team pulled insights from experienced winter skaters across forums, tested layering systems in freezing conditions, and compiled the best gear hacks from skaters who refuse to stop. Whether you ride a skateboard, inline skates, or roller skates, the principles here will keep you rolling through the coldest months.
Table of Contents
How to Keep Skating Through Winter: Temperature Guidelines
Yes, you can skate in cold weather, but the temperature outside changes what you should do. Below 40 degrees Fahrenheit, your muscles take longer to warm up and your gear starts behaving differently. Below freezing (32 degrees F), bushings stiffen, bearings slow down, and exposed skin becomes a real concern.
Here is a breakdown I rely on when deciding whether and how to skate:
Above 50 degrees F: Standard skating conditions. Light layering, normal gear. No special precautions needed.
40 to 50 degrees F: Comfortable skating with a light jacket and gloves. Add a few extra minutes to your warm-up.
30 to 40 degrees F: Full layering system required. Loosen your trucks slightly to counteract stiff bushings. Limit sessions to 60 to 90 minutes.
20 to 30 degrees F: Skating is possible but demands serious preparation. Thermal layers, windproof shell, insulated gloves, and a beanie are non-negotiable. Keep sessions short and watch for frostbite symptoms.
Below 20 degrees F: I recommend moving indoors. At this temperature, the risk to your skin, lungs, and equipment outweighs the benefits of an outdoor session.
Wind chill matters as much as the thermometer reading. A 35-degree day with 15 mph wind feels closer to 25 degrees on exposed skin. Always check the “feels like” temperature before heading out.
Build Your Winter Layering System
The biggest mistake new winter skaters make is throwing on one heavy coat and calling it done. That approach leaves you sweating after five minutes of skating, and the sweat freezes the moment you stop moving. The solution is a proper three-layer system.
Base Layer: Moisture Management
Start with a moisture-wicking base layer made of synthetic fabric or merino wool. This layer pulls sweat away from your skin so it does not freeze when you rest. Avoid cotton here, as it holds moisture against your body and turns cold fast.
A long-sleeve thermal compression shirt works well for skating because it moves with you without bunching up. Pair it with thermal leggings under your skating pants for full coverage.
Mid Layer: Insulation
Your mid layer traps body heat. A fleece pullover or lightweight insulated jacket does the job without restricting your range of motion. For skating, pick something fitted enough that it does not flap in the wind or catch on your gear.
On moderately cold days (around 40 degrees F), you might skip this layer entirely. On colder days, a puffer vest over your base layer gives you core warmth while keeping your arms free for movement.
Outer Layer: Wind and Water Protection
The outer shell is your barrier against wind, snow, and moisture. Look for a windproof, water-resistant jacket with a snug fit. Features like adjustable cuffs and a high collar make a real difference when you are bombing hills at speed.
For your lower half, windproof skate pants or a lightweight rain shell over your thermals block the chill that hits your legs at speed. Many winter skaters on Reddit swear by bringing an extra pair of socks to swap mid-session when the first pair gets damp.
Protect Your Extremities
Your fingers, toes, and ears are the most vulnerable spots for frostbite. Insulated gloves with grip texture let you hold your board or maintain balance without freezing. A beanie under your helmet covers your ears, and wool socks keep your feet functional.
One skater on r/OldSkaters shared that frostbite affected their finger circulation so badly they could not feel their grip for days afterward. Take that warning seriously and never skate with exposed skin below freezing.
Warm Up Properly in Cold Weather
Cold muscles tear easily. Skipping your warm-up in winter is the fastest route to a pulled muscle or worse. Your body needs extra time to reach skating-ready temperature when the air outside is working against you.
Step 1: Indoor Activation (5 to 10 Minutes)
Start your warm-up inside before you step into the cold. Jumping jacks, high knees, bodyweight squats, and dynamic lunges get your blood flowing and raise your core temperature. The goal is to break a light sweat indoors so your body starts from a warm baseline.
Step 2: Joint Mobility (3 to 5 Minutes)
Cold weather makes joints stiff, especially ankles, knees, and hips. Ankle circles, leg swings, hip rotations, and knee bends restore the range of motion you need for skating. Move through each motion slowly and deliberately.
Step 3: Dynamic Stretching Outside (3 to 5 Minutes)
Once you are outside, keep moving. Static stretching on cold muscles causes injury, so focus on dynamic movements: walking lunges, arm circles, torso twists, and shallow squats. The moment you feel yourself cooling down, start skating at low intensity.
Step 4: Gradual Ramp-Up
Do not drop into a trick or sprint in your first ten minutes. Spend the first 15 minutes of your session cruising, carving, and getting a feel for the surface conditions. Cold surfaces behave differently, and your gear needs time to adjust too.
A proper cool-down matters just as much. After your session, get inside quickly, strip off damp layers, and stretch while your muscles are still warm. Damp clothing against your skin in cold air pulls heat away fast.
Maintain Your Skate Equipment in Winter
Winter is hard on gear. Moisture, road salt, and temperature swings all take a toll on your setup. A few maintenance habits will keep your equipment in fighting shape through the coldest months.
Bearings: Your First Line of Defense
Wet conditions are the enemy of bearings. When water gets inside, it causes rust and slows your roll within days. After skating on wet or damp surfaces, clean and dry your bearings immediately. Remove the wheels, pop the bearings out, wipe them down with a dry cloth, and let them air dry near (but not directly on) a heater.
One popular forum hack involves using a few drops of olive oil or a light lubricant like WD-40 to displace moisture after wet sessions. Dedicated bearing cleaner and speed cream work even better for long-term protection. If you skate in wet conditions regularly, consider keeping a separate “rain setup” with cheaper bearings you do not mind sacrificing.
Wheels: Softer Is Better in Cold
Cold temperatures make wheels harder, which means less grip and more slipping. Switching to softer wheels (78A to 85A durometer) gives you better traction on cold, damp pavement. Many inline skaters use dedicated rain wheels with deeper grooves that channel water away from the contact patch.
For skateboarding, larger softer wheels (54mm to 56mm at 80A) roll over debris and wet patches more smoothly than small hard park wheels.
Trucks and Bushings
Bushings stiffen in cold weather, which tightens your turning response without you touching a tool. Experienced winter skaters recommend loosening your trucks slightly, about a quarter turn on the kingpin nut, to compensate. This keeps your carve feeling natural even when the rubber is cold and unyielding.
Deck and Griptape Care
Water damages wooden decks. If your board gets wet, dry it immediately with a towel and store it in a dry, room-temperature spot. One Reddit user shared a tip of scoring griptape lightly with a blade to help it adhere better in cold conditions. A rubber doormat texture applied over griptape is another popular hack for wet-weather grip.
As long as you dry your board properly after each wet session, it will not warp. The danger comes from leaving it damp in a cold garage overnight.
Find and Prepare Winter Skate Spots
Finding a skateable surface in winter requires more effort than in summer. Snow, ice, wet leaves, and road salt all change the landscape. Here is how I approach spot hunting when the weather turns.
Pick the Right Surfaces
Smooth asphalt and concrete are your best bets. Avoid painted surfaces, metal grates, and brick, as they become dangerously slick when cold and damp. Parked car lots, underground garages, and covered basketball courts often stay dry and accessible all winter.
Paved bike trails that get plowed and salted by the city are another solid option. Check local trail condition reports before heading out.
Prepare Your Own Spot
If your usual spot is snow-covered, you can create your own. Bring a shovel and clear a section of smooth concrete. For stubborn ice patches, skaters on r/skateboarding recommend scattering salt to break up the surface. One resourceful user even described using a propane torch to melt ice off their local ledge.
Always sweep away leftover salt and debris before skating, as salt granules act like ball bearings under your wheels and cause sudden slides.
Timing Matters
The best time to skate in winter is late morning through early afternoon. Surfaces have had time to dry from overnight frost, temperatures peak, and visibility is at its best. Lunchtime skating is a strategy many year-round skaters swear by, as the midday sun makes a real difference in surface conditions.
Stay Visible and Safe in Short Winter Days
Winter means shorter days and lower sun angles. If you skate in the early morning or late afternoon, you are skating in low light or darkness. Visibility for yourself and others becomes a safety priority.
Wear Reflective Gear
A reflective vest takes up almost no space and makes you visible to drivers from hundreds of feet away. Look for jackets or accessories with built-in reflective strips. Light-up clip-on LEDs and wheels with integrated lights add another layer of visibility that catches attention from every angle.
Use Lights
A small front light clipped to your helmet or chest and a red blinking light on your back transform you from invisible to unmistakable. Cyclists have used this approach for years, and it works just as well for skaters.
Skate With a Buddy
Winter conditions increase the risk of injury. A skating buddy means someone is there if you go down on black ice or twist an ankle on a hidden pothole. If you skate alone, tell someone where you are going and when you expect to be back.
Carry Essentials
Bring a small pack with your phone, a dry pair of socks, a compact towel, and a basic tool kit. If your session gets cut short by wet gear or a mechanical issue, you want to be able to handle it on the spot.
Indoor Skating Alternatives for the Coldest Days
Some days are simply too cold, too wet, or too icy for outdoor skating. That does not mean you have to stop progressing. Indoor options keep your skills sharp while the weather resets.
Indoor Skateparks and Roller Rinks
Indoor skateparks offer ramps, bowls, and street features in a climate-controlled environment. Many roller rinks open public skate sessions that welcome inline and roller skaters. Check your local listings for drop-in times and membership options.
Cross-Training at Home
When getting to a park is not an option, cross-training maintains your fitness and balance. Balance boards build the stabilizer muscles you use for skating. Strength training focused on legs and core keeps your body ready for the moment conditions improve. Stretching and yoga preserve the flexibility that skating demands.
Watch and Learn
Use downtime to study technique. Watching pro skaters break down tricks, analyzing your own footage, and reading up on gear maintenance are all productive ways to spend a cold evening. When spring arrives, you will step back onto your board with new knowledge and fresh motivation.
Frequently Asked Questions
Can you skate when it’s cold?
Yes, you can skate in cold weather with the right preparation. Above 40 degrees Fahrenheit, normal skating works with light layering. Between 30 and 40 degrees, you need full layers, gloves, and extra warm-up time. Below 20 degrees, move indoors to protect your skin, lungs, and equipment.
Is 30 degrees too cold to skate?
Thirty degrees Fahrenheit is not too cold to skate, but it demands serious preparation. Wear a full three-layer system, insulated gloves, a beanie, and thermal base layers. Loosen your trucks slightly to compensate for stiff bushings. Keep sessions under 90 minutes and watch for signs of frostbite on your fingers, toes, and ears.
Can you ice skate while it’s snowing?
Yes, you can ice skate while it is snowing, but fresh snow obscures cracks and thin spots on natural ice. For rink skating, light snow is not an issue. For outdoor natural ice, always check thickness (at least 4 inches for safety) and avoid areas with running water underneath. Snow also slows your glide significantly.
How warm is too warm for ice skating?
Ice skating becomes unsafe when temperatures rise above 50 degrees Fahrenheit for natural outdoor ice, as the surface begins melting and softening. Rink ice is maintained artificially and can handle warmer outside temperatures. For natural ponds and lakes, skate early in the morning when overnight temperatures have kept the surface solid.
Final Thoughts on Winter Skating
Learning how to keep skating through winter is not about toughing it out blindly. It is about smart preparation, the right gear, and knowing when to push and when to step back. Temperature guidelines tell you when to adjust. A proper layering system keeps you warm without overheating. Equipment maintenance protects your investment. And a solid warm-up routine prevents the injuries that cold weather makes more likely.
The skaters who ride all year are not superhuman. They just figured out the systems that work and stuck with them. Use the temperature thresholds, build your layering setup, adapt your gear, and find spots that stay skateable. Before long, you will be the one giving advice to skaters who think the season ends in November.
Pick one thing from this guide to try on your next cold-weather session. Start with layers or bearing maintenance, then build from there. Winter does not have to mean months off your board or skates. It just means skating smarter.