
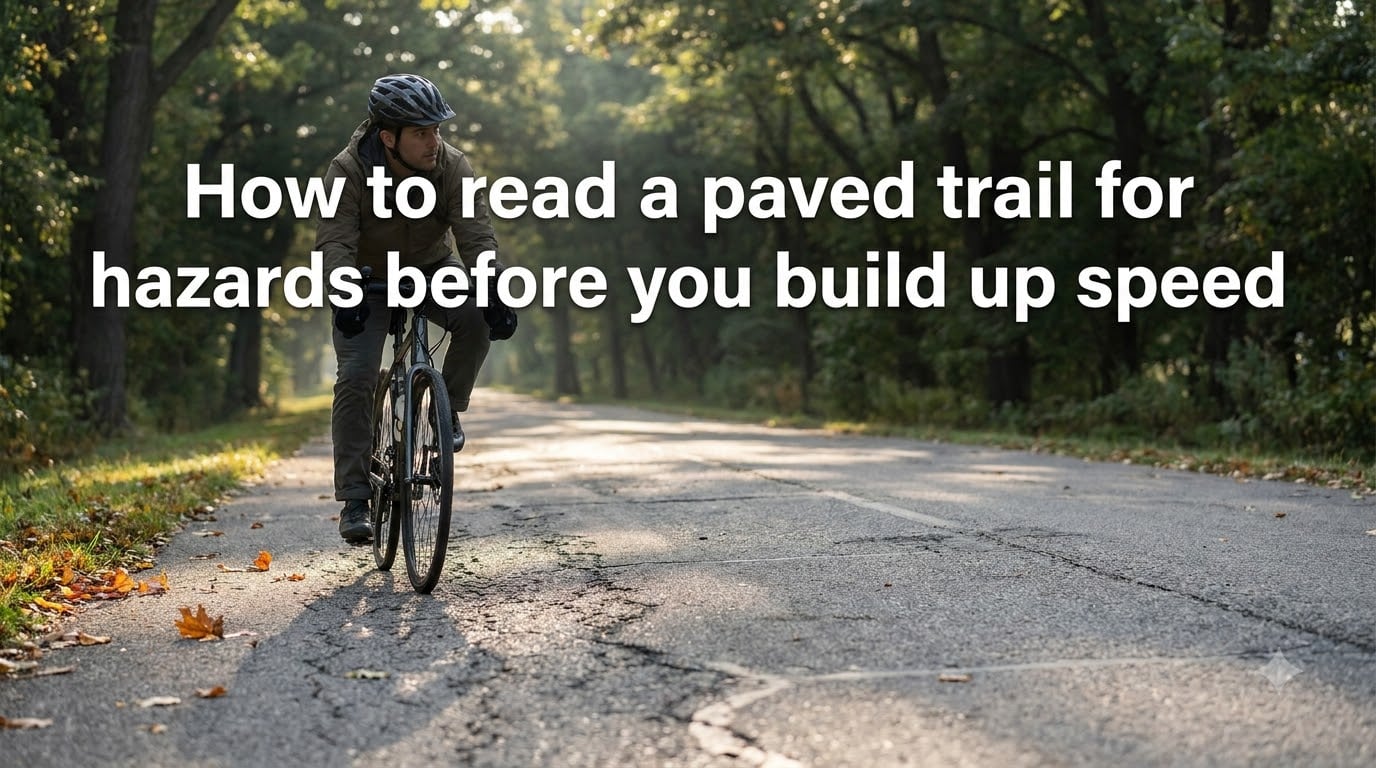
Every time I roll onto a paved trail, the first thing I do is slow down and read what is ahead. It sounds simple, but learning how to read a paved trail for hazards before you build up speed is the single most important skill separating confident riders from those who crash. The trail surface holds dozens of clues about what is coming, and your eyes are the best tool you have for decoding them.
The problem is that most riders treat the trail like a highway. They start pedaling hard the moment their tires hit the asphalt, assuming the path is clear because it looks smooth from a distance. That assumption is exactly when surprises happen. A patch of gravel in a corner, a crack hidden by shade, or a pedestrian stepping out from behind a bush can all turn a fun ride into a trip to the emergency room.
In this guide, I will walk you through the scanning technique I use every time I ride, a checklist of the ten most common paved trail hazards, and the speed-management rules that tell you when it is safe to push hard and when you need to back off. Whether you are a cyclist, rollerblader, skateboarder, or jogger, these skills apply directly to your time on any multi-use path.
Table of Contents
Why Reading the Trail Before You Build Speed Matters?
Speed is a multiplier. Everything that goes wrong on a trail gets worse the faster you are moving, and that relationship is not linear. Doubling your speed roughly quadruples the energy involved in any impact or sudden maneuver. A pothole that is a minor jolt at 8 mph can throw you over the handlebars at 18 mph.
Reaction time shrinks as speed increases, too. At 15 mph you are covering about 22 feet per second, meaning a hazard 60 feet ahead reaches you in under three seconds. At 25 mph that same hazard arrives in just 1.6 seconds. If you have not already identified it and started planning your line, you will not have time to react.
This is why the “before you build up speed” phase is so critical. The smartest riders I know treat the first few hundred feet of any unfamiliar trail as a reconnaissance zone. They roll through slowly, scanning the surface, noting where the hazards are, and mentally mapping out where it is safe to accelerate and where they need to stay controlled. Defensive cycling is not about being timid. It is about gathering information before committing to speed.
Trails also differ from roads in a fundamental way. Most paved trails are built on a lighter base and subgrade than vehicle roads, which means they degrade faster and develop surface problems more quickly. A trail that looked clean two weeks ago may have new cracks, drainage damage, or debris today. You can never assume the surface is the same as your last visit.
The 5-Second Scan Technique: How to Read a Paved Trail for Hazards?
The core of trail reading is a continuous scanning pattern that I call the 5-second scan. It works for cyclists, skaters, and anyone moving faster than a walk on a paved surface. The goal is to keep your eyes cycling through three zones so you always know what is immediately under you, what is coming in a few seconds, and what is waiting further down the trail.
Step 1: Look Far Ahead First
Start by looking 50 to 100 feet down the trail, roughly a quarter of a city block. This is your strategic view. You are looking for the big picture: other trail users, intersections, sharp curves, bridges, and any obvious obstacles. On a straight, open path you can stretch this look-ahead distance even further. Experienced riders on Reddit’s cycling forums regularly recommend scanning a quarter mile ahead when sightlines allow.
Looking far ahead gives your brain time to plan. If you see a pedestrian 80 feet out, you have several seconds to decide whether to pass, slow down, or call out. If you only notice them at 20 feet, your only option is a panic brake.
Step 2: Scan the Mid-Range Surface
Bring your eyes back to the 20-to-40-foot range. This is where you read the pavement texture and spot the actual hazards. Look for color changes, shadows, shimmer (which often indicates water), and anything that breaks the smooth visual pattern of the asphalt. Your brain is remarkably good at detecting anomalies if you give it a chance by actively scanning rather than staring at one point.
Move your eyes in a gentle zigzag pattern across the trail width rather than locking onto the center line. Hazards often hide at the edges where debris accumulates or where the pavement meets gravel shoulders.
Step 3: Glance at Your Immediate Path
Check the surface directly in front of you, roughly 5 to 10 feet ahead. This quick glance confirms what you already identified from further out and catches anything small that you might have missed, like a single piece of glass or a crack that just opened up. Do not linger here. Staring at your front wheel is the most common scanning mistake, and it steals your reaction time for everything ahead.
Step 4: Repeat the Cycle Continuously
Run through far, mid, near, far, mid, near in a constant loop. The whole cycle takes about five seconds, which is where the technique gets its name. With practice this becomes automatic, and you will find yourself reading the trail without consciously thinking about it.
Step 5: Adjust Your Scan for Conditions
When the trail is crowded, wet, shaded, or unfamiliar, compress the cycle and spend more time in the mid-range. When it is open, dry, and well-lit, you can stretch your far look-ahead longer and let the cycle slow down. The technique is flexible. What matters is that your eyes are always moving through the zones and never stuck.
Common Paved Trail Hazards Checklist
Here are the ten hazards I look for every time I ride, ranked roughly by how often they cause crashes. Each one has visual cues you can learn to spot from a distance.
1. Potholes and Surface Breaks
Potholes are the number-one trail hazard because they can appear anywhere and they are easy to miss in dappled shade. Look for dark patches in the asphalt that seem to swallow light. A pothole often shows as a darker oval or circle because the broken pavement creates a shadow inside the hole. Slow down before you reach it and pick a line around it if traffic allows.
2. Cracks and Frost Heaves
Longitudinal cracks running along the direction of travel can catch a narrow wheel and steer it unexpectedly. Transverse cracks across the trail are usually less dangerous but can be jarring. Frost heaves create raised ridges where the pavement has buckled. Look for thin dark lines and raised lips in the surface, especially after winter.
3. Broken Glass
Glass is common near intersections, parking lots, and spots where people congregate. It catches sunlight and shimmers, which makes it easier to spot than you might think. On cloudy days it looks like a scatter of light-colored specks against the dark asphalt. Avoid riding through it. Even if it does not puncture immediately, it can embed in your tire and cause a flat later.
4. Loose Gravel and Sand
Gravel washes onto trails from shoulders, driveways, and drainage areas. It is especially common at the bottom of hills and on corners after rain. Look for a lighter, granular texture on the pavement that contrasts with the smooth dark surface. Gravel drastically reduces traction, so straighten up before you hit it and avoid hard braking or sharp turns.
5. Wet Leaves
In fall and after rain, wet leaves are as slick as ice. They collect in corners and drainage channels. Look for matted brown patches on the trail surface. If you cannot avoid them, keep your bike upright, maintain a steady speed, and do not brake or turn until you are past them.
6. Standing Water and Puddles
Puddles hide everything underneath them, including potholes, broken glass, and debris. Never ride through a puddle you have not visually cleared. Look for water accumulation in low spots, at the base of hills, and near drainage grates. If the trail is wet from recent rain, assume every puddle conceals a hazard until proven otherwise.
7. Drainage Grates and Metal Features
Storm drains, railroad tracks, expansion joints, and metal bridge decks become extremely slippery when wet. Some drainage grates have slots that run parallel to traffic and can swallow a bike wheel. Look for rectangular metal shapes at the trail edge and any metal surface that appears shiny or reflective. Cross metal features at a right angle whenever possible.
8. Trail Edge Drop-Offs
Where the paved surface meets a gravel shoulder or grass, there is often a small lip or drop-off. Catching your wheel on this edge can cause an instant crash. Look for a sharp color transition between asphalt and the adjacent surface. Keep at least a foot of clearance from the edge unless you need to pass.
9. Blind Corners and Sightline Obstructions
Anything that blocks your view ahead is a hazard in itself. Bushes, fences, bridge abutments, and berms can hide oncoming traffic or debris. Approach blind corners at a speed where you can stop within the distance you can see. Lean your head to extend your sightline around the obstruction.
10. Intersection and Crossing Conflicts
Where trails cross roads, driveways, or other paths, conflicting traffic is the main hazard. Look for stopped cars at trail crossings, pedestrians emerging from side paths, and other riders who may not yield. Slow down, make eye contact with drivers, and never assume someone sees you just because you have the right of way.
Reading Surface Texture Changes
One of the most underrated skills in trail reading is detecting subtle texture changes before they become problems. The asphalt on a paved trail is not uniform. It shifts in color, smoothness, and composition based on age, repairs, drainage, and sun exposure.
Color is your first cue. Fresh asphalt is dark gray to black, while older pavement fades to a lighter gray. If you see a patch of pavement that is a different shade, it is usually a repair area, and the seam between old and new pavement can be a raised ridge or a sunken edge. Transition zones between different pavement ages are common spots for pinch flats and loss of control.
Shimmer and glare indicate moisture. Even a thin film of water on the trail can reduce traction, especially on painted lines and metal surfaces. If you see a glossy reflection on the pavement in your headlight or from sunlight, treat it as wet and adjust your braking distance.
A rough or gritty texture often signals loose material on top of the pavement. This might be sand, fine gravel, or salt residue. It looks slightly lighter and less uniform than clean asphalt. Reduce your speed and avoid sudden inputs until you are back on a clean surface.
Faded or polished pavement, especially in the wheel tracks of frequent riders, can be slicker than it looks. This is most common on curves and the inside of corners where riders lean. Look for a smooth, almost shiny band in the pavement and treat it with respect in wet conditions.
Speed Management: When to Assess vs. When to Build Up
The key phrase in this entire topic is “before you build up speed.” The concept is simple: there are parts of every trail where you should be gathering information at a controlled pace, and there are parts where it is safe to let it rip. Knowing the difference is what keeps you upright.
Treat the following zones as assessment zones where you hold a moderate speed and scan hard:
The first quarter mile of any new trail. You do not know this surface yet, so read it before committing. Ride at a pace where you can stop comfortably within your sight distance.
Approaches to intersections and crossings. Conflict points demand reduced speed and full attention. Start slowing at least 50 feet before any crossing, as recommended by trail safety organizations.
Blind curves. If you cannot see the exit of a turn, you do not know what is waiting on the other side. Brake before the curve, not in it.
Areas with heavy pedestrian traffic. Multi-use paths near parks, parking lots, and downtown areas are unpredictable. Slow down and be ready to stop completely.
Recently rained or damp sections. Traction is reduced and hazards are hidden. Drop your speed by at least a third until the trail dries.
Conversely, these are zones where you can safely build speed:
Long straightaways with clear sightlines and no intersecting paths. If you can see the entire stretch and there are no pedestrians, this is your chance to push.
Open descents where you have already ridden the same surface in the uphill direction and know it is clean. Familiarity gives you license to let the bike run.
Wide, well-maintained sections with generous shoulders and good pavement. The better the surface and the more room you have, the more speed you can safely carry.
The golden rule I use is to only build speed when I have already scanned the entire zone ahead and confirmed it is clear. If there is any section I have not visually cleared, I hold my pace until I have.
Weather-Related Trail Hazards
Weather changes trails faster than almost anything else. A path that was perfect yesterday can be treacherous after a single afternoon storm. I always check conditions before I ride and adjust my expectations.
Rain is the most common weather hazard. It brings water into low spots, washes gravel and sand onto the surface, and makes painted lines and metal features slick. After rain, assume the trail is compromised until you have ridden it and confirmed it is clean. Slow down in the first mile and scan aggressively for accumulated debris.
Leaves are a year-round issue in forested areas but turn deadly in fall when they get wet. A mat of wet leaves on a curve offers almost zero traction. Even dry leaf piles can hide potholes and glass. Treat any leaf-covered section as a slow zone.
Ice and frost are obvious dangers in winter but can also surprise riders on chilly mornings in spring and fall. Shaded sections of trail can hold frost long after sunny areas have warmed up. Look for a faint white or glossy sheen on the pavement and avoid it entirely if possible.
Extreme heat can soften asphalt on older trails, creating ruts and sticky patches. If the pavement feels tacky under your tires or you see fresh black scuff marks, the surface is heat-affected. Reduce tire pressure slightly and avoid hard cornering.
Multi-Use Trail Awareness: Pedestrians, Dogs, and Other Users
On a multi-use path, the most unpredictable hazard is always other people. Pedestrians can change direction without warning. Children and dogs are especially prone to sudden movements. Rollerbladers and skateboarders have wide tracks and limited ability to stop quickly. Every user type behaves differently, and part of reading the trail is reading the people on it.
The most common conflict is a faster rider approaching a slower user from behind. The slower user often has no idea you are coming, especially if they are wearing headphones. Forum users across the cycling communities consistently emphasize one rule: read the room before you pass. Look at body language. Is the person drifting? Are they looking around or staring straight ahead? Are children or dogs nearby?
Slow down to a passing speed well before you reach anyone. Aim for at least 50 feet of awareness distance. Announce yourself with a bell or a calm verbal cue like “on your left” and wait for acknowledgment. If the person does not respond, slow down further. Never assume they heard you.
Dogs are a special case. Even leashed dogs can dart across the trail when startled, and the leash itself becomes a tripwire. Off-leash dogs are a serious hazard and a violation of most trail rules. When you see a dog, slow to a walking pace and pass wide. Give the handler time to gain control.
Other riders can also be unpredictable. Oncoming cyclists may swerve to avoid debris on their side. Riders ahead may stop suddenly to check their phone or fix a mechanical. Always give oncoming traffic at least three feet of clearance and never assume someone will hold their line.
How to Communicate Hazards to Other Riders?
If you ride in a group, communicating hazards is one of the most valuable things you can do. The convention across the cycling community is simple and consistent. Point to the hazard and call it out.
Point downward at potholes, glass, and debris on the pavement. A pointed finger aimed at the ground alerts riders behind you to the exact location. Call out the hazard type in a short, loud phrase: “hole,” “glass,” “gravel,” “stick.” Keep it brief so the message is instantly understood.
For surface-wide hazards like wet leaves or gravel across the full trail width, wave your hand palm-down over the surface. Call “slowing” or “stopping” if you are reducing speed so riders behind do not run into you.
For oncoming traffic or obstacles ahead, call “rider up,” “walker up,” or “car back” (for a vehicle approaching from behind on a road crossing). These standard calls are universally understood in the cycling community and require no explanation.
Pass the message back. If you are in the middle of a group and hear a call from ahead, repeat it for riders behind you. This relay system ensures everyone gets the warning, no matter where they are in the line.
What to Do When You Spot a Hazard?
Spotting a hazard is only half the job. The other half is deciding what to do about it in the seconds before you reach it. I use a simple three-option decision framework that works in almost every situation.
Option one: avoid it. If the trail is clear of other users and you have room to steer around the hazard, do it. Plan your line early, check that your new path is also clear, and make a smooth steering input. Avoiding is almost always the safest option because it keeps your speed constant and your tires on clean pavement.
Option two: brake and slow down. If you cannot steer around the hazard, reduce your speed before you reach it. Brake in a straight line, not while turning. Get your speed down to the point where rolling over the hazard is safe, then release the brakes and let the bike roll through. For most debris and small potholes, a controlled slow roll is fine.
Option three: unweight and roll through. For small hazards you cannot avoid and braking is not an option, get light on the bike. Shift your weight back, bend your knees and elbows, and let the bike move underneath you. This is the technique for surprise hazards at the last second when avoidance and braking are off the table.
Never swerve without checking behind you. A sudden lateral move into another rider or into oncoming traffic is worse than the hazard you were trying to avoid. Train yourself to check over your shoulder before any evasive move, even in a split-second situation.
If the hazard is too large to deal with safely at any speed, stop. There is no shame in getting off and walking your bike past a bad section. Pride heals slower than road rash.
Frequently Asked Questions
What is the 75% rule in cycling?
The 75% rule is a training guideline suggesting that 75% of your cycling training time should be spent at a low, conversational intensity. In the context of trail safety, it serves as a reminder that the majority of your riding should be at a controlled, sustainable pace rather than always pushing hard. Applied to trail reading, it means spend most of your time in assessment mode and reserve high effort for the clearly safe zones.
What are common safety concerns for trail users?
The most common safety concerns on paved trails include potholes and surface cracks, broken glass, loose gravel and sand, wet leaves, standing water hiding debris, drainage grates, blind corners, and conflicts with other trail users such as pedestrians, children, and off-leash dogs. Speed-related crashes and failure to yield at intersections are also frequent causes of trail incidents.
What is a multi-use path?
A multi-use path, also called a shared-use path, is a paved trail designed for use by multiple types of non-motorized users including cyclists, pedestrians, runners, rollerbladers, skateboarders, and sometimes equestrians. These paths are typically separated from vehicle roads and have rules about right of way, passing etiquette, and speed to keep all users safe.
How far ahead should cyclists look on a trail?
Cyclists should scan at least 50 to 100 feet ahead on a paved trail, extending to a quarter mile on open, straight sections with clear sightlines. The faster you are traveling, the further ahead you need to look, because your reaction distance increases with speed. A continuous scanning pattern cycling through far, mid, and near zones every few seconds is the most effective technique.
How fast should you go on a paved multi-use trail?
There is no universal speed limit, but most trail organizations recommend a maximum of 15 mph on crowded multi-use paths. Slow down to a walking or jogging pace near pedestrians, children, and blind corners. A good rule is to never ride faster than the speed at which you can stop within the distance you can clearly see ahead. When in doubt, slow down.
How do you avoid hazards on bike paths?
Avoid hazards by scanning the trail continuously using the far-mid-near pattern, identifying the hazard early, and choosing one of three responses: steer smoothly around it if the path is clear, brake in a straight line to reduce speed before reaching it, or unweight the bike and roll through small debris if avoidance is not possible. Never swerve suddenly without checking behind you first.
Conclusion
Learning how to read a paved trail for hazards before you build up speed is a skill that compounds over time. The scanning technique becomes instinctive, the hazard checklist becomes second nature, and your sense of when to push and when to hold back gets sharper with every ride. The riders who stay safe are not the ones with the best reflexes. They are the ones who never put themselves in a position where reflexes are their only option.
Start with the 5-second scan on your very next ride. Look far, scan the mid-range, glance near, and repeat. Run through the ten common hazards mentally before you hit the trail so your eyes know what to search for. Treat unfamiliar sections and crowded zones as assessment mode, and only build speed on the stretches you have cleared with your own eyes.
Trail safety cycling is not about fear. It is about confidence built on awareness. When you can read the surface ahead, communicate with the people around you, and make calm decisions under pressure, every ride gets smoother, faster, and more enjoyable. That is the payoff for doing the work before you build up speed.