
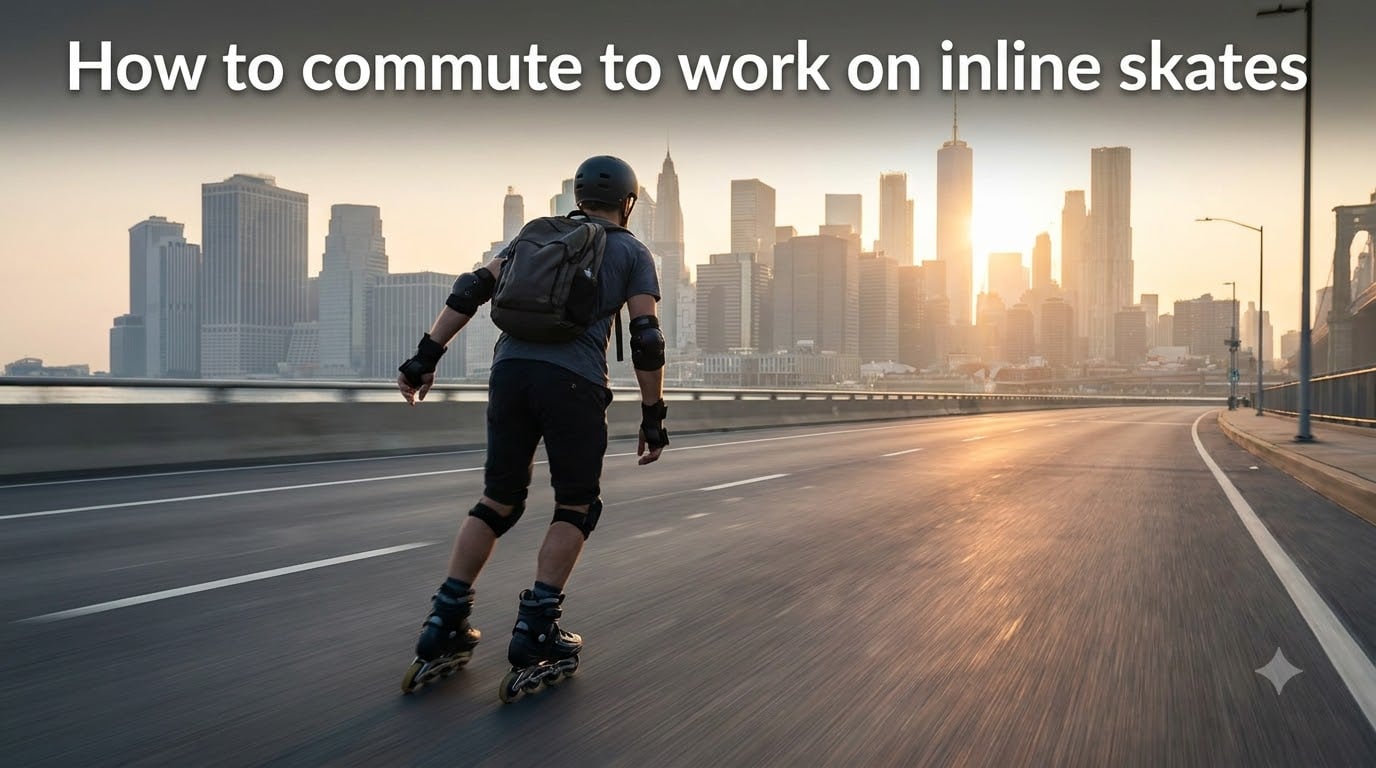
I switched my 4-kilometer commute from a crowded subway to inline skates three years ago, and I have not looked back. My average door-to-desk time dropped from 28 minutes to 19 minutes, I save about $90 a month on transit, and I roll into the office more alert than I ever did on a stalled train. If you have been curious about how to commute to work on inline skates, this guide pulls together everything I wish I had known before my first commute.
The idea is simple but the execution has real nuances. Inline skating commuting works best when you match your gear to the route, master a couple of braking techniques, and build a routine that handles shoes, sweat, and storage. Below is the full system I use, plus tips I picked up from fellow commuters in online skating communities.
Table of Contents
Why Inline Skating is a Smart Way to Commute?
Inline skating is faster than walking and surprisingly competitive with cycling for short urban trips. Most commuter inline skaters report average speeds of 12 to 18 kph on flat pavement, which translates to roughly 1 kilometer every 4 to 5 minutes. A 3-kilometer commute that takes 35 minutes on foot often takes 12 to 15 minutes on skates.
The cost angle is even more compelling. After the initial gear investment, ongoing costs are minimal. You will replace brake pads every 6 to 12 months and rotate wheels a few times a year, but you skip fuel, parking, transit fares, and gym memberships. Many commuters I have spoken with say inline skating pays for itself within the first 3 to 4 months.
Health benefits show up fast. Thirty minutes of moderate skating burns roughly 250 to 350 calories, comparable to running but with significantly less joint impact. Regular commuters consistently report improved balance, stronger core muscles, and better cardiovascular fitness. One study from the University of Massachusetts found that inline skating activates 90% of your leg muscles compared to about 60% for walking.
The environmental angle matters too. Zero emissions, zero fuel, and a tiny manufacturing footprint compared to a bicycle or car. If you care about sustainable urban mobility, inline skating is one of the cleanest ways to move through a city.
Safety Gear You Need Before Your First Commute
Every experienced commuter skater says the same thing: gear is not optional. Road rash on a 20 kph fall can keep you out of work for weeks. Before you commute to work on inline skates for the first time, invest in the following.
Helmet: A certified skate or bike helmet that fits snugly without wobbling. Look for CPSC, ASTM, or SNELL certification. Replace any helmet that has taken a hard impact. I use a MIPS-equipped model because head injuries on pavement are nothing to gamble with.
Wrist guards: Inline skating falls almost always involve outstretched hands. Wrist guards with rigid splints on both the top and bottom of the wrist prevent the most common fractures. Make sure they slide on easily over your gloves or sleeves in cold weather.
Knee pads: Hard-cap knee pads rated for skating absorb impact on asphalt and concrete. They should sit flush over your kneecap without slipping. Soft-shell pads look more discreet but offer far less protection on rough pavement.
Elbow pads: Elbow pads with a hard plastic cap keep your elbows from getting shredded when you instinctively drop into a fall. The best commuting pairs have a soft interior and adjustable straps that do not cut into your skin.
Visibility gear: Reflective bands on your wrists, ankles, and helmet are non-negotiable for early morning or evening commutes. A high-vis vest or jacket in bright colors also helps drivers spot you from a distance. Most urban collisions happen because drivers simply did not see the skater in time.
Choosing the Right Inline Skates for Commuting
The skate you choose directly affects how safe and comfortable your commute feels. Shopping for inline skates for commuting means prioritizing a few specific features.
Wheel size: Commuting skates typically run 80mm to 110mm wheels. Larger wheels roll faster and handle cracks better but feel less agile in tight spaces. Beginners do well with 80mm to 84mm wheels, while experienced commuters often prefer 90mm or 100mm setups for higher top speeds and smoother rides over uneven pavement.
Wheel durometer: The durometer rating tells you how hard the wheel is. Softer wheels (78A to 85A) grip better, absorb vibration, and forgive rough pavement. Harder wheels (86A and up) are faster but transmit every crack straight to your knees. For city streets I recommend 80A to 85A wheels, which balance grip and speed.
Boot fit: A stiff shell with a padded liner prevents foot fatigue on longer commutes. Your toes should not touch the front of the boot while standing straight, but should pull forward slightly when you kneel. Try skates on at the end of the day when your feet are slightly swollen, the same way you would try running shoes.
Brake compatibility: Make sure the skate accepts a heel brake, especially if you are still building skills. Many fitness skates ship with a brake, but some higher-end models require you to buy one separately. A good heel brake is the fastest way to decelerate from 20 kph to a full stop without specialized technique.
Planning Your Commute Route on Inline Skates
Route planning makes the difference between an enjoyable glide and a nerve-wracking ordeal. Start by scouting your route on foot or by bike before you commit to it on skates. Look for smooth pavement, low traffic, and clear sightlines.
Choose smooth pavement. Newer asphalt, sealed bike paths, and waterfront promenades are ideal. Avoid old brick, broken sidewalk slabs, and construction zones. Cracks wider than 1 cm can catch your wheels and throw you forward. Many commuters avoid streets with frequent driveway cuts because metal grates and painted lines are surprisingly slippery.
Use bike lanes when allowed. In many cities, inline skaters have the same legal rights as cyclists. Bike lanes give you space away from cars, but watch for storm drains, wet leaves, and debris that collects along the curb. Early morning rides are usually cleanest.
Mind your distance. Beginners should cap their commute at 3 to 5 kilometers until they can stop reliably and recover from surprise obstacles. Experienced skaters handle 10 to 15 kilometers without issue, but anything over 8 kilometers starts to bring meaningful sweat and muscle fatigue. A safe rule of thumb is that the first 2 weeks should stay under 4 kilometers one-way.
Learn the traffic rules. You are a vehicle in most jurisdictions, which means stopping at signs, signaling turns, and yielding where required. Local cycling laws usually apply. Knowing the rules protects you legally and helps drivers predict your movements.
How to Brake Safely on Inline Skates?
Stopping reliably on inline skates is the single most important skill for commuting. Before your first commute, master at least two braking techniques so you always have a backup.
Heel brake. The classic heel brake is found on the back of the right skate. To use it, lift your toes slightly, shift your weight onto the brake leg, and slide the brake pad along the ground while keeping your balance over the brake foot. This is the fastest stop for most beginners and slows you within 3 to 5 meters from typical commuting speeds.
T-stop. The T-stop has no moving parts, so it works even after your brake pad wears out. Drag one skate directly behind the other in a T shape, applying pressure with the inside edge of the rear skate. Keep your knees slightly bent and shift roughly 60% of your weight to the front skate. This technique takes 2 to 4 hours of practice before it feels smooth.
Plow stop. The plow stop is your emergency backup. Point both skates outward in a V shape, knees deeply bent, and let your inside edges drag. It is slower than a T-stop or heel brake but feels very stable and works well at lower speeds.
Drag stop. The drag stop is a controlled power slide used by experienced skaters. Turn your body sideways, bend your knees, and slide the inside edge of one skate sideways across the pavement. It looks dramatic and works best on smooth, dry surfaces. Practice this one in an empty parking lot before trying it in traffic.
Transition Tips: Putting Skates On and Off at Work
The biggest concern new commuters raise is the time and hassle of putting skates on and taking them off at each end. Forum members consistently report that this takes longer than expected, especially with full protective gear. A few habits solve the problem.
Wear slip-on shoes. Choose office-appropriate shoes you can step into without hands, like loafers, slip-ons, or ballet flats. Lace-up boots force you to sit down twice a day, adding 3 to 5 minutes per transition. Slip-ons drop your total dressing time to under 90 seconds per change.
Pick a backpack over a shoulder bag. Backpacks distribute weight evenly, leave your hands free for balance, and fit behind your back while skating. Look for one with a hip belt so the load does not bounce. Many commuters also add a helmet strap and small carabiner to clip skate laces together for transport.
Try quick-lace systems. Most modern commuting skates use ratcheting buckles and speed laces. The trick is to set the buckle and lace tension once, then slip your foot in and out without retying. Some skaters remove the tongue section entirely for faster entry.
Pack a small kit. A commuter bag should include a microfiber towel, deodorant, an outfit change if your office requires business attire, and a small first-aid kit. Many skaters keep this bag under their desk so they only need to think about packing the night before.
Combining Inline Skates with Public Transportation
Long commutes often work better when skates handle the first or last mile and public transit handles the gap. Multi-modal commuting is where many urban skaters really hit their stride.
Most transit systems allow you to bring skates on board as long as you remove them at the door. In my city, I skate 2 kilometers to the metro, slip off my skates at the platform, store them in a backpack, and ride for 20 minutes before skating the last kilometer. The trick is treating skates like any other bag during the transit portion.
If your skate uses a hard boot, a simple boot bag keeps scuffs off other passengers and protects your wheels from dirt. Several commuters I have spoken with add small wheels-only covers that snap on and off in 10 seconds, making skate carrying almost invisible to fellow riders.
For longer train rides where space is tight, choose off-peak hours or look for the accessibility areas at the end of each car. A pair of urban commuting skates weighs between 1.5 and 2.5 kilograms each, so the load adds up fast if you are also carrying a laptop bag.
Weather and Seasonal Considerations
Weather is the biggest variable in any inline skating commute. The good news is that with the right habits, you can commute in most seasons.
Rain: Avoid it when you can. Wet pavement reduces wheel grip dramatically and turns painted lines, manhole covers, and metal grates into ice. If you must skate in light rain, switch to softer wheels (78A to 80A), lower your top speed by 30%, and add extra distance to every stop. Most experienced commuters designate rainy days as transit-only days.
Cold weather: Below freezing, plastic becomes brittle and exposed skin can stick to metal. Wear thin liner gloves under your wrist guards, layer technical fabrics that wick sweat, and consider replacing standard wheels with slightly smaller, harder polyurethane for better cold-weather grip. Bushing hardness also drops in extreme cold, so expect a slightly softer feel and adjust your turning radius accordingly.
Heat: Summer mornings often mean pavement below 30 degrees Celsius. Asphalt that hot can soften cheap wheel compounds, so plan mid-day commutes around shaded routes or stick to early morning. Hydrate aggressively. I keep a 750-milliliter bottle in my backpack side pocket and drink during every traffic light stop.
Sweat management: The single most common surprise for new commuters is how much you sweat, even on a 15-minute ride. Dress in moisture-wicking base layers, avoid cotton, and either shower at work or use a quick freshening routine. A 10-by-10 centimeter microfiber towel weighs almost nothing and saves the day.
Maintenance Basics for Daily Commuters
A 30-minute daily commute adds up to roughly 220 hours per year of wear on your skates. A small amount of maintenance keeps them rolling smoothly.
Wheel rotation. Inline skate wheels wear unevenly because the inner and outer wheels corner more often. Every 3 to 4 weeks, rotate them in an X pattern so each wheel spends time in every position. This roughly doubles wheel life and keeps your ride balanced. Wheels typically last 2,000 to 3,000 kilometers before needing replacement.
Bearing care. Outdoor commuting pours dust, water, and grit into your bearings. Open them once or twice a year, soak in a citrus-based degreaser, dry, and re-lube with a thin skate oil. Smooth bearings make a noticeable difference in push effort and top speed. Skating with gritty bearings wastes 5 to 10% of your energy.
Brake pad checks. Inspect your heel brake every 4 weeks. Replace it once the rubber is below 4 millimeters or has hardened into a smooth surface. Worn brake pads double your stopping distance, which is a serious safety issue at commuting speeds.
Boot and frame tightness. Check frame bolts every 6 to 8 weeks and re-tighten if needed. Inspect the cuff buckle and ratchet straps monthly. A loose buckle mid-commute is more than an annoyance on a downhill slope.
How Long Does an Inline Skating Commute Take?
How long does it take to commute on inline skates?
A 3 to 5 kilometer commute usually takes 12 to 25 minutes on inline skates, depending on route, traffic, and skill level. Skaters average 12 to 18 kph on flat pavement, which is roughly 2 to 3 times faster than walking and competitive with cycling for short distances.
Can you take inline skates on the bus or train?
Yes. Most transit systems allow inline skates as long as you remove them at the door and carry them in a bag. Hard boots can scuff other passengers, so a simple boot bag or wheel cover is helpful. Off-peak hours are the easiest for multi-modal commuting.
Is inline skating faster than walking for commuting?
Inline skating is typically 2 to 3 times faster than walking. A 4 kilometer walk that takes 50 minutes takes about 18 to 22 minutes on skates. For most commutes under 8 kilometers, inline skating is faster than walking and often comparable to cycling.
What safety gear is essential for inline skate commuting?
A certified helmet, hard-cap knee pads, wrist guards with rigid splints, and elbow pads are essential. Add reflective bands, a bright or light-colored top, and a rear light for evening commutes. Skating without wrist guards in particular is risky because most falls involve the hands.
Can you commute on inline skates in the rain?
You can, but most experienced commuters avoid it. Wet pavement, painted lines, and metal grates become slippery, and stopping distances roughly double. If you must skate in light rain, switch to softer 78A to 80A wheels, lower your speed, and brake earlier than you normally would.
How do you avoid sweating during an inline skate commute?
Wear moisture-wicking technical fabrics instead of cotton, start with shorter commutes to build fitness, and pack a microfiber towel and freshening kit for the office. Many commuters slow their pace on hotter days and choose routes with shaded sections to keep effort moderate.
Final Tips Before Your First Inline Skating Commute
Learning how to commute to work on inline skates is less about athletic ability and more about building a routine. Start small with a 2 to 3 kilometer route on a quiet weekend morning. Practice T-stops and heel braking until they feel automatic. Build up to longer commutes and busier roads over 3 to 4 weeks.
The infrastructure is already in your city. Smooth paths, bike lanes, and protected corners exist in most urban areas. Once you find the right combination of gear, route, and pace, inline skating becomes the most enjoyable part of your workday. You will roll in with energy instead of draining it on a crowded train, and your body will thank you within the first month.
Pick a start date, lay out your gear the night before, and give yourself two weeks to find your rhythm. Once you stop counting kilometers and start noticing the seasons change, you will know it is no longer a commute. It is a habit you actually look forward to.