
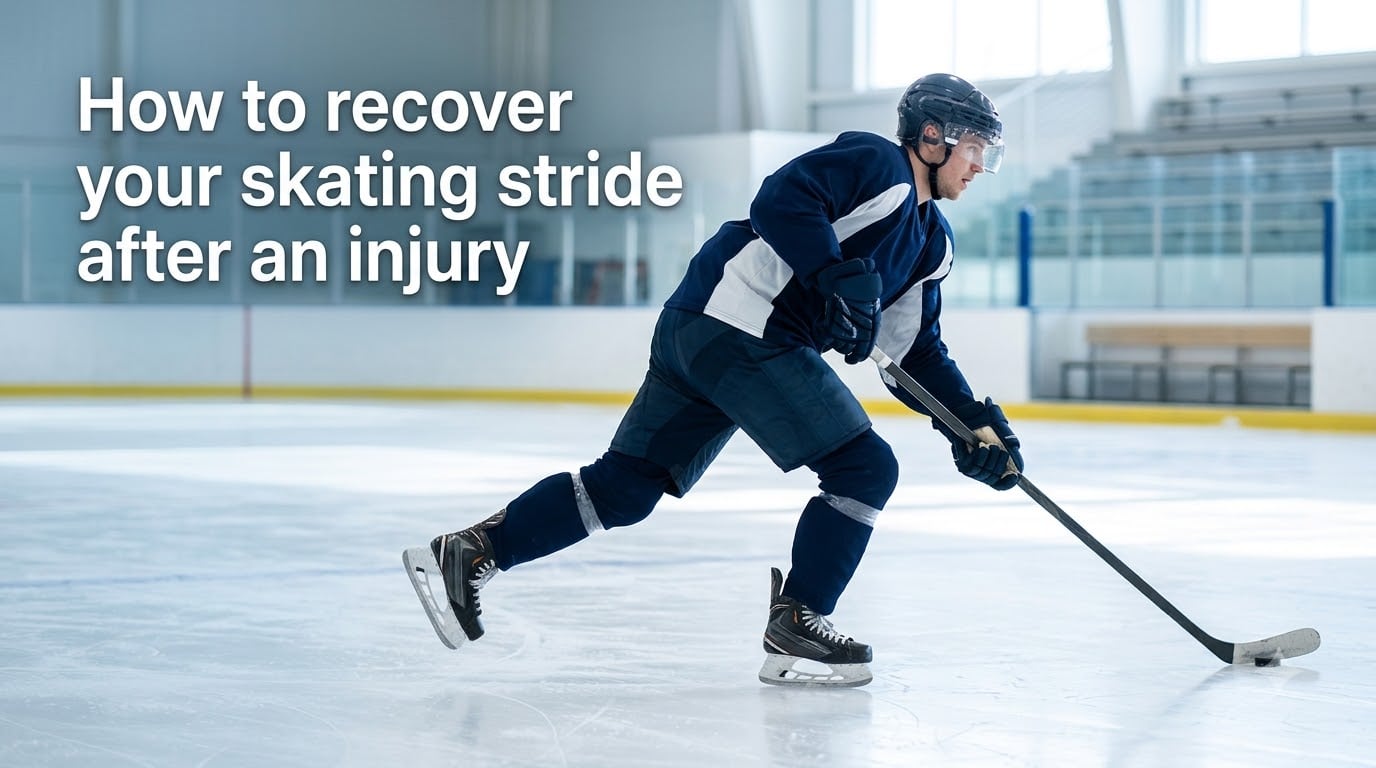
Coming back from an injury and wondering how to recover your skating stride after an injury without breaking down again? I have walked through this exact process with skaters returning from broken ankles, MCL sprains, hip pointers, and post-surgical knees, and the skaters who return strongest follow a clear staged sequence rather than just lacing up and hoping for the best.
In this guide, I will walk you through the same 5-stage progression our team uses with hockey players, figure skaters, and roller skaters, plus the off-ice drills, mental confidence framework, and warning signs that most articles skip. We pulled forum threads from r/hockeyplayers and r/Rollerskating, then layered in the loading principles from Better Hockey and the stride mechanics from All Black Hockey Sticks to give you a complete playbook.
Table of Contents
Why Stride Recovery After Injury Demands a Smart Approach?
Skating stride recovery is not just about waiting for pain to disappear. The injury itself may have healed, but the surrounding muscles have weakened, the joint has lost proprioception, and your nervous system has rewired itself to protect the area. A return that does not address all three layers almost always ends in a setback.
I have seen skaters rush back after 6 weeks and re-tear the same structure within their first three practices. The cost of returning too soon is rarely worth the impatient weeks you save. A structured plan rebuilds tissue tolerance, neural trust, and confidence in parallel, which is what produces a clean comeback.
The right way to recover your skating stride after an injury is to treat it as a graded exposure program. You start with the lowest stress that does not flare symptoms, then increase volume by roughly 10 percent per week. That single number is the load-management rule used by most professional return-to-play protocols.
Step 1: Get Medical Clearance Before Touching the Ice
No matter how good your ankle feels walking down the stairs, you need a qualified professional to clear you for skating. Medical clearance is the green light that the tissue is healed enough to handle the shear, torque, and repeated loading that a skating stride demands.
Doctors and physical therapists typically look for four markers before clearing you. Full range of motion compared to the uninjured side, strength at or above 90 percent of the other limb, no swelling or pain at rest, and successful completion of sport-specific movement tests. If you cannot tick all four, you are not ready, even if you can jog pain-free.
Skipping this step is the single biggest mistake we see in skaters trying to recover their skating stride after an injury. One roller skater in our community pushed through a hairline fracture clearance based on a friend who had a similar injury and ended up with a 4-month setback. Treat clearance as the gate, not a suggestion.
Step 2: Rebuild Range of Motion and Strength Off-Ice First
The smartest skaters do not start on the ice. They start on the floor. Off-ice work lets you isolate the muscles, joints, and motor patterns that the skating stride depends on without the complication of balance, fear, and cold metal.
Your off-ice prep should cover four buckets. First, mobility drills for the ankle, hip, and thoracic spine, since restrictions in any of these joints force compensations in your stride. Second, single-leg strength work, because skating is fundamentally a single-leg sport. Third, balance and proprioception exercises on unstable surfaces. Fourth, slide board or lateral movement patterns to reactivate the adductors and hip stabilizers that power each push.
For most lower-body injuries, plan 2 to 4 weeks of focused off-ice work before your first stride. Three sessions per week of 30 to 45 minutes is usually enough. If you progress through this phase without swelling, sharp pain, or compensation, you have earned the right to lace up.
Off-Ice Exercises Worth Prioritizing
Banded ankle dorsiflexion and calf raises for ankle injuries
Single-leg Romanian deadlifts and Bulgarian split squats for hip and knee strength
Bosu ball or foam pad single-leg balance holds for proprioception
Lateral lunges and Copenhagen adductor work for stride-side stability
Slide board reps for stride-specific muscle activation
Step 3: The 5-Stage Return-to-Skating Progression
Once you have medical clearance and a solid off-ice base, the next step is to bring the work to the ice, the road, or the rink floor in a controlled, progressive way. The 5-stage framework below is what I coach skaters through, and it lines up with the same principles used by hockey trainers and physical therapists. Use the next-day response as your guide. If you feel worse the day after a session, you went too hard.
| Stage | What You Do | Goal | Time to Progress |
|---|---|---|---|
| 1. Basic Strides | Forward strides only, half speed, short distances | Re-establish rhythm and trust | 2 to 3 sessions |
| 2. Full-Stride Length | Full extension, focus on recovery leg path | Rebuild range and muscle memory | 3 to 4 sessions |
| 3. Crossovers and Edges | Add lateral push, both directions | Restore edge control and stability | 3 to 5 sessions |
| 4. Speed and Transitions | Build pace, add stops, starts, direction changes | Recondition under higher load | 4 to 6 sessions |
| 5. Game-Like Intensity | Pivots, contact, scrimmage scenarios | Return to full play | 3 to 5 sessions |
The exact time at each stage depends on the injury, your age, and how aggressive your medical team wants you to be. The key is to move forward only when the previous stage feels stable and your next-day response is clean. If you wake up swollen or sore, drop back one stage and stay there for an extra session.
Stride-Specific Drills That Rebuild Mechanics After Injury
General fitness will not bring your stride back. Stride-specific drills will. These are the movements I program into every return-to-skate plan because they rewire the exact motor patterns the skating stride depends on.
Recovery Leg Path Drill
Most skaters coming back from injury lift the recovery leg too high or swing it wide. Slow the stride down for 5 to 8 reps per leg and focus on pulling the foot straight back under the hip, with the blade staying close to the ice. This single drill fixes the most common stride inefficiency, the wide recovery swing, and it also retrains the hip flexors to fire at the right moment.
Single-Leg Push and Hold
After a knee or ankle injury, the injured leg tends to cut pushes short. Skate 10 to 15 yards on one leg only, then glide for 3 seconds on that same leg. The hold forces you to complete full extension and build the hip stability that protects the joint on every push.
Edge Awareness Drill
Glide on each edge, both feet, for the full length of a circle. After injury, proprioception is often compromised, and this drill restores the small adjustments that keep your stride straight and powerful. If you wobble, you are not ready for stage 3.
Backward-to-Forward Transitions
Transition drills force the hip and groin to absorb change-of-direction forces, which is exactly where many post-injury compensations show up. Start at 50 percent effort and progress to 80 percent over 6 to 8 sessions before adding full-speed pivots.
Pain-Free Does Not Mean Game-Ready: How to Tell the Difference
Pain-free is the minimum threshold, not the finish line. Many skaters confuse the absence of pain with full readiness, and that is where re-injury happens. There are four readiness markers that go beyond pain, and you want all four before you return to competition.
First, the injured leg matches the healthy leg in strength testing. Second, you can complete a full training session without flare-up the next day. Third, your stride length and push force are within 90 percent of your pre-injury numbers. Fourth, you trust the joint under sudden load, which is the confidence marker we cover in the next section.
If you are pain-free but missing one of the other three, you are training-ready, not game-ready. The difference matters because game speed adds unpredictable contact, deceleration, and decision-making that your body has not yet had to manage.
Rebuilding Confidence on Skates After Time Off
Mental recovery is the most undercovered piece of how to recover your skating stride after an injury, and for good reason. It is invisible, hard to measure, and easy to dismiss as weakness. In reality, fear of re-injury changes your stride mechanics before you even notice. Tentative pushes, stiff posture, and shortened strides all protect the injured area, but they also rebuild bad habits that will follow you past recovery.
One roller skater in our community described the moment her confidence clicked back: she put her skates on inside her house for a week before going to the rink. That small act of re-familiarization was the bridge between her injury and her return. It is the kind of detail that coaches and physios see all the time but rarely write down.
Three things accelerate mental recovery. First, visualize your full stride daily for 5 minutes. Second, start sessions with low-stress skills you already trust, like basic forward glides, before progressing to harder moves. Third, set tiny goals and celebrate them, because each one chips away at the fear that the injury will happen again.
Warning Signs That Mean You Returned Too Soon
Your body will tell you when you have pushed too hard. The trick is knowing which signals mean slow down versus full stop. These are the warning signs I tell every skater to watch for in the first 4 to 6 weeks of return.
Sharp pain in the injured area during or after skating, especially anything above 3 out of 10
Swelling that appears 12 to 24 hours after a session
Noticeable limp or compensation that lasts more than a day
Loss of range of motion compared to the previous session
Feeling of instability or giving way in the joint
Sleep disruption because of soreness in the injured area
Mental hesitation that worsens instead of improves across sessions
One of these signs means you overdid that last session. Two or more means you need to step back a stage and possibly loop in your medical team. Pushing through clusters of these signs is how 4-week recoveries turn into 6-month ones.
Common Mistakes Skaters Make During Recovery
Most return-to-skate mistakes come from the same place: impatience. The skater wants to feel normal again, so they skip a stage, ignore a warning sign, or compare themselves to where they were before the injury. None of those serve you.
The second most common mistake is treating off-ice work as a nice-to-have. It is the foundation. Skating on a weak base is like running a marathon on a sprained ankle. You will not finish, and you will make the original problem worse.
The third mistake is hiding the recovery from teammates or coaches. Skaters who try to look normal through the early stages end up compensating, which creates new injury patterns that take months to fix. The honest approach is faster, even if it feels slower in week 1.
Off-Ice Habits That Speed Up Your Stride Recovery
What you do off the ice shapes how fast you get back on it. Sleep, nutrition, and daily mobility are the three habits that compound fastest, and they cost almost nothing.
Sleep is the recovery engine. Aim for 7 to 9 hours during the return phase, because growth hormone release peaks during deep sleep and that is when tissue rebuilds. Nutrition should include 1.6 to 2.0 grams of protein per kilogram of body weight to support muscle repair, plus omega-3 fats to manage inflammation. Daily 10-minute mobility work keeps the new range of motion you built in physical therapy.
Hydration and stress management are the two habits athletes tend to forget. Dehydration slows tissue healing, and chronic stress keeps cortisol high, which is the opposite of what you want during recovery. Both are free levers to pull.
Frequently Asked Questions About Skating Stride Recovery
How long does it take to recover your skating stride after an injury?
Most skaters need 6 to 12 weeks to fully recover their skating stride after a typical lower-body injury, depending on severity and how well they follow a staged progression. Minor strains may take 3 to 4 weeks, while post-surgical recoveries often require 4 to 6 months.
What is the first drill I should do to rebuild my stride?
Start with the recovery leg path drill. Pull the skate straight back under your hips with the blade close to the ice. Slow it down for 5 to 8 reps per leg to rewire the motor pattern before adding speed.
Can I skate if I still feel slight pain?
No. Any pain above 3 out of 10 means the tissue is not ready. Continuing to skate on a sore joint turns a minor issue into a chronic one. Wait for full pain-free motion before progressing.
How do I know if I returned to skating too soon?
Watch for next-day swelling, sharp pain during the session, limping that lasts more than a day, or hesitation that grows instead of fading. Two or more of these signs mean you need to step back a stage and contact your medical team.
Should I do strength training while recovering?
Yes. Off-ice strength work is the foundation of a clean return. Focus on single-leg exercises, hip stability, and core work three times per week to rebuild the muscles that support every stride.
How do I rebuild confidence after a skating injury?
Start with small, low-risk sessions, visualize your full stride daily, and set tiny progression goals. Most skaters find that confidence returns alongside measurable strength gains, not before.
Final Thoughts on Getting Your Stride Back Safely
Learning how to recover your skating stride after an injury is really about learning to trust the process. The skaters who come back strongest are the ones who respect medical clearance, build a real off-ice base, follow a staged progression, and listen to the warning signs their body sends along the way.
If you take one thing from this guide, take this: progress at 10 percent per week, monitor the next-day response, and never skip a stage to save a week. That is the path that brings you back faster, even though it feels slower on day one. Your stride is worth the patience.