
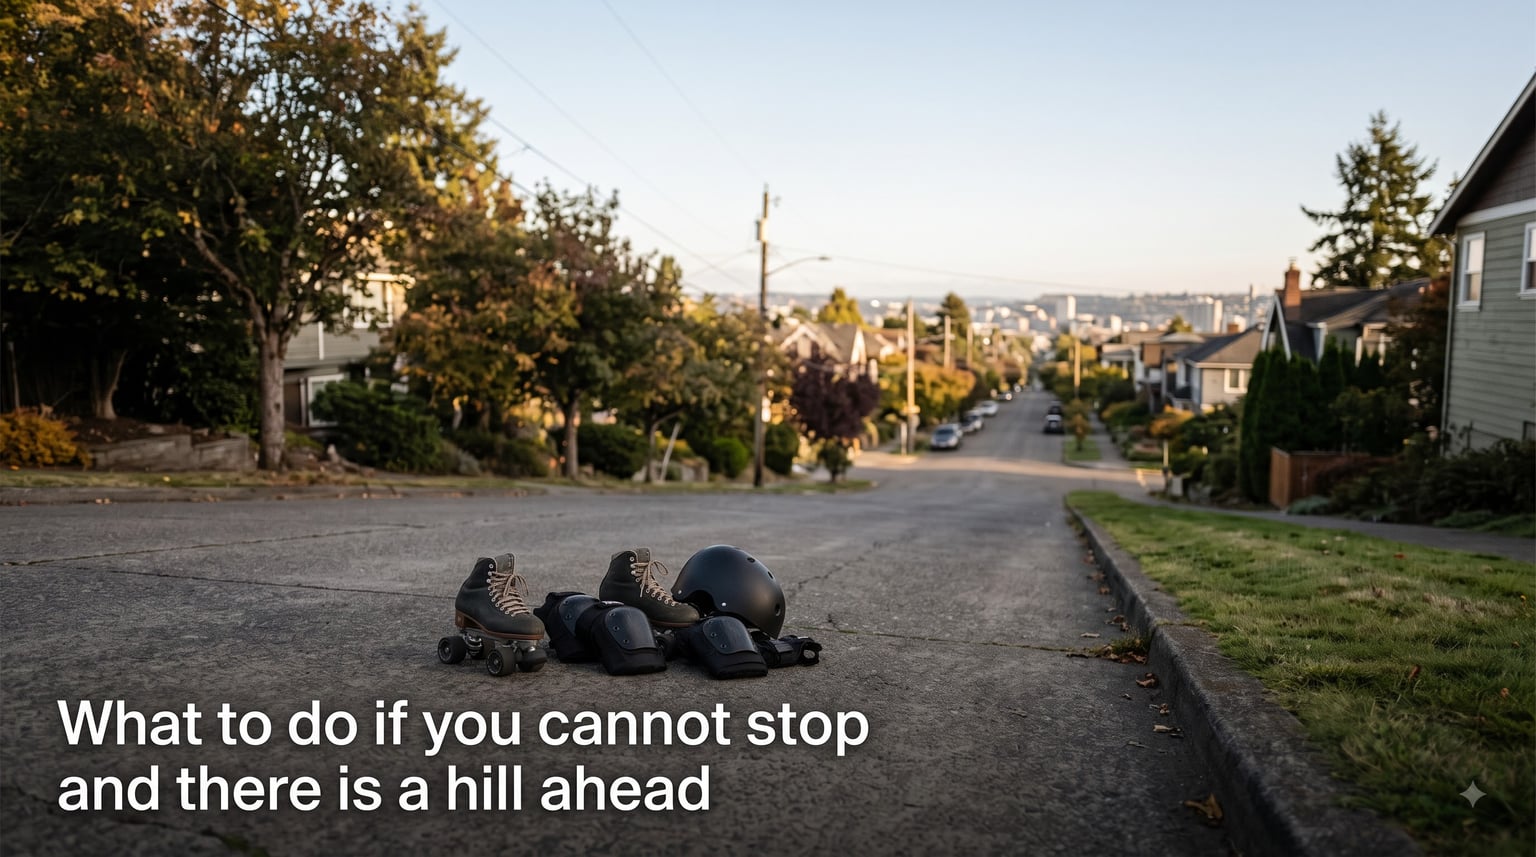
If you are reading this on your phone at the top of a hill, here is the short version: bend your knees, drag one toe stop, steer toward grass or a curb, and never lean back. The longer version matters too, because knowing what to do if you cannot stop and there is a hill ahead can be the difference between a scary story and a hospital visit.
I have talked with skaters on r/Rollerskating and watched the same question come up dozens of times: what do you actually do in the second you realize you cannot stop? Most guides talk about prevention. They tell you to practice on flat ground first, master your T-stop, wear your gear. All true, all important, and all completely useless when you are already rolling faster than you can think.
This guide leads with the emergency. The first section is the crisis playbook – what to do in the next five seconds. After that, we cover the decision between trying a controlled stop, rolling it out, or bailing. Then we get into the stopping techniques that actually work on downhill slopes, how to fall if you have to, and how to read a hill so you never end up in that panic again.
Whether you are on quad skates or inline skates, the core principles are the same. Speed is your enemy on a hill, friction is your friend, and panic is what gets people hurt. Let’s get into it.
Table of Contents
What to Do Right Now: 5 Emergency Steps When You Cannot Stop
If you cannot stop roller skates on a hill and you need to act now, follow these steps in order. Each one buys you a little more time and a little more control.
Step 1: Drop low and bend your knees. Lower your centre of gravity immediately. A deep knee bend makes you more stable and less likely to wobble out of control. Think of it as pressing your brakes before you even touch your toe stop.
Step 2: Turn one skate sideways and drag it. This is the T-stop, and it is your best friend at speed. Keep your weight on the front skate pointing forward, turn the trailing skate perpendicular, and let the wheels drag on the ground. Apply gradual pressure – slamming it down can spin you around.
Step 3: If the T-stop is not enough, drag your toe stop. Quad skaters with toe stops should lift the toe of one skate and let the rubber stopper scrape the pavement. Pulse it rather than holding steady, so you do not catch and pitch forward.
Step 4: Steer toward something that will slow you down. Look for grass, a gravel patch, a curb, or a wall you can lean against. Do not aim for parked cars or traffic. A controlled grass landing beats an uncontrolled asphalt slide every time.
Step 5: If nothing is working, bail on purpose. Choose to fall before the hill chooses for you. Drop to your knees and slide on your kneepads, or sit down and let your hip and butt pads take the hit. More on how to fall safely below.
Notice the pattern. Every step is about converting forward speed into friction or a controlled collision with something softer than your body. The goal is not to stop instantly – it is to bleed off speed in stages until you are slow enough to step off safely.
The Decision: Controlled Stop, Roll It Out, or Bail
In the moment of panic, you have roughly one second to make a choice. Knowing your three options ahead of time means you do not waste that second thinking. Here is how to decide what to do when you cannot stop roller skates on a hill.
Choose a controlled stop if: you have a working T-stop or toe stop drag, the hill is not steepening ahead of you, and you have at least 10 to 15 metres of clear path. This is the best outcome – you slow down and stop under your own power.
Choose to roll it out if: your brakes are not catching, but the hill flattens out or curves into a safe runout ahead. Sometimes the smartest move is to let physics do the work. Keep your knees bent, hold a stable stance, and ride it to the bottom where the grade levels off. Just make sure there is actually a safe place to stop down there.
Choose to bail if: you are accelerating toward traffic, a busy intersection, a sharp turn you cannot make, or a drop-off. If the path ahead is worse than the ground beneath you right now, it is time to go down on purpose. A planned fall at 15 km/h is far less dangerous than an unplanned crash at 30.
One thing experienced skaters on the forums stress: never try a new technique at speed for the first time. If you have never done a spin-around toe stop, a hill is not the place to learn it. Use what your body already knows, even if it is the basics.
Stopping Techniques That Actually Work Downhill
Not every stop works on a hill. The techniques that feel easy on flat ground can fail completely once gravity is pulling you forward. Here are the four that hold up, ranked from easiest to hardest for steep slopes.
The Toe Stop Drag (Best for Quad Skaters)
This is the most reliable downhill stop for anyone with toe stops mounted on their skates. It keeps you facing forward and lets you modulate braking pressure smoothly.
Step 1: Get low with both skates parallel and weight evenly distributed.
Step 2: Lift the toe of your dominant skating foot and extend it slightly behind you.
Step 3: Let the toe stopper touch the ground and apply light, pulsing pressure.
Step 4: Keep your eyes up and your weight over your supporting leg – do not lean back.
Step 5: Increase pressure gradually as you slow down, then step off when you reach walking speed.
The mistake most beginners make is pressing too hard at once. That catches the stopper and either stops you dead (jerking you forward) or trips you. Pulse it like a brake pedal.
The T-Stop (Best for Inline Skaters and Speed)
The T-stop works at higher speeds than almost any other technique. It is the go-to for inline skaters and anyone comfortable balancing on one leg.
Step 1: Shift all your weight onto your front skate, which stays pointed straight ahead.
Step 2: Lift your back foot and turn it 90 degrees so it is perpendicular to your direction of travel.
Step 3: Set the inside edges of the back wheels on the pavement.
Step 4: Apply downward pressure gradually – the friction slows you down.
Step 5: Keep your hips square and your chest up. Looking down at the dragging foot is the number one cause of T-stop wipeouts.
The T-stop wears your wheels down fast, especially on rough asphalt. But when you are picking up speed on a hill and cannot stop, wheel wear is the least of your problems.
The Plough Stop (Also Called the Snowplow)
The plough stop is wider and more stable than the T-stop, which makes it good when you are scared and shaking. It does not slow you as aggressively, but it is forgiving.
Step 1: Widen your stance so both skates are further apart than your shoulders.
Step 2: Turn both toes outward and both heels inward, making a V shape pointing behind you.
Step 3: Push outward against the ground with both skates simultaneously.
Step 4: The friction on both inside edges creates drag and slows you down.
Step 5: Bring both skates back together as you come to a stop.
The plough stop feels like spreading butter on bread. It is smooth and intuitive once it clicks, and it keeps you balanced on two feet the entire time.
The Turn-Around Toe Stop (Advanced – Steep Hills Only)
Reddit skaters repeatedly recommend this as the safest method for genuinely steep hills. You skate backwards and drag both toe stops, which gives you maximum braking surface and keeps your speed visible.
Step 1: While rolling forward, do a smooth 180-degree turn to face uphill (now skating backwards relative to your travel direction).
Step 2: Drop into a deep crouch with your weight centered.
Step 3: Drag both toe stops simultaneously against the ground.
Step 4: Look over your shoulder to watch where you are going.
Step 5: Hold the drag until you stop completely.
This is not a beginner move. You need to be comfortable skating backwards and turning at speed before you ever try it on a hill. But for skaters who have it in their toolkit, it is the most powerful controlled stop there is.
How to Fall Safely If You Must Bail
Sometimes you cannot stop and there is a hill ahead that ends somewhere you do not want to go. In that case, choosing to fall is smarter than letting the road decide how you go down. Here is how to bail with the least damage.
Tuck and slide, do not stick your arms out. The instinct to catch yourself with your hands causes the most common roller skating injury – wrist fractures. Keep your arms in. Let your kneepads, hip pads, and helmeted head take the impact.
Aim for the knee slide. Drop your weight low, fall forward onto both knees, and let yourself slide on the plastic kneepad caps. Speed skaters and derby players do this deliberately. On smooth asphalt, you can slide several metres and walk away with nothing but scuffed pads.
If you cannot get to your knees, roll sideways. Tuck your chin, pull your arms in, and roll onto your side and back like a log. Spreading the impact across a larger surface area reduces the force on any single point.
Aim for grass if it is an option. A grassy verge will stop you faster and softer than asphalt. It is the best available crash pad on most roads.
The skaters who get hurt worst are the ones who fight the fall – stiffening up, reaching out, trying to run it off at speed. Going limp and rolling is counterintuitive but it is what keeps injuries minor.
How to Assess a Hill Before You Skate It
The best emergency response is never needing one. Most skating accidents on hills happen because someone rolled down a slope they never should have been on. Here is how to read a hill before you commit.
Walk it first. If you cannot walk down the hill comfortably at a normal pace, you cannot skate down it safely. Walk the entire route and check the grade, the surface condition, and what is at the bottom.
Check the runout. A safe hill has a flat or uphill section at the bottom where you can naturally decelerate. A hill that feeds into a T-junction, a car park, or a busy road is not safe at any skill level.
Look for escape routes. Note any grass verges, driveways, or wide footpath sections where you could redirect if you lose control. If the entire route is bordered by kerbs and traffic, pick a different hill.
Assess the surface. Wet leaves, loose gravel, cracked pavement, and cobblestones all reduce your braking effectiveness dramatically. A hill that is manageable on clean asphalt can be impossible to stop on if the surface is poor.
Be honest about your skill level. The community on r/Rollerskating says it over and over: find a gentle hill with a safe runout and no traffic, and develop your braking skills there before you ever attempt anything steeper. There is no shame in walking down a hill you are not ready for.
Why You Keep Accelerating: The Physics of Downhill Skating
Understanding why stopping gets harder as you go faster helps you stay calm when it happens. Panic is the real danger on a hill, and knowing the physics removes some of the fear.
Gravity pulls you downhill with constant acceleration. That means every second you roll, you go faster than the second before. On a gentle slope, air resistance and wheel friction eventually balance out gravity and you stop accelerating. On a steep slope, that balance point is much faster than you can safely skate.
The faster you go, the more distance and time every braking technique needs. A T-stop that drops your speed by 5 km/h in one second at low speed barely makes a dent at 30 km/h. This is why early braking matters so much – the first second of acceleration is the easiest one to undo.
It is also why the emergency steps emphasise getting low and starting to brake immediately, even if it does not feel like you are slowing yet. Friction compounds. Every bit of drag you apply now makes the next second more manageable.
Common Mistakes That Make Stopping Impossible
Certain habits turn a manageable hill into an uncontrolled descent. Most of these come from fear, and recognising them is the first step to fixing them.
Leaning back. When skaters get scared, they lean away from the direction of travel. This takes weight off your braking skate and puts it on your heels, which makes every stop less effective. Force yourself to stay centred or slightly forward.
Looking down at your feet. Your body follows your eyes. Staring at your skates makes you stiff, throws off your balance, and prevents you from spotting escape routes or obstacles. Keep your head up and look at where you want to go.
Stiffening up. Rigid legs cannot absorb bumps or adjust your balance. Bending your knees is not just about getting low – it gives your body suspension so you can react to the terrain under you.
Trying only one technique and giving up. If your T-stop is not catching, switch to the toe stop drag. If that fails, try the plough. Having multiple tools means one failure does not leave you helpless.
Skating hills above your level. The forums are full of skaters who got hurt because they followed faster friends down a hill they were not ready for. Pride does not brake for you. Walk the hill if you have any doubt.
Building the Skills So This Never Happens Again
The goal is to arrive at a point where you never have to use the emergency steps above. Here is the progressive practice plan that experienced skaters and instructors recommend.
Stage 1: Master stops on flat ground. You should be able to do a clean T-stop, toe stop drag, and plough stop on flat pavement without thinking. If you have to concentrate to execute them, you are not ready for hills.
Stage 2: Find a gentle slope with a safe runout. A car park with a slight grade, a quiet residential street that flattens out, or a park path with a mellow descent. Practice your stops here until they feel automatic.
Stage 3: Gradually increase the grade. Move to slightly steeper hills only after the previous one feels boring. Each new hill should feel comfortably within your ability to stop at any point.
Stage 4: Practice at speed. Once your stops are solid, build speed deliberately on safe hills so your body learns what braking feels like when you are moving fast. Speed changes the feel of every technique.
Always wear full protective gear. Helmet, wrist guards, knee pads, and elbow pads are non-negotiable for hill practice. They are what let you practice falling safely instead of avoiding it out of fear.
Frequently Asked Questions
How to stop roller skates going down hill?
Bend your knees, shift your weight to your front skate, and drag your trailing skate sideways in a T-stop. Quad skaters can also drag a toe stop with pulsing pressure. Steer toward grass or a flat runout to bleed off speed. Practice these techniques on gentle slopes before attempting steep hills.
What should you do if you cannot stop on roller skates?
Drop low, drag one toe stop or perform a T-stop, and steer toward grass or a curb. If nothing is working, bail on purpose by dropping to your knees and sliding on your kneepads. Never lean back or reach out with your hands.
What is the most common injury in roller skating?
Wrist fractures are the most common roller skating injury, caused by reaching out to catch yourself during a fall. Wearing wrist guards and learning to fall on your knees or side instead of your hands dramatically reduces this risk.
How to safely skate down a hill?
Walk the hill first to check the grade, surface, and runout. Wear full protective gear. Start braking early before you build speed, and use a technique you have mastered on flat ground. If you have any doubt about your ability to stop, walk down instead.
How to not roll back on a hill automatically?
Keep your weight slightly forward and your knees bent. Use a toe stop or T-stop to hold your position, and angle your skates across the slope rather than pointing straight downhill. If you cannot hold your position, step off to the side and walk.
Final Thoughts on Hill Safety
Knowing what to do if you cannot stop and there is a hill ahead comes down to five things: get low, drag a brake, steer toward something soft, bail on purpose if you must, and never lean back. The skaters who stay safe are the ones who practiced their stops on flat ground until the techniques became reflex, then progressed to gentle hills before ever attempting anything steep.
Every experienced skater has a story about a hill that got away from them. The difference between a good story and a bad outcome is whether you had a plan in that moment of panic. Now you do. Walk the hills you are not sure about, wear your gear, and keep building your braking skills one slope at a time.