
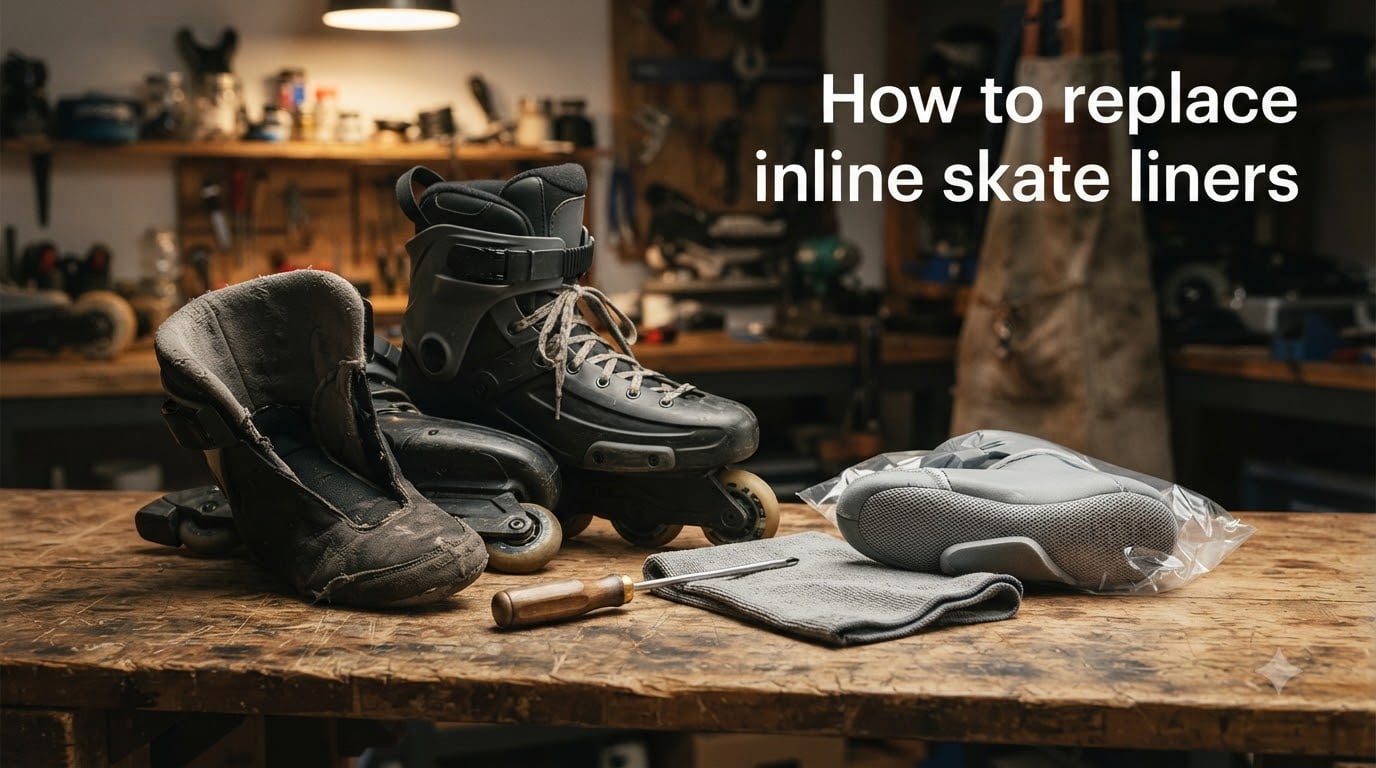
Learning how to replace inline skate liners can save you money and bring new life to a pair of skates you’ve already broken in. In this guide, I’ll walk you through the entire process from pulling out the old liners to heat molding the new ones for a custom fit.
I’ve swapped liners on aggressive skates, freeskate shells, and fitness boots over the years, and the job is far more approachable than most skaters think. Whether your current liners smell bad, have compressed, or you’ve simply outgrown them, the replacement process follows the same basic steps every time.
Table of Contents
What Are Inline Skate Liners?
Inline skate liners are the removable inner boots that sit between your foot and the hard outer shell of your skate. They handle cushioning, ankle support, and moisture management while creating a snug fit around your foot.
Most modern inline skates use removable liners, which means you can pull them out for washing, drying, or replacement. A few older or budget models still have glued-in liners, and those are far harder to swap without damaging the shell.
Two terms come up constantly when shopping for replacements: heat moldable and standard. Heat moldable liners are made from foam that softens when warmed in an oven, then conforms to the shape of your foot as it cools. Standard liners don’t change shape and rely on foam compression over time to break in.
Signs You Need to Replace Your Skate Liners
Your liners will eventually tell you when they’re done. Here are the most common signs I look for before pulling the trigger on a replacement.
Compressed foam is the biggest clue. If your heel shifts inside the boot or your foot slides around during hard pushes, the foam has packed out and can no longer hold you in place.
Permanent odor is another clear signal. Once bacteria get deep into the foam, no amount of washing or deodorizer will fully remove the smell. A fresh liner solves this in one swap.
Visible breakdown, including cracks, tears in the toe box, or exposed foam, means the liner has reached the end of its useful life. You’ll also notice reduced ankle support when the sidewalls soften or the cuff padding flattens out.
Tools and Materials Needed
You don’t need much to replace inline skate liners, but having everything ready makes the job much faster.
- A flathead screwdriver or butter knife for prying stubborn liners loose
- A clean cloth or towel for wiping down the inside of the shell
- Mild soap and water for cleaning the shell interior
- Your replacement liners, picked by size and skate brand
- Thick socks for the heat molding step
- An oven for heating foam liners (only for heat moldable models)
A hairdryer or heat gun can help with spot molding on the tongue or ankle area, but the oven gives the most consistent results across the whole liner.
How to Replace Inline Skate Liners: Step-by-Step
The full replacement takes most skaters about 30 to 45 minutes from start to finish, including heat molding time. Here’s the exact process I use on my own skates.
Step 1: Remove the Old Liners
Start by undoing the buckles, straps, and laces on each skate. Pull the tongue forward and grab the liner at the top of the cuff.
Grip the heel area firmly and pull straight up. Most liners slide out with steady pressure. If yours feels stuck, work a flathead screwdriver between the liner and shell edge and gently pry upward at several points around the rim.
Don’t yank from the toe, since that can tear the toe box and leave fragments behind. Patient, even pressure from the cuff works every time.
Step 2: Inspect and Clean the Shell
With the liners out, look inside the shell for any debris, old padding, or moisture. Wipe everything down with a slightly damp cloth.
Check the shell for cracks, separated seams, or worn rivets around the cuff and buckle mounts. This is a good moment to address any shell repairs before the new liners go in. A liner swap on a damaged shell will still feel wrong.
Step 3: Check Compatibility and Sizing
Confirm your new liners fit the shell before installing them. Brands like MyFit, Intuition, and Powerslide publish compatibility charts showing which shell models their liners are designed for.
Drop the new liner into the empty shell without forcing it. It should slide in smoothly and sit flat against the bottom. If you have to wrestle it into place, you likely have the wrong size or shape for that shell.
This is also a good moment to handle downsizing. Swapping in a thinner aftermarket liner can let you wear a smaller shell, which dramatically improves control for freeskating and urban skating.
Step 4: Install the New Liners
Slide the new liner into the shell, starting at the toe and pushing the heel down last. Make sure the heel pocket seats fully against the back of the shell.
Align any power straps, cuff loops, or tongue anchors so they sit in their proper channels. Buckle everything up loosely and check that nothing is twisted or pinched.
How to Heat Mold Inline Skate Liners
Heat molding turns a generic liner into something that feels custom-built for your foot. The process is simple but requires attention to temperature and timing.
- Preheat your oven to 175 to 185F (80 to 85C). Do not go higher, since temperatures above 200F can damage foam and adhesives.
- Place the liners on a baking sheet and put them in the oven for 5 to 7 minutes.
- Remove the liners carefully and let them cool for about 30 seconds until safe to handle.
- Put on thick socks, step into the warm liners, and slide them into the skate shell.
- Stand in a natural skating position with knees slightly bent for 10 to 15 minutes while the foam sets.
- Remove the liners and let them cool fully before skating.
If you don’t have an oven, some skaters use a heat gun on low setting to warm specific pressure points. Be careful not to overheat any single area, since foam can scorch quickly.
Warning: Always remove the insole before heating the liner. Most insoles contain glue or materials that can warp or release fumes when warmed.
Tips for Breaking In New Liners
Even with heat molding, new liners benefit from a short break-in period. I usually wear my freshly installed liners around the house for an hour or two before heading out.
Start with shorter sessions on the skates, around 20 to 30 minutes, and build up to full sessions over a week. Heat molded foam continues to compress slightly with use, settling into the final fit after 5 to 10 hours of skating.
If a hot spot develops during the first few sessions, don’t ignore it. That pressure point will only get more painful. Reheat the liner and remold that section, or add a thin foam pad over the trouble spot.
Troubleshooting Common Issues After Liner Replacement
Even a careful install sometimes produces unexpected fit issues. Here are the most common problems and how I fix them.
If the liner feels too tight, double check the size chart. Many skaters are between sizes and need to size up rather than down. You can also remove the stock insole and replace it with a thinner aftermarket one for extra room.
Heel lift usually means the liner isn’t seated fully in the heel pocket, or the foam around the ankle hasn’t molded correctly. Reheat that section and remold while flexing forward in skating stance.
Pressure points on the ankle bones or top of the foot are typically a heat molding issue. Spot heat the trouble area with a heat gun and remold while flexing the foot to spread the pressure.
If the liner keeps sliding out of the shell, check that the shell liner is the right shape. Some aftermarket liners have different cuff heights or widths that don’t lock into certain shell geometries.
Choosing the Right Replacement Liners
The liner market breaks down into a few main brands, each with different strengths. MyFit liners are known for dual fit systems that work in a range of shells. Intuition liners are popular for thin, heat moldable performance and downsizing. Rollerblade and Powerslide stock replacements match their own shells perfectly.
Sizing usually matches your normal shoe size, but thickness varies between brands. Always check the brand’s compatibility chart before ordering, especially if your shell is older or from a smaller manufacturer.
FAQ
Can you replace liners in any inline skate?
Most modern inline skates have removable liners that you can replace. Only a few budget or older models use glued-in liners that are difficult to swap without damaging the shell.
How long do inline skate liners last?
Inline skate liners typically last between 6 months and 2 years depending on use. Heavy skaters and aggressive skaters often need replacement sooner, while casual riders can get longer life from their liners.
Are all inline skate liners heat moldable?
No. Only specific liners made from heat reactive foam can be molded in an oven. Standard foam liners rely on natural compression over time and should never be heated.
How tight should skate liners fit?
Your skate liners should feel snug around your heel, midfoot, and ankle without any pressure points or pinch points. You should be able to wiggle your toes freely at the front of the liner.
Can I wash my inline skate liners?
Yes. Most removable liners can be hand washed in mild soap and water, then air dried away from direct heat. Machine washing is not recommended since it can damage foam and adhesives.
How much does it cost to replace inline skate liners?
Replacement liner prices vary widely by brand and model, ranging from budget stock replacements to premium aftermarket options. Check the manufacturer’s site or your local skate shop for current pricing.
Conclusion
Knowing how to replace inline skate liners gives you control over the comfort, fit, and lifespan of your skates. The process comes down to removing the old liners, cleaning the shell, fitting the right replacement, and heat molding for a custom feel.
Grab your tools, pick the right liner for your skate model, and set aside an hour this weekend. Your feet will thank you on the next ride.