
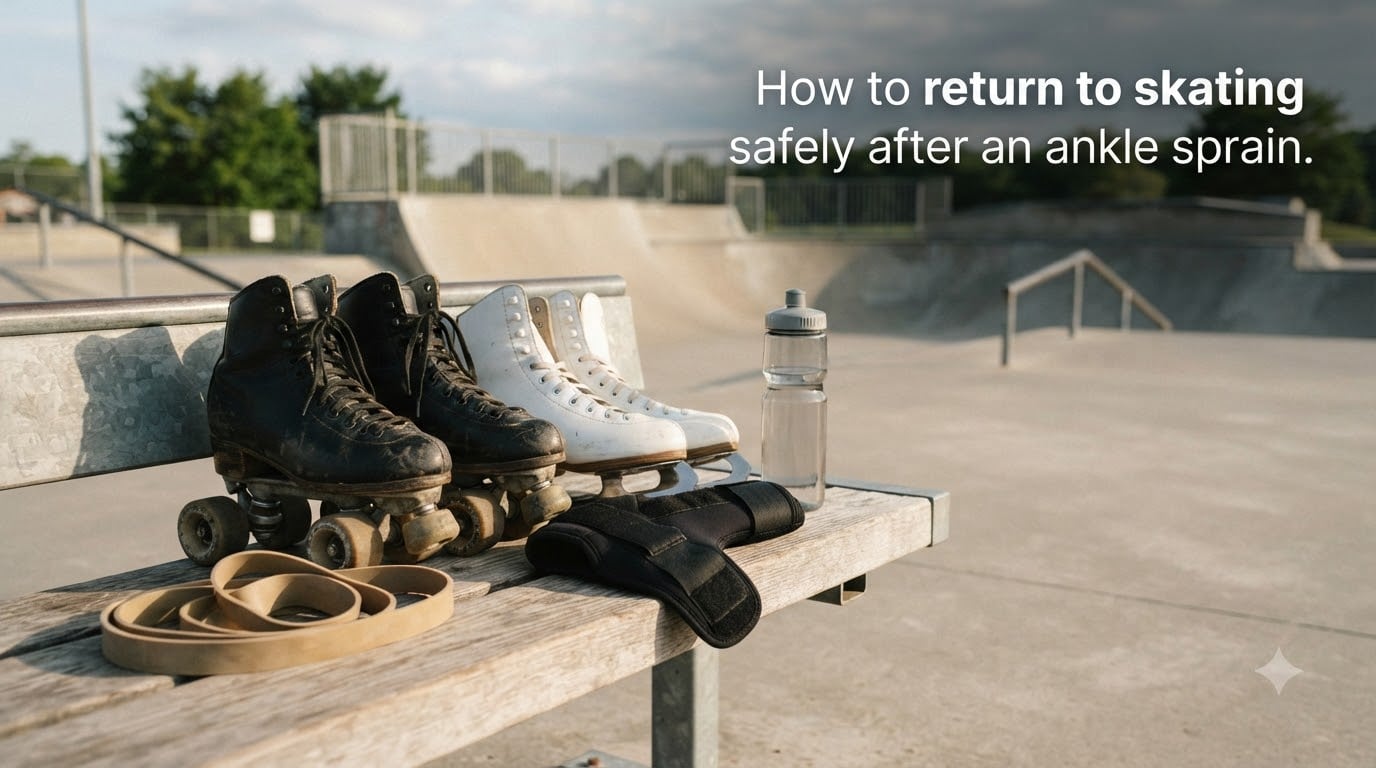
Rolling your ankle at the worst possible moment is something almost every skater has lived through. One second you are flowing through a turn or lining up a trick, and the next you are on the ground wondering if your skating season is over. I have been there more than once, and the uncertainty of not knowing when it is safe to lace up again is almost worse than the pain itself.
This guide walks through every stage of how to return to skating safely after an ankle sprain. We will cover what actually happens to your ligaments, how to care for the injury in the first 72 hours, a phased rehab plan you can do at home, and the specific criteria that tell you your ankle is ready for wheels or blades again.
You will also find advice that competitors often skip, including the mental side of returning after injury, practical guidance for parents of young skaters, and the differences between recovering for ice skating, roller skating, and skateboarding. Everything here is grounded in what real skaters report in forums and what sports medicine sources recommend.
Table of Contents
What Happens When You Roll Your Ankle?
When you roll your ankle, the ligaments on the outside of the joint get stretched beyond their normal range. This is called an inversion sprain, and it accounts for roughly 85 percent of all skating ankle injuries. The lateral ligaments, specifically the anterior talofibular ligament, take the brunt of the force.
In some cases the ankle rolls outward instead, which stretches the deltoid ligament on the inside. This eversion sprain is less common but often more serious because the medial ligaments are naturally stronger, meaning more force is required to damage them.
The immediate response is swelling, bruising, and pain. Your body floods the area with fluid as part of the inflammation response, which is actually the first stage of tissue healing. The problem is that this same swelling limits your range of motion and makes the ankle feel unstable long after the initial injury.
What many skaters do not realize is that pain often disappears well before the ligaments have fully healed. Forum users on r/skateboarding and r/rollerderby repeatedly warn about this trap. You feel fine, you skate, and then you roll the same ankle again because the tissue was still weak.
Ankle Sprain Grades Explained (1, 2, and 3)
Medical professionals classify ankle sprains into three grades based on how much ligament damage has occurred. Knowing your grade helps you set realistic expectations for your recovery timeline.
Grade 1 (Mild): The ligaments are overstretched but not torn. You will feel some pain and tenderness, with mild swelling but little to no bruising. Most skaters can bear weight within a day or two. Typical recovery time is 1 to 3 weeks.
Grade 2 (Moderate): There is a partial tear in one or more ligaments. Expect significant swelling, visible bruising, difficulty bearing weight, and a noticeable feeling of instability. Forum reports suggest 3 to 6 weeks is common before feeling ready to skate, with full stability taking longer.
Grade 3 (Severe): The ligament is completely ruptured. This is the most serious grade and often involves a popping sound at the time of injury, severe swelling, extensive bruising, and an inability to put any weight on the foot. Recovery can take 8 to 12 weeks or more, and some cases require surgical evaluation.
One important note: it is genuinely difficult to self-diagnose your sprain grade accurately. If you heard a pop, cannot bear any weight after the first few hours, or see significant deformity, get an imaging assessment from a medical professional.
Recovery Timeline by Grade
The most common question on skating forums is some version of how long until I can skate again. The honest answer depends heavily on your grade, your rehab effort, and your individual healing rate.
For Grade 1 sprains, many skaters report returning to light skating within 2 to 3 weeks. For Grade 2, forum consensus points to 6 to 8 weeks before feeling truly ready, with some taking up to 12 weeks for full confidence. Grade 3 sprains can sideline a skater for 3 months or longer, especially if surgery is involved.
These are not deadlines to rush toward. They are baselines for setting expectations. A Grade 2 sprain that feels fine at 4 weeks may still lack the stability needed for sharp turns, jumps, or hard stops. Rushing the timeline is the most common cause of repeat injury among skaters who shared their experiences on r/NewSkaters and r/OldSkaters.
The First 72 Hours: Updated Protocol
For decades, the standard advice for any sprained ankle was RICE: rest, ice, compression, and elevation. Recent sports medicine research has refined this approach, and many practitioners now recommend a more active recovery model.
Ice still has a role in the first 48 to 72 hours for pain management. Apply it for 15 to 20 minutes every 2 to 3 hours, always with a cloth barrier between the ice and your skin. Compression with an elastic bandage helps control swelling, and elevation keeps fluid from pooling around the joint.
The biggest shift from the old model is that prolonged rest is no longer recommended. Complete immobilization for more than a few days actually slows down tissue healing. As soon as you can tolerate gentle movement without sharp pain, you should begin light mobility work like ankle circles and alphabet tracing with your foot.
Early gentle movement promotes blood flow, which delivers the nutrients your ligaments need to rebuild. The key word is gentle. If an movement causes pain beyond a mild 3 out of 10 discomfort, stop and give it more time.
Protect the ankle from further stress during this window. Avoid weight-bearing if it causes pain, but try to transition to full weight-bearing as soon as it is tolerable, even if you need crutches or a brace for support initially.
When to See a Doctor or Physical Therapist
Not every sprained ankle needs medical imaging, but certain red flags warrant professional evaluation. If you cannot bear any weight on the injured ankle after the first 2 hours, seek medical attention. A complete inability to walk four steps is a clinical indicator that something more serious may be going on.
Other signs that warrant a visit include a visible deformity of the ankle, numbness or tingling in the foot or toes, pain that does not improve after the first 3 days, or a popping sound at the time of injury followed by severe swelling. Any of these could indicate a fracture, complete ligament rupture, or nerve involvement.
Working with a physical therapist, even for just 2 or 3 sessions, can make a significant difference. They can assess your ligament integrity, identify muscle imbalances, and design a rehab program specific to your sport. Many skaters on forums credit professional guidance with preventing repeat injuries.
For parents of young skaters, do not rely on your child self-reporting pain accurately. Kids often minimize discomfort because they want to get back on skates. Watch for limping, swelling that persists beyond a few days, or reluctance to put full weight on the affected side.
Phase 1 Rehab: Restore Pain-Free Movement
The first phase of rehab focuses on getting your full range of motion back without pain. This phase typically begins within the first week for Grade 1 sprains and may take 2 to 3 weeks for Grade 2 sprains to reach this stage.
Start with ankle alphabet exercises. Sit in a chair and trace each letter of the alphabet in the air with your big toe. This moves your ankle through every plane of motion in a gentle, controlled way. Do this 2 to 3 times daily.
Add towel stretches for your calf and Achilles tendon. Loop a towel around the ball of your foot while sitting with your leg extended. Gently pull your toes toward you until you feel a stretch in the back of your lower leg. Hold for 20 to 30 seconds and repeat 3 times on each side.
Gentle ankle circles in both directions help restore rotational mobility. Keep the movements small and pain-free initially, gradually increasing the range as comfort allows. Aim for 15 to 20 circles in each direction, twice daily.
You are ready to progress to Phase 2 when you can move your ankle through its full range without pain and walk without a limp. If you still feel stiffness or discomfort, continue these exercises for another few days before advancing.
Phase 2 Rehab: Rebuild Stability and Proprioception
Phase 2 is where many skaters skip ahead too quickly and end up reinjuring themselves. This phase rebuilds proprioception, which is your body’s ability to sense where your ankle is in space without looking at it. After a sprain, proprioception is significantly reduced, and restoring it is your best defense against another roll.
Start with single-leg balancing on a flat, stable surface. Stand on your injured leg with eyes open for 30 seconds, then switch sides. Aim for 3 sets per leg. Once that feels easy, close your eyes to increase the difficulty.
Progress to balancing on an unstable surface like a pillow, folded towel, or balance pad. The instability forces your ankle stabilizer muscles to work harder. Start with 20-second holds and build up to 60 seconds across 3 sets.
Add resisted ankle movements using a resistance band. Loop the band around your foot and move your ankle in all four directions: up, down, inward, and outward. Do 3 sets of 15 repetitions in each direction. This strengthens the muscles that support your lateral ligaments.
For skaters specifically, practice weight-shifting from edge to edge while standing in place. Mimic the lateral movements you make while skating without actually rolling. This trains your ankle to handle the specific demands of your sport in a controlled environment.
You are ready for Phase 3 when you can balance on your injured leg with eyes closed for 30 seconds on an unstable surface and perform all resisted movements without pain.
Phase 3 Rehab: Build Strength for Skating
Phase 3 focuses on building the strength your ankle needs to handle the forces of skating. This is where you transition from rehab exercises to sport-specific preparation.
Calf raises are the foundation of this phase. Start with double-leg raises on flat ground, 3 sets of 15 repetitions. Progress to single-leg calf raises, aiming for 3 sets of 10 to 12 on the injured side. Compare both sides to check for strength deficits.
Add plyometric loading once calf raises feel strong and pain-free. Start with small hops on both feet, then progress to single-leg hops. Begin with 2 sets of 10 hops and build gradually. Hopping mimics the impact forces your ankle absorbs during skating.
Lateral movements are essential for skating. Set up a line on the ground and practice side-to-side hops over it, landing softly on your injured leg. Start with small distances and 2 sets of 10, increasing both distance and volume as your confidence grows.
Jump rope is an excellent final-stage exercise because it combines calf strength, ankle stiffness, and proprioception. Start with short intervals of 30 seconds and build up. If you can jump rope for 2 to 3 minutes without pain or instability, your ankle is handling impact forces well.
By the end of Phase 3, you should be able to perform single-leg hops, lateral bounds, and jump rope without pain, swelling afterward, or a feeling of instability. If any of these cause discomfort, give yourself more time in this phase before strapping on skates.
Signs Your Ankle Is Ready for Skating
Knowing exactly when to return to skating safely after an ankle sprain comes down to passing a set of functional tests. Pain alone is not a reliable indicator, as many skaters have learned the hard way. Here are the criteria your ankle should meet before you even think about rolling again.
First, you should be able to walk briskly for at least 10 minutes without any pain, limp, or compensatory movement. If you are still subconsciously favoring the injured side, your ankle is not ready.
Second, you should be able to perform a single-leg squat on the injured side without pain or knee collapse. This demonstrates that your ankle has the stability and strength to support your body weight through a controlled range of motion.
Third, you should be able to do single-leg hops without pain. Try 10 consecutive hops on the injured leg in place. Then try forward, backward, and lateral hops. Any pain, instability, or apprehension means you need more rehab time.
Fourth, test a single-leg heel raise. Stand on one foot and rise onto your toes. Skating places enormous demand on the calf and ankle complex, and if a single heel raise is painful or weak, skating will only make it worse.
Finally, compare both ankles. If your injured ankle cannot match the strength, balance, and range of motion of your uninjured side within 90 percent, you are at elevated risk for re-injury. This 90 percent benchmark is what sports medicine professionals use as a return-to-sport standard.
First Sessions Back: Flat Ground Only
When you pass the return-to-skate criteria, your first sessions should be intentionally low-key. Skate on flat, smooth surfaces only. No ramps, no hills, no rough terrain, and no tricks. This is not the time to test your limits.
Start with 15 to 20 minutes maximum. Focus on basic forward skating, gentle turns, and stopping. Pay close attention to how your ankle feels during and after the session. Soreness the next day is acceptable. Sharp pain, swelling, or instability is not.
Give yourself at least 48 hours between your first few sessions. This recovery window lets you assess how your ankle responds and prevents cumulative fatigue from masking warning signs. If everything feels good after 3 to 4 flat-ground sessions, you can gradually increase duration and introduce gentle hills or carves.
Skateboarders should stick to flat ground pushing and cruising. Ice skaters should stick to basic forward stroking on public sessions. Roller skaters should avoid dance moves, spins, or anything that requires sharp lateral cutting for the first several sessions.
Wait until you have completed at least 6 to 8 flat-ground sessions over 2 to 3 weeks before reintroducing tricks, jumps, or aggressive skating. The Stix guide recommends this flat-only approach, and it aligns with what experienced skaters on forums consistently advise.
Using Braces and Tape for Confidence
Ankle braces and athletic tape can provide valuable support during your return to skating, but they are tools, not substitutes for proper rehab. A lace-up ankle brace adds mechanical stability and can significantly reduce the fear of re-injury during those first nervous sessions back.
For the first month back on skates, wearing a lace-up brace on the injured ankle is a smart choice. It limits excessive inversion, which is the exact motion that caused your sprain in the first place. Some skaters continue wearing a brace for months or even permanently after a significant sprain.
Athletic tape is an alternative that many skaters prefer because it allows more natural movement while still providing support. The downside is that tape loosens after about 30 to 45 minutes of activity. If you skate for longer sessions, a brace is more practical.
One caution from physical therapy sources: do not become so dependent on external support that your ankle muscles stop doing their job. Braces and tape should supplement your rehab strength, not replace it. Continue your stability and strengthening exercises even after you return to skating.
If you have had multiple sprains, a semi-rigid brace may be worth the investment. These braces have rigid supports on both sides of the ankle and provide more protection than a standard lace-up model. They are bulkier but offer superior prevention for skaters with a history of chronic ankle instability.
Long-Term Ankle Strength and Stability
Once you have returned to skating, injury prevention becomes an ongoing practice. The single biggest predictor of a future ankle sprain is having had one before. Your ligaments develop scar tissue that heals with less elasticity than the original tissue, making the joint more vulnerable to future rolls.
Make single-leg balance work a permanent part of your routine. Even 5 minutes a day of balancing on an unstable surface maintains the proprioception that protects your ankle. This is the most time-efficient prevention habit you can build.
Continue calf raises and resistance band work 2 to 3 times per week. Strong calf muscles absorb impact forces that would otherwise reach your ankle ligaments. Strong ankle stabilizer muscles provide active support that braces alone cannot replicate.
Warm up before every skating session. Spend 5 to 10 minutes doing ankle circles, light calf stretches, and weight shifts. Cold ligaments are stiffer and more prone to injury. This is especially important for older skaters, as tissue elasticity decreases with age.
Replace worn-out skates or boots. Breakdown in the lateral support of a skate boot dramatically increases ankle injury risk. If your boots flex sideways at the ankle, it is time for new ones regardless of how they look on the outside.
The Mental Side of Returning After Injury
The psychological barrier of returning to skating after an ankle sprain deserves more attention than it gets. Fear of re-injury is a real, documented phenomenon that affects performance and can even increase injury risk through altered movement patterns.
Many skaters report feeling anxious during their first few sessions back, hesitating on movements that used to feel automatic. This is completely normal. Your brain remembers the injury and is trying to protect you. The key is to respect that fear without letting it override your judgment.
Build confidence gradually by setting small, achievable goals for each session. Your first session goal might simply be skating for 15 minutes without stopping. The next might be completing a full lap at a comfortable pace. Each successful session rewires your brain to associate skating with safety rather than injury.
If you feel a sudden spike of fear during a session, stop and take a break. Pushing through panic leads to tense, jerky movements that can actually cause the injury you are afraid of. Step off, breathe, and resume only when you feel calm and in control.
For skaters who experience persistent anxiety that does not improve after several sessions, consider working with a sports psychologist. Mental blocks are just as real as physical ones, and there is no shame in getting help to overcome them.
Youth Skater Guidance for Parents
Young skaters face unique challenges when recovering from an ankle sprain. Children and teenagers often lack the body awareness to accurately report their pain levels, and their eagerness to return can override their judgment.
Watch your child walk when they think you are not paying attention. The way they move when no one is watching reveals more about their true recovery than any self-reported pain score. If they are still limping, they are not ready.
Have your child perform the same return-to-skate tests described earlier in this guide. Can they hop on one foot without pain? Can they do a single-leg squat? Can they balance on the injured ankle with eyes closed? If the answer to any of these is no, hold them out longer.
Enforce the flat-ground-only rule for the first 2 weeks back, even if your child insists they feel fine. Kids heal quickly but are also more prone to growth plate injuries that can have lasting consequences. A few extra weeks of caution is worth preventing a chronic issue.
Finally, model good behavior. If you skate, talk openly about your own injuries and recovery process. Normalizing patience and proper rehab teaches young skaters that taking time to heal is part of the sport, not a weakness.
Frequently Asked Questions
Can I skate with a sprained ankle?
You should not skate with a sprained ankle until you can walk without a limp, perform a single-leg heel raise without pain, and complete single-leg hops on the injured side without discomfort. Returning before meeting these criteria significantly increases your risk of re-injury and chronic ankle instability.
Will my sprained ankle ever go back to normal?
Most sprained ankles recover close to full function with proper rehab, though the healed ligament tissue is slightly less elastic than the original. Full recovery depends on completing mobility, stability, and strength phases. Skaters who do their rehab thoroughly report returning to pre-injury performance levels within a few months.
Is Grade 3 the worst ankle sprain?
Yes, Grade 3 is the most severe ankle sprain, involving a complete rupture of the ligament. Recovery can take 8 to 12 weeks or longer, and some cases require surgical evaluation. Grade 1 is mild stretching, Grade 2 is a partial tear, and Grade 3 is a full tear.
Is 2 weeks enough for an ankle sprain?
Two weeks is generally only enough for a mild Grade 1 sprain. Grade 2 sprains typically need 3 to 6 weeks, and Grade 3 sprains can require 8 to 12 weeks or more. Returning at 2 weeks for anything beyond a mild sprain dramatically increases the risk of re-injury.
Conclusion
Learning how to return to skating safely after an ankle sprain is a process that rewards patience and consistency. Understand your sprain grade, manage the first 72 hours well, and work through all three rehab phases without skipping ahead.
Use the return-to-skate criteria as your gate, not your pain level alone. Start with flat-ground sessions, wear a brace if it helps your confidence, and respect the mental side of coming back from injury. Your ankle will thank you with years of stronger, more stable skating ahead.