
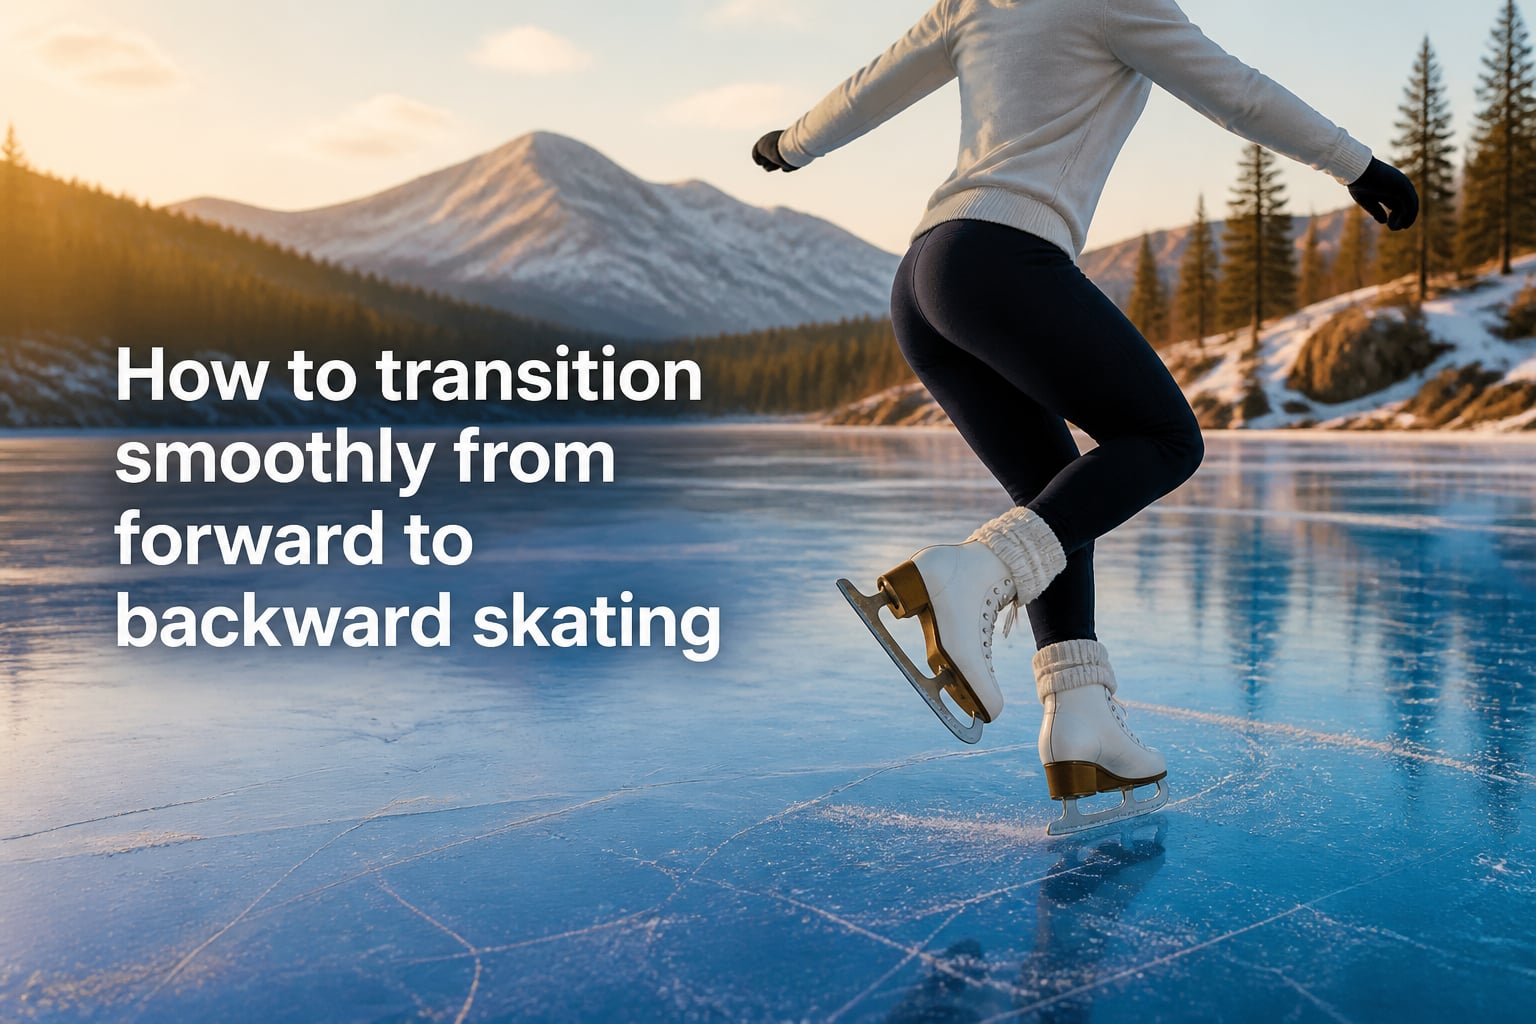
Learning how to transition smoothly from forward to backward skating is one of those skills that looks effortless once mastered but feels awkward at first. Whether you are a hockey player chasing the puck, a figure skater linking moves, or a recreational inline skater building confidence, this single technique will change how you move on your skates. I have spent the last few months on the ice and roller rink working through these drills, and the methods below are the ones that finally made the transition feel natural for me and the skaters I coach.
This guide covers the two-foot beginner method, the advanced one-foot pivot, the reverse backward-to-forward transition, common mistakes to avoid, and a clear practice roadmap so you can progress week by week. By the end, you will have a complete picture of how the transition works and exactly what to do next on the ice.
Table of Contents
Why Mastering the Forward-to-Backward Transition Matters?
The forward-to-backward skating transition is more than a fancy turn. It is a fundamental skill that lets you change direction without losing speed or balance. In hockey, plays flip in a split second, and the player who can reverse direction cleanly is the one who recovers pucks and stays in position. In figure skating, transitions are the glue between moves, and judges reward skaters who glide through them without a stutter.
Even casual skaters benefit. Once you can flip direction on a whim, crowded rinks feel safer, hill descents become easier to manage, and you stop dreading the end of a straightaway. I noticed this myself the first time I linked two crossovers into a forward-to-backward turn without breaking stride. Suddenly the rink opened up. That feeling is what we are chasing here.
Setting Up Your Body for a Smooth Transition
Every clean transition starts with your stance. Before you attempt a turn, lock in three fundamentals: knee bend, hip hinge, and shoulder alignment. Bend your knees until your thighs are nearly parallel to the ice. Hinge forward slightly at the hips so your weight sits over the balls of your feet. Keep your shoulders square and your head up. This low, athletic stance is your base for everything that follows.
Safety matters here too. In hockey, coaches repeat the rule: never turn your back to the play. The same idea applies to anyone skating in a shared space. As you transition, keep your head on a swivel and finish the turn facing the direction you came from. That way you never lose sight of obstacles, other skaters, or changing terrain. I learned this the hard way during a crowded public session when I turned blind into a child learning to stop. We both went down. Awareness is part of the technique.
The third piece of the setup is unweighting. Unweighting is the brief moment when both skates push downward at the same time, lifting your body just enough off the ice to rotate. You are not jumping. You are unweighting, like a subtle hop. Practicing this gentle lift without any turn first is one of the smartest drills you can do, because the moment of unweighting is where most beginners get stuck.
The Basic Two-Foot Forward-to-Backward Transition
The two-foot transition is the foundation. Every advanced move builds on it, so do not rush past it. Here is the exact sequence I teach new skaters in our group lessons.
Glide forward in your athletic stance with both skates parallel and shoulder-width apart.
Build a little speed, then shift your weight evenly across both feet.
Unweight both skates at the same time with a small downward push, lifting your body just a fraction of an inch.
While unweighted, rotate your hips and shoulders 180 degrees so you are now facing backward.
Land with both skates parallel again, knees bent, and immediately start C-cuts backward to maintain momentum.
The trick is in step three. Beginners almost always push off to the side or jump too high. Think of it as a pressure pulse, not a leap. Push down through both feet for a quarter-second, rotate, then settle. Practicing this on a soft surface like grass or carpet helps you feel the motion before you take it to the ice.
Once you can do this at a walking pace, add speed gradually. Most recreational skaters I work with can land the two-foot transition within a single practice session. Doing it smoothly at full speed takes longer, usually a few weeks of regular practice.
The Advanced One-Foot Transition Technique
The one-foot transition is the version that hockey players use at full speed and the one that looks truly effortless. It is also the move that frustrates most beginners, because the moment of rotation is hidden inside a stride. Here is the technique broken down.
Glide forward on your strong-side skate (right foot for most right-handed skaters), with your weak-side skate trailing.
Plant your strong-side skate firmly on a slight inside edge.
Lift your weak-side skate and swing it around 180 degrees in a wide arc, toe leading.
As the swinging skate lands on its inside edge, transfer your weight onto it.
Push off with the new backward skate and immediately begin C-cuts.
This is where the monkey walk drill becomes essential. The monkey walk mimics the one-foot pivot without the speed pressure. To do it, skate forward on one foot, swing the other foot around like a windshield wiper, plant it, then push off backward. You will look a little awkward at first. That is normal. The drill teaches your hips how to rotate while balancing on a single blade.
At full speed the move compresses. According to experienced inline skaters I have trained with, the transition becomes almost a small jump from forward inside edge to backward inside edge. Your body barely leaves the ground. The hips unwind, the free foot sweeps, and you are backward before the crowd even sees the turn happen. That level of fluidity takes months of practice, but every session brings you closer.
How to Transition From Backward to Forward Skating
The reverse move, going from backward to forward, is just as important. Skating only one direction makes you predictable on the rink or in a game. The backward-to-forward transition uses the same unweighting principle, just in the opposite direction.
Glide backward in your athletic stance, knees bent, weight centered.
Shift weight to your strong-side backward skate.
Unweight both feet with a short downward push.
Rotate hips and shoulders 180 degrees, ending facing forward.
Land with both skates parallel and start your first forward crossover or stride.
The one-foot version mirrors the forward-to-backward drill. Lift the trailing foot, sweep it around, plant on its inside edge, and push off into a forward stride. Many skaters find this direction slightly easier because the natural C-cut of backward skating sets up the rotation nicely. If forward-to-backward feels impossible one day, try the reverse. Often the success in one direction unlocks the other.
A common pattern is to practice transitions in pairs. Do one forward-to-backward, then immediately transition back to forward. Repeat in a straight line, then in a wide arc, then around circles. This trains your body to treat the transition as a continuous flow rather than a stop-and-start move.
Common Mistakes Beginners Make During Transitions
Almost every beginner I have coached makes the same handful of errors. Knowing them ahead of time can save you weeks of frustration.
Looking down at your feet. The moment your eyes drop to your skates, your weight follows and you lose balance. Keep your head up and look where you are going, even when turning. Your feet will sort themselves out.
Leaning back during the turn. Beginners often feel like they are falling backward and lean their torso to compensate. This kills the rotation and pulls you off-balance. Instead, stay low and let your hips do the turning.
Turning only the shoulders. A turn driven by the shoulders alone looks stiff and breaks your momentum. The rotation has to come from the hips. Lead with the belly button.
Skating too fast before the technique is ready. Speed hides flaws until they become falls. Practice at walking pace first, then jog pace, then game pace. Skipping levels is the fastest way to develop bad habits.
Forgetting to keep skating after the turn. Many beginners complete the rotation and then stop, like they need to celebrate. The whole point of the transition is to keep moving. As soon as your new stance lands, start your next stride or C-cut.
Practice Drills and Skill Progression Roadmap
A clear roadmap turns practice into progress. Here is the sequence I use with skaters who are new to transitions. Spend at least two sessions on each level before moving up.
Week 1 to 2: Stationary unweighting. Stand still, knees bent, and practice pushing down through both feet to lift your body a fraction of an inch. No rotation. Just feel the unweighting motion.
Week 2 to 3: Two-foot transition at walking pace. Glide forward, unweight, rotate 180, glide backward. Repeat in a straight line across the rink or smooth surface.
Week 3 to 4: Two-foot transition in arcs and circles. Add curvature. This trains you to handle the transition while changing direction, not just going straight.
Week 4 to 6: Monkey walk drill. Practice the one-foot pivot on both sides. Expect awkwardness. The drill is supposed to feel strange at first.
Week 6 to 8: One-foot transition at low speed. Combine the monkey walk motion with forward skating speed. Land backward and immediately C-cut.
Week 8 and beyond: Full-speed transitions and combinations. Link forward-to-backward with backward-to-forward, add crossovers, and start using transitions in actual drills or play situations.
If you only have time for one drill per session, choose the monkey walk. It reinforces balance, rotation, and edge control all at once. Twenty minutes of monkey walks, three times a week, will move the needle faster than any other single exercise.
A final note on practice surface. If you skate on ice and on inline, do not assume the moves transfer perfectly. Inline transitions feel slightly stiffer because the wheels grip differently. Give yourself an extra session or two the first time you switch surfaces.
Frequently Asked Questions
Is skating backwards harder than forwards?
Yes, skating backwards is generally harder than forwards for most beginners. You cannot see where you are going, your depth perception is reduced, and your muscles have to stabilize in a less familiar stance. With regular practice most skaters find the awkwardness fades within four to six weeks, and the backward stride starts to feel just as natural as the forward one.
How long does it take to learn to skate backwards?
Most recreational skaters can glide backward comfortably within two to four weeks of practice two or three times per week. Smooth backward C-cuts and full transitions usually take another month. Hockey players who train the monkey walk drill consistently often reach confident full-speed transitions in about three months, depending on their starting level.
How to skate backwards smoothly?
To skate backwards smoothly, keep your knees deeply bent, weight centered over the balls of your feet, and shoulders square. Use shallow C-cuts with each skate, pushing outward and back to generate glide rather than sharp strokes. Look over your shoulder periodically so you know what is behind you, and avoid the common habit of leaning the upper body backward, which kills momentum.
How to get better at transitioning at full speed?
To improve full-speed transitions, train the monkey walk drill daily, progress through the two-foot transition before attempting the one-foot version, and practice at gradually increasing speeds rather than jumping straight to game pace. Add crossovers into your transitions once the basic rotation feels stable, and rehearse the move in both directions so the transition stays symmetrical.
Final Thoughts on Smooth Skating Transitions
The forward-to-backward skating transition rewards patience. Beginners who rush the technique end up rebuilding it later. Skaters who follow the progression, two-foot first, monkey walk second, full speed last, almost always reach a clean transition faster and with fewer bruises. I have watched this play out across dozens of students, and the pattern is consistent.
If you are starting today, pick one drill, set a two-week goal, and stick with it. The unweighting motion is the single most important habit to build, because it sits underneath every version of the transition. Once you can feel that subtle lift without thinking about it, the rotation and the landing almost take care of themselves.
Stay low, keep your head up, and remember that every skater you have ever admired once looked just as awkward as you feel right now. With the steps above, your next session can be the one where the transition finally clicks. See you on the ice.