
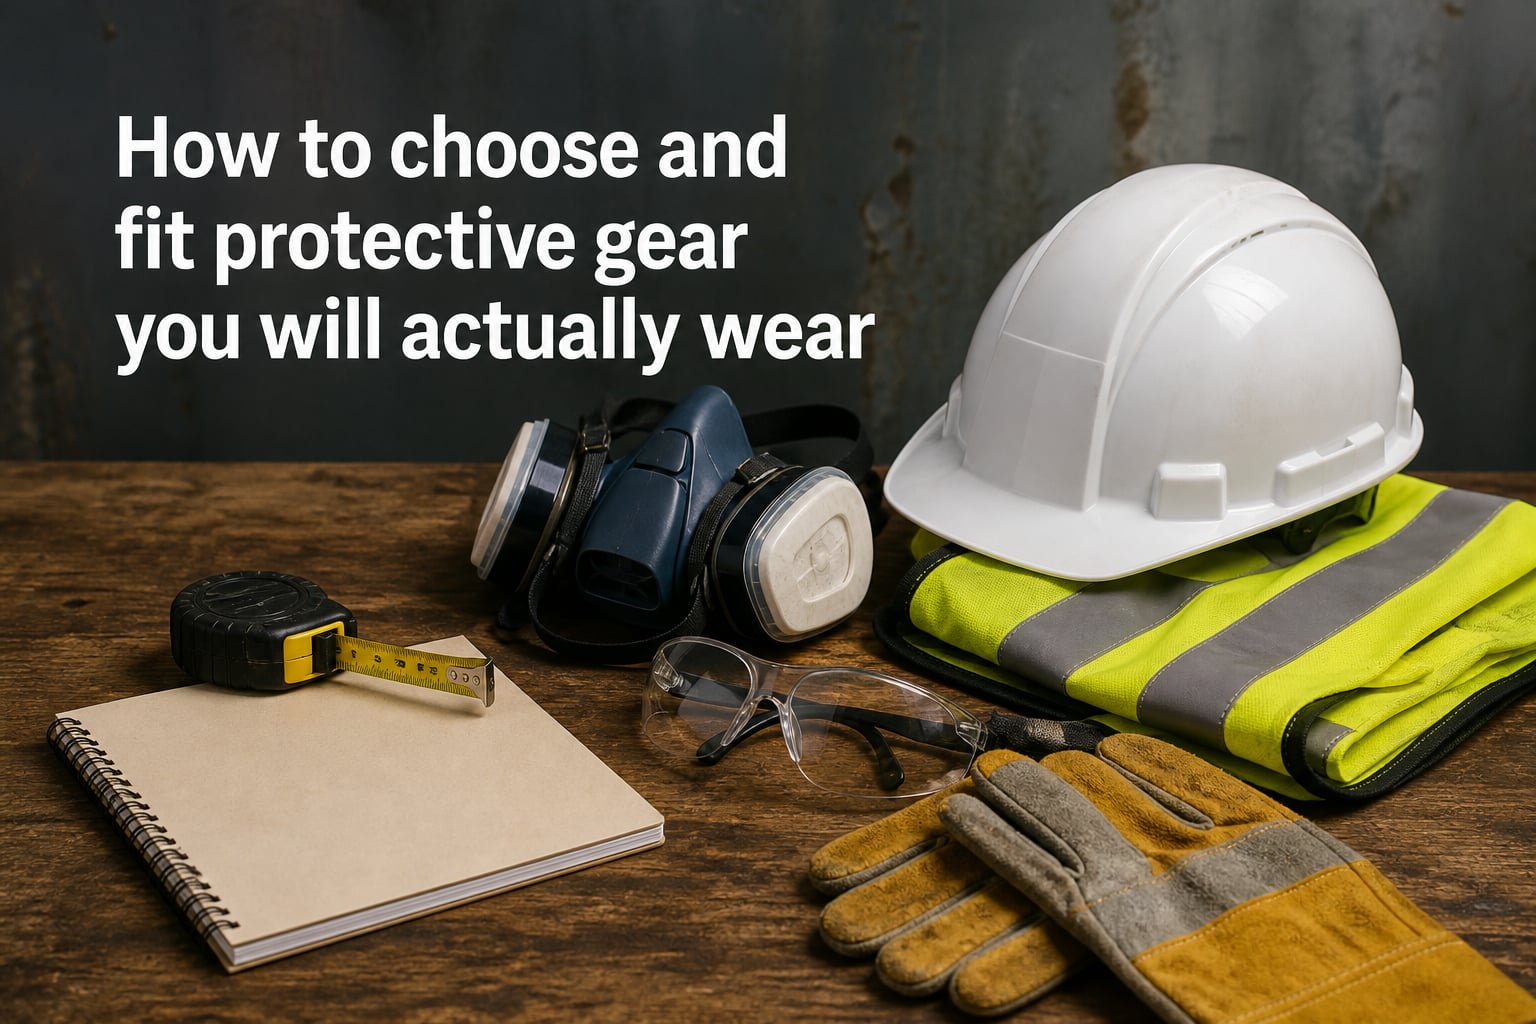
I have watched too many teammates pull off helmets and gloves the second a supervisor walks away. The gear sits in a locker. The risk does not. This guide on how to choose and fit protective gear you will actually wear is built around one idea: comfort drives compliance. When gear fits well and feels right, people keep it on. When it does not, even the best equipment ends up in a bag.
You will learn how to read your own hazards, pick the right categories of PPE, fit each piece to your body, and care for it over time. I will also share what I have learned from forums, ride leaders, and shop-floor safety officers about what makes people actually keep their gear on, shift after shift.
Table of Contents
Why Comfort Is the Real Compliance Rule?
Most guides treat protective gear like a checklist. Buy the helmet, check the gloves, sign the form. In the real world, fit and feel decide whether the gear gets worn at all.
A well-fitting helmet that sits too tight causes headaches within an hour. Gloves that pinch at the thumb get stripped at the first chance. Back protectors that dig into the spine get loosened, then removed. When people start adjusting their gear to feel comfortable, they are also opening gaps that defeat the protection.
The fix is not willpower. It is selection. Choose gear that matches your body, your climate, and your task. Adjust every strap until the piece moves with you, not against you. Break in new items before relying on them in a high-risk moment. This is the practical answer to how to choose and fit protective gear you will actually wear.
I once switched a pair of safety glasses after a fitting specialist pointed out that my temples were sliding every time I looked down. The new pair had soft nose pads and a slight curve at the arms. I wore them for nine hours straight that day without thinking about them. That is the bar.
How to Assess Your Protection Needs
Before you pick a single product, you need a clear picture of the hazards you face. Skip this step and you are guessing. Guessing wastes money and leaves gaps in protection.
Walk Through Your Tasks
List every task you do in a typical week. Include the boring ones. Include the once-a-year tasks. For each one, note what could go wrong.
Think in terms of categories: impact, cuts, chemicals, heat, electricity, dust, falling objects, moving parts. A short note for each task is enough. I keep mine in a notes app on my phone and update it every quarter.
Check Standards and Regulations
Match your hazard list to the right standards. In the United States, OSHA sets the baseline. In Europe, look for EN ratings on each piece of gear. For example, EN 166 covers eye protection, EN 397 covers industrial helmets, and EN 388 rates glove cut resistance.
Standards tell you two things: what a piece is tested for, and what it is not. A glove rated for cut resistance may not protect against chemicals. A respirator rated for dust may not block vapors. Read the rating, not just the marketing.
Rank Risks by Likelihood and Severity
Not every hazard deserves the same protection. Work injuries most often come from a small set of repeated risks, not rare disasters. Rank each hazard by how often you face it and how bad the outcome would be. Spend most of your budget on the top three.
This prioritization is the difference between buying ten pieces of cheap gear and three pieces of gear you actually use.
Types of Protective Gear and What They Actually Do
Protective gear falls into a handful of categories. Each protects a different part of the body from a different kind of harm. Knowing the categories helps you avoid overlap and gaps.
Head and Face Protection
Hard hats and helmets protect against falling objects and impact. Bump caps handle low-clearance spaces where you bump into fixed objects. Face shields and safety glasses protect the eyes and face from splashes, chips, and UV.
For most industrial settings, a hard hat with a chin strap plus rated safety glasses covers the basics. In chemical or grinding work, add a face shield on top of the glasses, not instead of them. A face shield alone does not seal against flying particles.
Hearing and Respiratory Protection
Hearing protection is one of the easiest wins. Foam plugs reduce most noise by enough to prevent long-term damage. Over-ear muffs work well for intermittent loud tasks.
Respiratory gear runs from simple dust masks (FFP1 or N95) to half-mask respirators and full-face respirators with cartridges. The right level depends on the contaminant. Dust and particles need at least an FFP2 or N95. Vapors need a cartridge matched to the chemical. Always perform a seal check before entering a contaminated area.
Hands, Arms, and Body Protection
Gloves are the most varied category. Cut-resistant gloves for handling sharp edges, chemical-resistant gloves for solvents, heat-resistant gloves for hot work, and general-purpose gloves for abrasion. Wearing the wrong glove can be as risky as wearing no glove at all.
Body protection includes hi-vis vests, coveralls, flame-resistant clothing, and impact-rated jackets or vests. For work around heavy equipment, hi-vis is non-negotiable. For welding or electrical work, rated clothing protects against arc flash and burns.
Foot and Leg Protection
Safety boots or shoes with toe caps protect against crush and puncture. Metatarsal guards shield the upper foot from falling loads. Cut-resistant chainsaw boots protect forestry workers.
For motorcycling and similar sports, abrasion-resistant pants and armored leg covers protect against road rash. Knee and shin pads shield against impact when bending or kneeling.
Step-by-Step Fitting Guide for Protective Gear
Fitting is the moment where protection either becomes real or becomes theater. Here is the order I run through every time I issue or check gear.
Step 1: Measure Before You Buy
Use a tape measure, not your memory. For helmets, wrap the tape around the widest part of your head, just above the ears. For gloves, measure around the dominant hand at the knuckles, excluding the thumb. For eye protection, note the bridge width and temple length.
Write the numbers down. Manufacturer sizing varies. A “large” in one brand is a “medium” in another. Your measurements are the only common language.
Step 2: Adjust Straps and Closures
Helmet straps should form a Y under each ear, then meet at the chin. The chin strap should be snug but allow one finger between strap and chin. Glasses arms should sit without pressing the temples. Glove cuffs should overlap the sleeve of coveralls or jackets by at least an inch.
For respirators, tighten the straps top and bottom until the mask seals but does not dig in. A gentle twist of the cartridge area can help you feel the seal before any test.
Step 3: Move Around
Static fitting tells you little. Once straps are set, walk, bend, reach overhead, and crouch. Pay attention to three things: pressure points, sliding, and pinch zones. Pressure points mean the piece is too tight or shaped wrong. Sliding means it is too loose. Pinch zones mean straps are routed poorly.
If anything shifts noticeably during movement, readjust before you trust the gear.
Step 4: Conduct Seal and Fit Checks
For respirators, cover the cartridge and breathe in gently. The mask should pull slightly toward your face with no air leaking at the edges. For safety glasses, look down sharply. If they slide, tighten the arms or switch to a model with nose pads.
For helmets, give the front strap a firm tug. The helmet should not roll forward into your eyes or backward off your forehead. Both are common complaints from forums and deserve a quick check every shift.
Step 5: Document and Refit
Write down the settings that worked. Especially for multi-user gear or adjustable items, a five-second label with the wearer’s name and last fit date saves time at every handover. Refit every six months or after any weight change of more than 10 pounds.
Donning and Doffing Best Practices
Putting protective gear on and taking it off sounds simple, but the order matters. Contaminated gear that is removed in the wrong sequence can spread hazards to skin, eyes, and mouth.
The general rule is: glove last on, glove first off. Gloves cover the hands that touch everything else. When you remove other gear, the gloves are still doing the dirty work.
For respirators and eye protection, remove them last, after leaving the contaminated area if possible. Wash hands immediately after removing gloves. Dispose of single-use masks and gloves in the right waste stream, not the regular bin.
For full body suits, follow the manufacturer sequence. A common pattern is: sit down, unfasten the chest, peel the suit forward and outward, then step out. This keeps the outside of the suit away from skin and clothes.
How to Break In New Protective Gear
This is the section most guides skip entirely, and it matters. New gear often feels stiff, tight, or stiff in the wrong places. Give it a week of low-risk use before relying on it for the real work.
For leather gloves and boots, wear them indoors for short stretches at first. Light sweat softens the material and shapes it to your grip and gait. For back protectors and body armor, the foam compresses and learns your posture within a few sessions.
For helmets with molded foam, leave them on your head for short reads or desk work at first. The foam settles. After a few days, retighten the straps. Many fit complaints resolve on their own once the foam breaks in.
If a piece still does not feel right after a week, swap it. Do not white-knuckle through a long shift in gear that hurts. Hurts gear becomes shelf gear.
Maintenance and Replacement Schedules
Protective gear has a service life. Soils, UV, sweat, and impact all degrade materials. Treat it like a tool, not a possession.
Inspect every piece before each use. Look for cracks, stiffness, fraying, and broken closures. Clean according to manufacturer instructions. Most plastic items respond well to mild soap and water. Avoid harsh solvents on goggles and face shields; they cloud the plastic.
Replace on a schedule, not after a failure. Helmets used in industrial settings typically need replacement every five years, sooner if they take an impact. Gloves last weeks to months depending on use. Respirator cartridges have a rated service life that is printed on the packaging; track the install date.
Choosing Comfortable Protective Gear: What Matters Most
Selection often comes down to a few practical factors. Weight is the first. Heavy gear feels like a burden after an hour. Look for lightweight options that still meet the right standard.
Ventilation is the second. Heat is the most common reason people loosen or remove gear. Mesh panels, breathable liners, and moisture-wicking fabrics make a real difference in summer or high-exertion work.
Adjustment range is the third. Adjustable straps, ratchets, and modular components let the same piece fit different people and different layers. A piece that fits only over a thin t-shirt becomes useless the moment the weather turns.
Field-replaceable parts is the fourth. Replaceable lenses, pads, straps, and filters extend the life of the main piece. They also let you tune comfort over time without buying new gear.
Climate-specific gear deserves a mention. In hot weather, mesh-reinforced armor and ventilated gloves help. In cold weather, insulated layers under your main gear keep you warm without forcing you to loosen the fit. Layering smartly is part of how to choose and fit protective gear you will actually wear.
Frequently Asked Questions
How to determine what PPE to wear?
List your tasks, identify the hazards for each, match each hazard to a PPE category, then choose a piece that meets the relevant safety standard. Common categories include head, eye, hearing, respiratory, hand, body, and foot protection. Adjust based on climate, duration, and frequency of exposure.
How do you select appropriate personal protective equipment and use it correctly?
Select by hazard and standard, then verify it fits your body using measure-and-adjust, move-around, and seal-check steps. Use it correctly by donning in the right order, performing a fit check each time, removing in the reverse order with gloves first off, and inspecting before each use.
What is the correct guideline for wearing protective gear?
Wear it for the full duration of the task, keep it adjusted to the manufacturer settings, remove it only after leaving the contaminated area, and replace any piece that is damaged, expired, or no longer fits. Never modify or skip straps to make a job easier in the short term.
How to choose the right safety gear?
Choose safety gear by matching the hazard rating to your risk, prioritizing fit and comfort, and verifying the relevant standard (OSHA, EN, ANSI). Try before you buy when possible, break the piece in during low-risk use, and replace it as soon as it shows wear or stops sealing.
The Bottom Line on How to Choose and Fit Protective Gear
Choosing and fitting protective gear you will actually wear comes down to three habits. Pick gear that matches the hazard and the standard. Adjust every strap and closure until the piece moves with you, not against you. Break new gear in and replace it on a schedule, not after a failure.
Start with one piece today. Measure yourself, set the straps, and walk around for ten minutes. If you forget you are wearing it, you have a good fit. If you keep touching it to readjust, you have a problem to solve. That habit alone will do more for your safety than any new standard or marketing claim.