
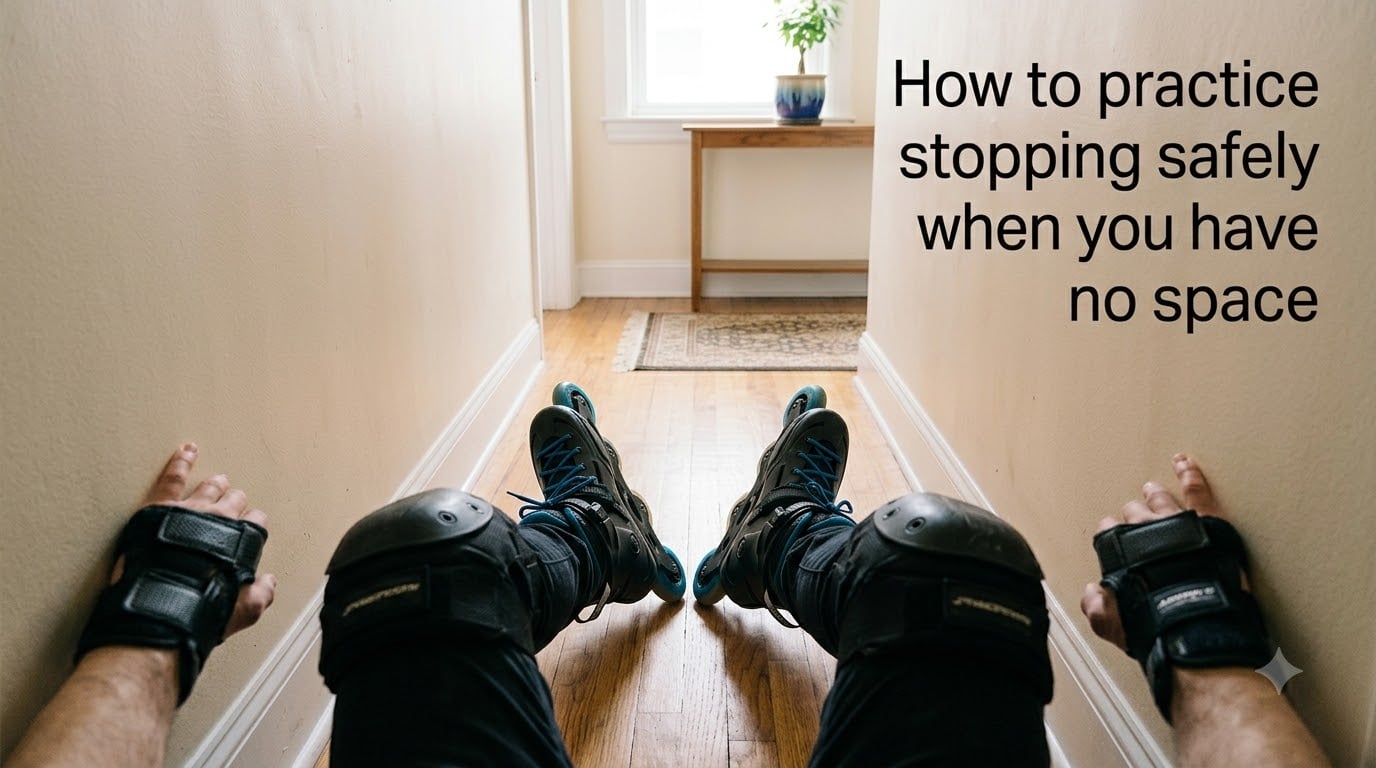
If you live in an apartment or a quiet street with no nearby park, learning how to practice stopping on inline skates can feel impossible. I have spent years coaching beginners who share the same worry: they can roll, they can stride, but the moment speed builds up they panic because they do not trust their stopping. The good news is that you do not need a rink, an empty parking lot, or a long driveway to build reliable stopping skills. You need a smart progression, the right surfaces, and a few drills that work in a hallway-sized area.
This guide is built for the skater who has 10 to 30 square feet of clear floor and the determination to learn safely. I will walk you through the techniques in the exact order our team teaches them, the gear that protects you while you learn, and the small space practice drills that build muscle memory without a single fall.
Table of Contents
Why Stopping Skills Matter More Than Speed Tricks?
Stopping is the one skill that separates safe skaters from injured ones. Every fall I have seen on the path came from a skater who could not decelerate fast enough when a dog ran across the trail or a pedestrian stepped into their lane. Learning how to practice stopping on inline skates is really learning how to keep yourself out of the emergency room.
Confidence grows when you know exactly what your skates will do when you ask them to slow down. Beginners who skip stopping practice often quit the sport entirely after their first bad scare. Skaters who invest in stopping drills tend to skate longer, fall less, and progress faster to advanced techniques like crossovers and downhill control.
The fear of stopping is real, and it deserves respect. Your body tenses, your weight shifts backward, and your wheels keep moving. Acknowledging that fear is the first step to managing it. Every drill below is designed to lower that fear by giving you predictable, repeatable stopping results.
Gear You Need Before Practicing Any Stop
You cannot practice stopping safely without protection. I have watched too many beginners try to learn on bare wrists and knees. The minimum setup is a certified helmet, wrist guards, and knee pads. Elbow pads are strongly recommended.
Wrist injuries are the single most common skating injury, and they almost always happen during an uncontrolled fall while braking. A good pair of wrist guards keeps your palm flat and prevents the snap-back motion that fractures the scaphoid bone. Knee pads let you commit to low knee bends without flinching.
Buy your gear before you buy anything else. Wrist guards, helmet, and knee pads turn a scary stop into a recoverable mistake. Practice in a clear area free of furniture, rugs, or pets.
Heel Brake: The Easiest Stop for Small Spaces
If your inline skates have a heel brake (the rubber pad at the back of the right skate), start here. The heel brake is the most beginner-friendly stopping method because it requires no weight shift, no balance on one foot, and no slide. It works in tight spaces at slow speeds.
Stand upright with a slight knee bend, then lift your right toes slightly so only the heel brake contacts the ground. Apply gentle pressure straight down through your heel. You should feel the rubber drag and the wheels slow. Do not jab the brake; press it gradually so you do not get pitched forward.
Practice this in place first. Stand on carpet or grass and press the heel brake until you understand the pressure required. Once it feels natural, take a few strides in your hallway and apply the brake at walking speed. Repeat for 5 minutes daily until the motion is automatic. The heel brake will not work on inline skates without a brake, but it is the perfect entry point for small space practice.
How to Practice Stopping on Inline Skates Using a Wall
The wall is your best friend when you have no space. Find a smooth, low-traffic wall in your apartment, garage, or basement. Place one hand against the wall at shoulder height, then push off gently with the other foot. Glide forward while keeping your hand on the wall for balance.
This drill teaches you to stand on two skates with controlled speed. Push off with slightly more force each session and let the wall stop you. You are training your body to handle the moment when momentum builds and then disappears.
Once you are comfortable gliding with wall contact, take the hand off for one second at a time, then place it back. This is the foundation for every brake-free stopping technique. Wall practice also works brilliantly for one-foot balance drills that later power the T-stop and plow stop.
Grass Stop and Surface Drills for Limited Space
Grass is the most underrated small-space stopping tool. A patch of lawn stops you almost instantly, requires no technique, and lets you practice the entry position of every brake. Step onto grass at any speed and the wheels sink just enough to halt you without falling.
Use a small lawn strip to practice the weight shift that precedes a T-stop or plow stop. Approach the grass slowly, shift your weight onto one foot, and let the grass do the braking. Repeat from the other side. This trains your body to commit to a single leg under deceleration, which is exactly what advanced stopping requires.
Carpet, rubber mats, and rough outdoor surfaces work the same way. Set up a 3-foot mat at the end of your hallway and skate toward it. The friction teaches you how to control speed without needing a long run-out. Beginners consistently call this the drill that finally made stopping feel natural.
T-Stop and Plow Stop: Your First Real Techniques
The T-stop (also called the T-slide) and the plow stop are the two techniques that replace the heel brake once it wears down or you remove it. Both rely on creating friction by turning one skate or both skates at an angle to your direction of travel.
For the T-stop, glide forward on both skates, then turn your right skate 90 degrees behind you so the wheels act as a brake. Keep your knees bent, weight slightly on the leading (left) foot, and let the trailing skate drag. The harder you press the trailing wheels sideways, the faster you stop.
For the plow stop, turn both toes inward into a V shape while keeping your heels apart. Bend your knees deeply and lean slightly forward. The wider your V, the more friction you create. The plow stop is the gentler of the two and works well at low hallway speeds.
Practice each one starting at walking pace in a clear room. Glide two or three strides, perform the stop, then glide again. Five reps per session is plenty. Your ankles will strengthen, and your balance on one foot will improve dramatically within a week.
Small Space Practice Drills You Can Do at Home
The drills below are the heart of how to practice stopping on inline skates when you live in an apartment or have no outdoor access. They fit in a 10 by 10 foot room and require no special equipment beyond your skates and protective gear.
Drill 1: Stepping stop. Glide forward at walking speed, then step one foot directly sideways out of your line of travel. Your momentum transfers into the side-stepping foot and you stop instantly. This is the original stopping method and still the safest fallback in tight quarters.
Drill 2: One-foot balance. Stand on your dominant foot for 30 seconds, then switch. Once you can hold that for 60 seconds with eyes closed, your body is ready for the T-stop. Balance on one skate is the foundation every advanced stop is built on.
Drill 3: Hallway slalom. Place two pillows or shoes on the floor 6 feet apart. Skate between them in a gentle S pattern, then perform a stepping stop at each end. This trains lateral weight transfer and controlled deceleration in a tiny footprint.
Drill 4: Speed build and brake. Mark a starting line and a braking line 15 feet apart. Push off from the start, build a gentle glide, and perform a heel brake or stepping stop at the braking line. Repeat for 10 reps. This simulates real-world stopping distances.
Do these drills three times a week. After two weeks you will notice your stopping confidence has multiplied, and you can safely attempt the T-stop outdoors on a smooth path.
Common Mistakes When Practicing Without Space
The biggest mistake beginners make is removing the heel brake before they have a backup technique. Do not unbolt your heel brake until you can perform a confident T-stop or plow stop at the same speeds you normally skate.
The second mistake is practicing at full speed indoors. Your hallway cannot absorb the energy of a fast stop, and a wall will hurt. Always start at walking speed and only add velocity when your stopping technique is automatic. Slow practice builds fast skills; fast practice builds injuries.
The third mistake is gripping fear with tense shoulders and locked knees. Stiff muscles react slowly. Keep your knees bent, your arms forward, and your core relaxed. Drop your hips slightly when initiating any stop. This posture keeps your weight over your skates and prevents the backward fall that scares most beginners.
A Progression Plan: From Your Hallway to the Open Path
Follow this sequence for a month and you will own your stopping in any environment. Week one focuses entirely on heel brake and stepping stops indoors. Week two adds wall glides and one-foot balance drills. Week three introduces the T-stop on a quiet path with full gear. Week four graduates to the plow stop and gentle grass stops at slightly higher speeds.
Once a stop feels repeatable indoors, take it outside to a smooth, flat path with low foot traffic. A church parking lot on a Sunday morning, an empty tennis court, or a quiet residential street on a weekday afternoon all work. Bring your gear and a friend if possible.
Track your progress in a simple notebook: which drill, how many reps, how it felt. Most skaters reach comfortable T-stop confidence within three to four weeks of consistent short sessions. From there, the hockey stop and power slide become your next goals, but only after the basics are automatic.
Frequently Asked Questions
How do you stop when you are rollerblading without a heel brake?
Use the T-stop by turning your trailing skate 90 degrees behind you and letting the wheels drag against the ground. Keep your knees bent and weight on the leading foot. The plow stop is another option, where you turn both toes inward into a V shape to create friction on both skates at once.
Can I practice roller skating in my house or apartment?
Yes, with proper safety gear and a clear 10 by 10 foot space. Focus on heel brake drills, stepping stops, wall-assisted glides, and one-foot balance work. Avoid high speeds indoors and remove rugs, pets, and furniture from the practice area before you begin.
What is the easiest way to stop on inline skates for beginners?
The heel brake is the easiest method if your skates have one. Press the rubber pad at the back of your right skate straight down with gradual pressure while keeping a slight knee bend. If you have no brake, the stepping stop, where you step one foot sideways out of your line of travel, is the most beginner-friendly technique.
How long does it take to learn stopping on inline skates?
Most beginners build reliable stopping confidence within three to four weeks of practicing three short sessions per week. The heel brake feels natural after a few days, the T-stop takes one to two weeks, and the plow stop typically clicks within three weeks of consistent indoor and outdoor drills.
Stop Worrying About Space and Start Drilling Tonight
Learning how to practice stopping on inline skates without a big open area is not a compromise. It is a focused, disciplined approach that produces stronger fundamentals than most rink skaters ever build. Your hallway, your wall, and a small patch of grass are enough to develop heel brakes, stepping stops, T-stops, and plow stops that will serve you for years of skating.
Put on your helmet and wrist guards tonight, clear a 10 by 10 foot space, and run the four small space practice drills I outlined. After two weeks of short sessions, you will step onto your local path with a confidence you did not know was possible, because stopping will finally feel automatic.