
Every skater has been there. You finally find a stretch of smooth pavement, start building speed, and within minutes your feet are buzzing, your shins ache, and the sound of your wheels rattling over every crack makes you wince. If you have ever cut a session short because your feet hurt or felt self-conscious about how loud your setup was, you are not alone.
Learning how to skate more quietly and reduce vibration changed the way I skate. Longer sessions, less soreness, and a smoother ride on surfaces I used to avoid. The good news is that vibration and noise are not just something you have to tough out. A combination of smarter equipment choices, better technique, and routine maintenance can dramatically cut the buzz you feel and the noise others hear.
In this guide, I will walk you through exactly what causes vibration, how it wears your body down, and the specific steps you can take today to skate more quietly on any surface. Whether you skate inline, quad, ice, or electric boards, these principles apply across the board.
Table of Contents
Why Skating Noise and Vibration Matters?
Vibration is not just an annoyance. It directly affects how long you can skate and how good you feel afterward. Every tiny bump in the road sends a shockwave up through your wheels, into your trucks or frames, through your boots, and straight into your feet, ankles, and legs. Multiply that by thousands of impacts over a single session, and the cumulative effect becomes real.
Marathon skaters and distance skaters have understood this for years. A post on Alien Inline breaks down how vibration forces your muscles to constantly stabilize, burning energy that should go toward forward motion. The result is earlier fatigue, slower times, and a body that feels wrecked at the finish line.
Noise is the other half of the problem. If your wheels clatter over every crack, people hear you coming from a block away. Skaters who live in apartments, skate near homes, or ride early mornings know this struggle. Quieter skating means fewer complaints, more peaceful sessions, and less friction with neighbors and property managers.
Understanding Vibration: Frequency and Amplitude
To fix vibration, it helps to understand what is actually happening. Vibration has two key properties: frequency and amplitude. Frequency is how rapidly the vibrations occur. Amplitude is how large each individual vibration is.
Think of it this way. Skating over a newly paved bike path produces high-frequency, low-amplitude vibrations. You feel a gentle hum in your feet. Skating over cobblestones or cracked asphalt produces low-frequency, high-amplitude vibrations. You feel each impact as a jolt.
Both types wear you out, but for different reasons. High-frequency vibration causes numbness and tingling in your feet because it overwhelms the nerves. High-amplitude vibration causes muscle soreness because your legs absorb each impact like a mini jump. Most rough road skating gives you a nasty mix of both.
When your wheels encounter surface imperfections, they create tiny impacts that accumulate over distance. Your body absorbs every one of them. Over a 10-mile skate, that can add up to tens of thousands of micro-impacts. This is why even smooth-looking pavement can leave your feet aching after a long session.
How Vibration Affects Your Body?
The most common complaint I hear from skaters is foot pain. The vibration from rough surfaces travels directly into the soles of your feet, and without proper cushioning, it beats them up. Many skaters report numbness that sets in after 20 to 30 minutes on bad pavement.
Ankle and shin fatigue come next. Your lower leg muscles work overtime to stabilize against constant micro-impacts. This is the same reason your legs feel shaky after skating rough terrain even if you did not skate particularly hard. The muscles never get a break because they are constantly firing to absorb vibration.
Over longer sessions, vibration causes a measurable drop in performance. One skater on a Reddit thread about road vibrations described having to stop entirely on day one because the buzz hurt so badly. Another said their feet went numb within 20 minutes on rough asphalt. These are not isolated complaints. They are the most common pain points in skating forums.
The fix is rarely one single thing. It is a combination of reducing how much vibration enters your setup, absorbing what does get through, and using technique so your body handles the rest more efficiently.
Choose the Right Wheels to Reduce Vibration
Your wheels are the single biggest factor in how much vibration you feel. They are the only thing between your feet and the ground, and their properties determine how much impact energy gets transmitted upward. Two specs matter most: durometer and diameter.
Wheel Durometer: Softer Is Quieter
Durometer measures wheel hardness on a scale from 0 to 100, with higher numbers meaning harder wheels. Softer wheels absorb more vibration because the urethane deforms slightly over each bump, soaking up impact energy instead of passing it to your foot.
Here is a practical breakdown:
Wheels rated 78A to 82A are the softest common range for outdoor skating. They absorb the most vibration and produce the quietest ride. The tradeoff is slightly slower top speed and more effort to maintain pace because softer wheels have more rolling resistance.
Wheels rated 83A to 86A sit in the middle. They balance grip and shock absorption with reasonable speed. Many recreational outdoor skaters land in this range because it feels smooth without feeling sluggish.
Wheels rated 87A and above are firm and fast. They transmit the most vibration and create the most road noise. These are great for smooth indoor surfaces or competitive speed skating on pristine pavement, but they will punish you on rough roads.
A common tip shared across skating forums is that softer wheels alone will not stop vibration completely, but they reduce it significantly. If you are currently on hard wheels and your feet hurt, switching to 80A or 82A wheels is the fastest single upgrade you can make.
Wheel Diameter: Bigger Rolls Smoother
Wheel diameter also affects vibration. Larger wheels roll over surface imperfections more easily because they have a greater contact angle with the ground. A pebble that stops a 72mm wheel dead might barely register under a 100mm wheel.
This is the leverage principle at work. A bigger wheel essentially bridges over small bumps instead of falling into them. Inline speed skaters and marathon skaters use large wheels partly for this reason. The ride feels smoother and the vibration transmitted to the body is lower.
The tradeoff is that bigger wheels raise your center of gravity and can feel less stable for beginners. They also require frames or trucks designed to accommodate the larger size. If you are new to skating, do not jump straight to 110mm wheels. Work your way up as your balance improves.
For most recreational skaters dealing with rough pavement, something in the 84mm to 90mm range paired with a softer durometer hits the sweet spot between smoothness and control.
Speed vs. Quietness: The Tradeoff
Here is the honest tradeoff no competitor guide addresses clearly. Softer, larger wheels are quieter and smoother, but they are slower and require more energy to push. Harder, smaller wheels are louder and harsher, but they are faster and more responsive.
If speed is your priority, accept some vibration and focus on technique and cushioning to manage it. If comfort is your priority, go soft and large and enjoy the glide. Most skaters benefit from having two wheel setups: one for smooth days and one for rough roads.
Shock Pads, Riser Pads, and Insoles
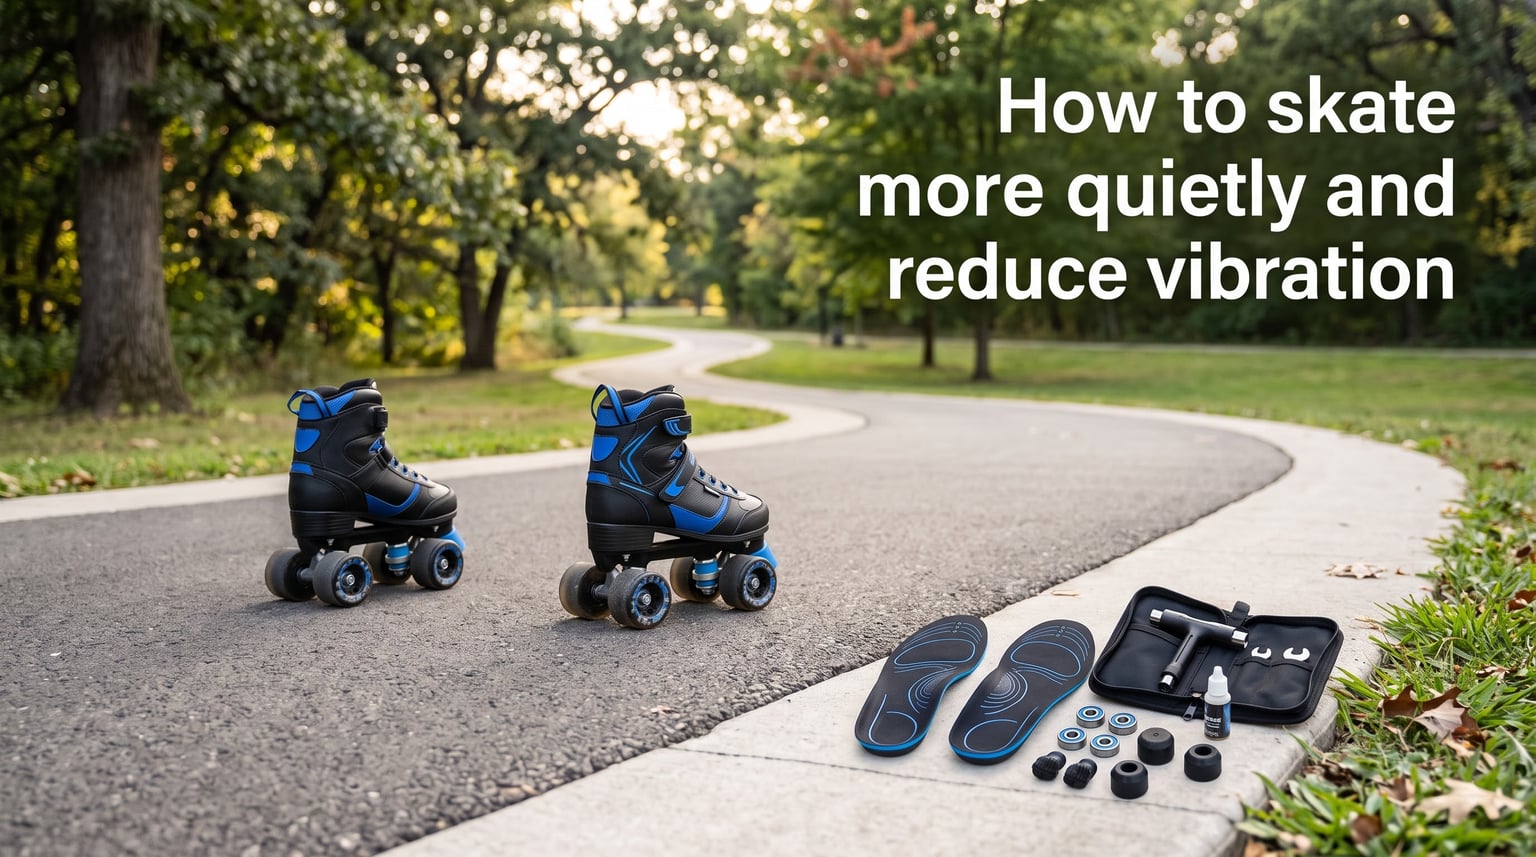
Beyond wheels, several add-on components absorb vibration before it reaches your body. These are affordable, easy to install, and make a noticeable difference.
Shock Pads
Shock pads are thin rubber or urethane pads that sit between your trucks and your deck on skateboards, or between the frame and boot on some inline setups. They absorb vibration that passes through the metal components before it reaches your feet.
Skaters on r/NewSkaters consistently recommend shock pads as a simple, effective upgrade. One user noted that softer wheels and shock pads together will not eliminate vibration entirely but reduce it significantly. They are one of the cheapest fixes you can make.
Riser Pads
Riser pads are thicker versions of shock pads that also raise your ride height. On skateboards, they prevent wheel bite when using larger wheels while simultaneously adding a layer of vibration absorption. On inline skates, some frames include built-in damping features that serve a similar function.
Risers have a side benefit: they give you more clearance to run larger, softer wheels, which compounds the vibration reduction. If you want to go from 54mm street wheels to 60mm cruiser wheels on a skateboard, a riser pad makes that possible while also dampening buzz.
Insoles for Foot Comfort
Insoles are the unsung hero of vibration reduction. They cushion the base of your foot where vibration accumulates. The factory insoles that come with most skates are thin foam with almost no shock absorption.
Aftermarket gel or foam insoles designed for impact sports make a real difference. One Reddit user in r/rollerblading said a quick insole swap fixed their heel pain from road vibrations on their very first session. Gel heel cups are especially effective for skaters whose pain concentrates in the heel and arch.
Look for insoles with a combination of firm arch support and a cushioned heel strike zone. Too soft and you lose power transfer. Too firm and you feel every bump. The right insole balances support with enough give to absorb the high-frequency buzz that causes numbness.
Maintain Bearings and Hardware for a Quieter Ride
Worn or dirty components create noise and vibration that better wheels cannot fix. A squeaky bearing or a loose truck turns a smooth setup into a rattle trap. Regular maintenance keeps your ride quiet and efficient.
Clean and Lubricate Bearings
Dirty bearings are noisy bearings. When dust, dirt, and moisture get inside, the balls grind against the races and create a grinding sound and rough rolling feel. Clean bearings spin smoothly and silently.
Here is a simple bearing maintenance routine. Remove the wheels from your skates. Pop the bearing shields off with a pin or small blade. Soak the bearings in a solvent like isopropyl alcohol for 10 minutes, spinning them occasionally. Let them dry completely. Add one or two drops of bearing oil or speed cream to each bearing. Reinstall the shields and put them back in your wheels.
Do this every few months if you skate outdoors, or more often if you skate through wet or dusty conditions. Clean bearings not only reduce noise but also make skating easier because your wheels roll freely.
Tighten Loose Hardware
Loose axle nuts, rattling spacers, and wobbly trucks all create vibration and noise. Check your hardware regularly. Axle nuts should be snug but allow the wheel to spin freely. Truck kingpin nuts should be tight enough to prevent wobble but loose enough to allow smooth turning.
If you hear a clicking sound while skating, a bearing spacer might be loose or missing. Bearing spacers sit between the two bearings in each wheel and keep them aligned. Without them, the bearings can shift slightly with each rotation, creating a click and increasing wear.
On inline skates, check that the frame bolts connecting the frame to the boot are tight. A loose frame bolt introduces play between the frame and boot, which translates to a vague, buzzy feel underfoot.
Rotate and Replace Worn Wheels
Wheels wear unevenly. The inside edges tend to wear faster because of the way you push and turn. Uneven wear creates flat spots and conical shapes that cause vibration with every rotation. A wheel with a flat spot makes a thumping sound and feels like driving over a rumble strip.
Rotate your wheels every few weeks to distribute wear evenly. If a wheel already has a noticeable flat spot, replace it. Rotating worn wheels will not fix a flat spot once it has formed. And if your wheels are down to the core or the durometer has shifted from years of use, it is time for a fresh set.
Adjust Your Skating Technique to Absorb Vibration
Equipment only gets you so far. Your body is the most sophisticated shock absorber available, and how you position it determines how much vibration you actually feel. Good technique can make rough pavement feel manageable even on a stiff setup.
Bend Your Knees
Bent knees are the foundation of smooth skating. When your knees are bent, your legs act like suspension. Each impact compresses your knees slightly instead of shooting straight up through your ankles and into your spine. Skating with straight, locked knees means every bump transfers directly into your joints.
A good rule of thumb from experienced skaters: drop into a slight lunge position with your skating leg forward and your weight centered. This position keeps your knee bent naturally and engages your thigh muscles, which are far better at absorbing shock than your ankles.
Relax Your Lower Body
Tension makes vibration worse. When you are tight and rigid, your body has no give, and every impact slams through you. Relaxing your lower body lets your muscles act as dampeners. The trick is to stay relaxed without going limp.
One skater on a forum thread about vibration shared this advice: try to relax as much as possible, with a bent knee like a little lunge to maintain balance. That combination of relaxation and bend is what lets experienced skaters cruise over rough terrain without feeling wrecked.
Distribute Your Weight Evenly
Leaning too far forward or too far back changes how vibration moves through your body. If your weight is too far forward on your toes, your ankles and shins take the brunt of every impact. If your weight is too far back on your heels, your Achilles and calves absorb everything.
Aim for balanced weight distribution over the center of your skates. Think about pressing evenly through the ball of your foot and your heel. This spreads the impact load across more muscle groups instead of overloading one area.
Shorten Your Stride on Rough Surfaces
When the pavement gets rough, shorten your stride and increase your cadence. Long, powerful pushes on bad terrain generate more impact force per stride. Shorter, quicker strides keep your speed up while reducing the force of each push and the impact of each set-down.
This also keeps more of your weight on your planted foot, which means better balance and stability on unpredictable surfaces. You will feel less wobble and less vibration because your body stays in a controlled, centered position throughout.
Surface-Specific Tips for Quiet Skating
Different surfaces demand different approaches. What works on a polished indoor rink will not work on cracked city asphalt. Here is how to adapt.
Smooth Asphalt and Bike Paths
On well-maintained paths, you can use medium to hard wheels without much discomfort. Focus on technique and speed. This is where harder durometers shine because the low rolling resistance lets you cruise with less effort. Keep your bearings clean for the quietest ride on smooth surfaces.
Rough Pavement and Chip Seal
Rough surfaces are where vibration hits hardest. Switch to softer wheels in the 78A to 82A range. Add shock pads if you ride a skateboard. Use cushioned insoles. Shorten your stride and bend your knees more than usual. Accept that you will go slower and focus on comfort over speed.
Indoor Rinks
Indoor rink floors are typically smooth coated concrete or wood. Hard wheels in the 95A to 103A range are standard here because grip is high and vibration is minimal. The main noise source indoors is wheel squeal from aggressive turns, not surface vibration. Lean into your turns gradually to minimize squeaking.
Cracked and Patched Streets
City streets with patchwork repairs and expansion cracks are the worst for vibration. The constant transitions between smooth and rough create jarring impacts. The best approach is to stay light on your feet and let your bent knees absorb each transition. Scan the road ahead and adjust your line to avoid the worst cracks when possible. Larger wheels help here because they bridge over small gaps instead of dropping into them.
Frequently Asked Questions
How to reduce vibration on a skateboard?
To reduce vibration on a skateboard, switch to softer wheels (78A to 82A durometer), install shock pads or riser pads between your trucks and deck, use cushioned insoles, and keep your bearings clean and lubricated. Bending your knees while riding also lets your legs absorb impacts instead of passing them to your joints.
How to stop wobbling when ice skating?
To stop wobbling when ice skating, bend your knees deeper to lower your center of gravity, keep your weight centered over the blade, and avoid leaning too far forward or back. Tightening your skate laces around the ankle provides more support. Wobbling usually comes from stiff, straight legs and uneven weight distribution.
How do I get my leg to stop vibrating?
Your leg vibrates or shakes during skating because your stabilizing muscles are fatigued from absorbing constant micro-impacts. Reduce the load by using softer wheels, adding insoles for cushioning, bending your knees more, and shortening your stride on rough terrain. Strengthening your ankle and lower leg muscles off-skates also helps over time.
How to stop shaking on a skateboard?
To stop shaking on a skateboard, bend your knees and stay relaxed rather than stiff. Use softer wheels to absorb surface bumps. Check that your trucks are not too loose, which causes speed wobble at higher speeds. Keep your weight centered over the board and avoid standing with locked knees.
Conclusion
Skating more quietly and reducing vibration comes down to three things: the right equipment, proper technique, and consistent maintenance. Softer and larger wheels absorb the most impact. Shock pads, risers, and quality insoles catch what the wheels let through. Clean bearings and tight hardware eliminate rattles and grinding. And bent knees with relaxed posture let your body do what it does best, absorb the rest.
You do not need to do everything at once. Start with the single change that addresses your biggest pain point, whether that is swapping to softer wheels, adding insoles, or cleaning your bearings. Each improvement stacks on the last. Once you know how to skate more quietly and reduce vibration, every session gets smoother, longer, and more enjoyable.