
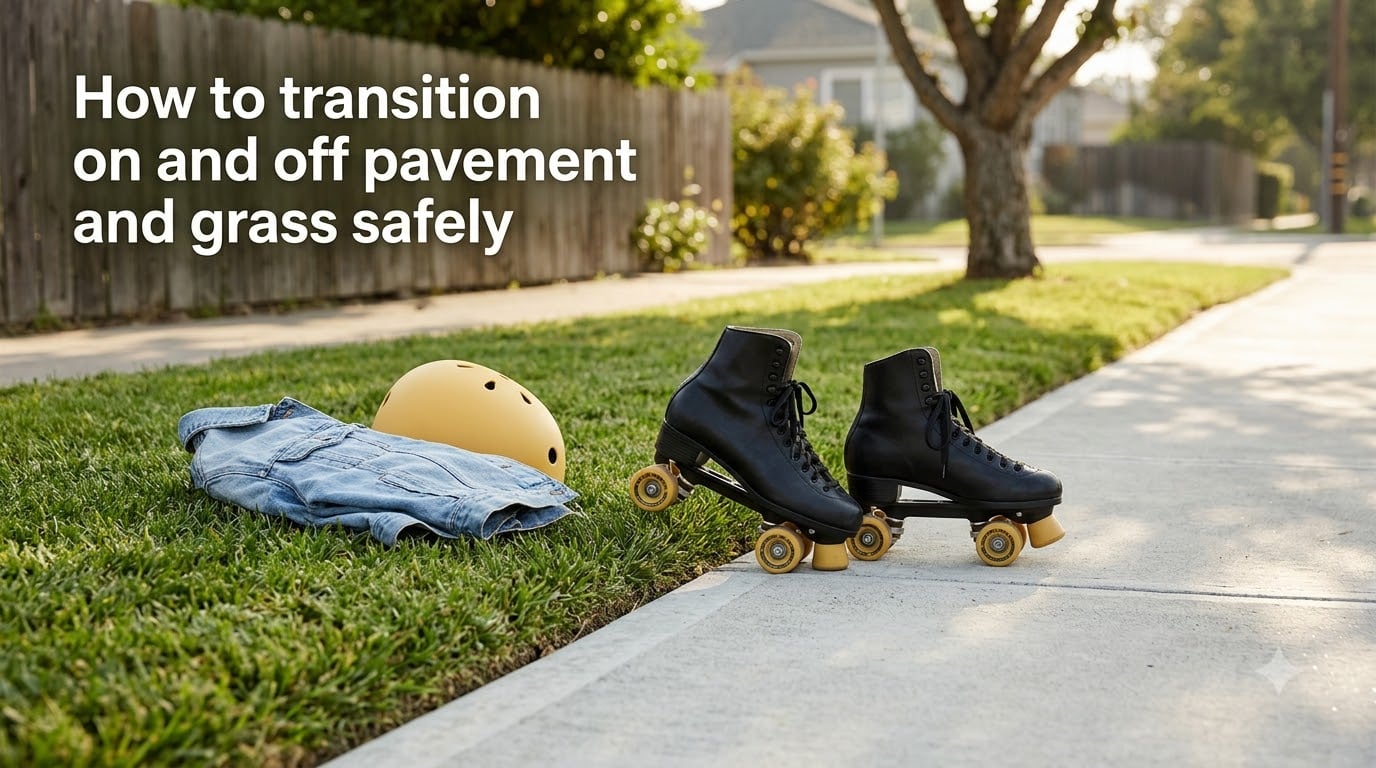
I still remember the first time I rolled off a smooth sidewalk onto a strip of grass and ate it face-first. My wheels caught, my feet flew out from under me, and my brand-new knee pads turned out to be the only thing standing between me and a very bruised ego. That crash taught me the single biggest lesson every outdoor skater eventually learns: knowing how to transition on and off pavement and grass safely is not optional. It is the foundation that lets you skate anywhere real.
In this guide, I will walk you through the exact technique I now use with our beginner skaters at the rink, plus the protective gear checklist, drills, and recovery moves that turn a scary surface change into a smooth, controlled move. Whether you are heading to a smooth trail from a parking lot or just want to stop without slamming into a curb, you will find something here that helps.
Table of Contents
Understanding the Challenge: Why Surface Transitions Trip Up Skaters?
Every wheel behaves differently the moment the surface under it changes. On pavement, your polyurethane wheels glide fast and predictably. On grass, those same wheels bite, drag, and can stop on a dime if a clump catches you at the wrong angle. The sudden change in resistance is what throws skaters off balance, not the surface itself.
When you roll from a hard surface onto something soft, your body keeps moving at the same speed even though the wheels are suddenly slowing down. That mismatch is the real danger. Your feet decelerate, but your torso keeps going, and the gap between the two is where falls are born. The reverse is just as risky. Pushing off grass onto pavement feels like your wheels have been released from a brake, and the sudden acceleration can shoot you forward if you are not ready for it.
Three things make grass especially tricky. First, blades bend unpredictably, so a smooth patch can become a lumpy patch in a single stride. Second, moisture creates drag that you cannot see. Third, hidden roots or uneven soil can launch a wheel sideways without warning. Pavement is far more consistent, but it has its own hazards like cracks, seams, and drainage grates that snag the front trucks on hard edges.
The good news is that once you understand the physics, the fix is mostly mental. You do not need special wheels or special skates. You need the right body position, the right speed, and the right timing. That is what the rest of this guide will teach you.
Essential Protective Gear for Outdoor Skating
Before you practice any of these transitions, suit up. No technique in the world protects you better than a good set of pads when something goes wrong, and on uneven outdoor terrain, something will eventually go wrong. I have been skating for years, and I still put my gear on first, every single time.
Helmet: A certified skate helmet rated for multiple impacts. Look for ASTM F1492 or CPSC certification. Concussions from falls off curbs happen more often than people think.
Knee pads: Hard-shell knee pads with foam lining. They should stay put when you kneel hard into them, not slide down your shin.
Wrist guards: The single most important piece of gear after the helmet. Wrist fractures are the most common roller skating injury, and wrist guards prevent them.
Elbow pads: Soft-shell or hard-shell pads that cover the point of the elbow. These matter most during grass-to-pavement transitions, when forward falls are common.
Mouth guard (optional): Cheap insurance against chipped teeth if you fall face-first, which happens more often than you would expect.
One thing I tell every beginner in our group: the goal of pads is not to keep you from falling. The goal is to keep a fall from becoming an injury. Skating without pads on grass is fine for advanced skaters who already trust their balance, but if you are still building that trust, pads let you fall without paying for it later.
How to Transition On and Off Pavement and Grass Safely: Core Principles
Before we get into the specific directions, there are three principles that apply to every surface transition you will ever make. Master these and the rest of the technique falls into place almost automatically.
1. Slow down first, then transition. Speed is your enemy at the surface change. The faster you are going, the more momentum you have to wrestle with when the wheels catch or release. Aim for a controlled roll at a pace you could stop within one stride.
2. Get low and centered. The ready position — knees bent, weight centered over the balls of your feet, chest forward, arms out — keeps your center of gravity low and stable. A low center of gravity resists tipping. A high one invites falls.
3. Look where you want to go. Your body follows your eyes. If you stare at the grass edge worried about catching a wheel, your weight shifts back and your feet slow too quickly. Look at the smooth patch ten feet ahead and your body will follow naturally.
Step-by-Step: Transitioning from Pavement to Grass
This is the easier of the two directions, and it is also the move that doubles as an emergency stop. Once you learn it properly, you will never panic about an obstacle ahead again — you will simply steer for the grass.
Identify your grass target early. Spot a flat, even strip of grass at least three feet wide. Avoid sloped lawns, wet patches, or areas with thick weeds. A flat park strip beside a sidewalk is ideal.
Slow to walking pace. Use a gentle plow stop or a slight scissor of the legs to bring your speed down before you reach the edge. Do not try to transition at full rolling speed.
Bend your knees and lower your weight. Drop into the ready position. Your knees should be over your toes, not behind them. This position lets your legs absorb the shock of wheels hitting resistance.
Aim for a slight angle, not a straight line. Going straight onto grass can catch both wheels at once and stop you abruptly. A 20- to 30-degree angle lets one wheel enter the grass before the other, which is far smoother.
Let the grass slow you. Resist the urge to lean back or push your weight into your heels. Let the drag of the grass do its job. Your job is to stay balanced over the front of your skates as the speed drops.
Come to a complete stop. Once you have slowed to a near stop, step one foot forward in a small V to fully halt. This is the classic “grass stop” and it is one of the safest ways to finish a roll.
Practicing this move five or six times in a single session will build your confidence faster than any other drill I know. Beginners who nail the grass stop within their first week of outdoor skating tend to skate more boldly and fall less than those who do not, because they know they always have an out.
Step-by-Step: Transitioning from Grass to Pavement
This direction is trickier because your wheels are about to release all that drag and you can suddenly accelerate. The temptation is to push hard as soon as you hit the pavement, but resist that urge. A smooth transition here sets you up for a controlled roll instead of a runaway.
Approach the edge at a slow, steady push. You should still be in the ready position from your grass roll. Your weight is centered, your knees are bent, and your arms are loose.
Line up parallel to the edge. Aim to hit the pavement with both front wheels at almost the same time. Hitting it at an angle can send one wheel shooting forward while the other stays stuck in the grass.
Shift weight slightly to the balls of your feet. Just before the wheels touch pavement, lean a half-inch forward. This keeps your weight over the wheels as they release, rather than letting them roll out from under you.
Expect a small surge of speed. The first half-second on pavement will feel like a gentle push from behind. Bend your knees a touch more and let your legs absorb it instead of fighting it.
Resume a normal stride. Once you feel balanced and your speed has settled, return to your normal push-glide rhythm. Keep your strides short for the first few seconds until you trust the surface.
If you are coming from a thick grass patch onto a downhill slope, take an extra few seconds to brake on the grass first. The combination of slope and sudden acceleration is what sends new skaters into railings and parked cars more than anything else.
Speed Management: The Secret to Clean Transitions
If I had to pick one skill that separates outdoor skaters who feel confident from those who feel constantly on edge, it is speed control. Speed management is not about going slow. It is about choosing your speed for each moment and changing it smoothly when the situation changes.
The two best tools for speed management on outdoor terrain are the plow stop and the toe stop drag. The plow stop is simple: point your toes slightly inward, push your heels out, and let the inside edges of your wheels drag. It works on pavement and most hard surfaces. The toe stop drag is a controlled lean onto the rubber stopper at the front of your skates. It works best on smoother pavement, and it is great for gradually bleeding off speed before a surface change.
When you are approaching a transition, ask yourself three questions. First, how fast am I going right now? Second, what is the surface about to do to my speed? Third, what speed do I want to be at on the other side? Answering those three questions a few seconds before you reach the edge turns a reactive scramble into a calm, intentional move.
Common Mistakes and How to Avoid Them
I see the same handful of mistakes over and over in our beginner sessions. They are easy to fix once you recognize them, and skipping past them is what keeps a lot of skaters stuck at the same confidence level for months.
Staring at the wheels. Looking down at your feet shifts your weight back and your chest forward. This makes every transition feel tippier than it is. Look up, look ahead, look at where you want to be — not at the surface change itself.
Weight in the toes on rough pavement. This is the mistake forum regulars warn about constantly. On uneven surfaces, weight in the toes makes your front trucks catch every crack. Shift your weight to your heels and stagger your stance slightly wider than normal. Your skates will roll right over the rough spots.
Skipping pads on grass. Grass feels safe, so people think they do not need pads. Grass is where most of our falls happen during practice, because the surface is unpredictable. Wear your pads on every surface.
Trying to transition at full speed. Even experienced skaters slow down before a transition. Speed is not a measure of skill, and showing off at the edge of a lawn is how you end up with a face full of dirt.
Not committing to the transition. Hesitation in the middle of a transition is worse than committing fully. If your wheels are already on the new surface, finish the move. Half-committed skaters are the ones who twist ankles.
Practice Drills to Build Transition Confidence
You do not need a special park or a fancy trail to practice. A flat strip of grass beside any sidewalk is a perfect training ground. Here are three drills that I run with new skaters in their first outdoor session, and they work every time.
Drill 1: The Grass Stop Repeat. Roll forward on pavement at a slow pace, then steer onto grass and come to a complete stop using the technique above. Walk your skates back to the starting line. Repeat ten times. This builds muscle memory for the most useful transition you will ever learn.
Drill 2: The Two-Way Loop. Set up a small loop: pavement, grass, pavement, grass. Roll around it repeatedly, alternating directions of transition. This trains both transitions in the same session and gets your body used to the rhythm of surface change.
Drill 3: The Ready Position Hold. Stand on grass in the ready position for thirty seconds at a time, then shift into a small V and hold again. Grass is perfect for this drill because the surface gives you honest feedback about your balance. If you wobble, you will feel it immediately.
Practicing these drills twice a week for a month will make you noticeably more confident outdoors. The body remembers what it has done fifty times, and that memory is what carries you through the unexpected surface change when you are three miles into a trail and not thinking about your skates at all.
Frequently Asked Questions
Is it safe to roller skate on grass?
Yes, grass is one of the safest surfaces for beginner roller skaters because it slows your wheels naturally and gives you a softer landing if you fall. It is also the recommended practice surface for learning how to fall safely and for building balance confidence. Just avoid wet, sloped, or thick grass where wheels can catch unexpectedly.
How do you stop on grass when roller skating?
Slow to a controlled roll, then steer onto the grass at a slight angle of about 20 to 30 degrees with your knees bent and weight centered. Let the grass drag your wheels to a slow, then point one foot forward in a small V to come to a complete stop. This is called the grass stop and it is one of the safest emergency stops available.
Why is grass good for learning to roller skate?
Grass slows the wheels naturally, gives you a softer surface to fall on, and provides honest balance feedback that smooth pavement cannot. It also helps beginners practice falling forward onto knee and wrist pads without the speed and hardness of pavement, which builds confidence quickly.
What gear do I need to transition safely outdoors?
At minimum you need a certified helmet, hard-shell knee pads, and wrist guards. Elbow pads are strongly recommended for grass-to-pavement transitions where forward falls are common. The gear does not stop you from falling; it stops a fall from becoming an injury.
How fast should I be going before a surface transition?
Slow to a pace you could stop within one stride. For most beginners that is a gentle walking pace. Trying to transition at full rolling speed is one of the most common causes of falls at curbs, lawns, and parking lot edges. Speed management is the single biggest factor in clean transitions.
Bringing It All Together
Learning how to transition on and off pavement and grass safely is what unlocks the rest of outdoor skating for you. Once you trust your ability to move between surfaces, every park, trail, and parking lot becomes a place you can skate instead of a place you have to avoid. The skills are simple: slow down before the edge, get low in the ready position, watch where you want to go, and let the new surface do its work. Pair that technique with proper pads, a few minutes of drills twice a week, and the willingness to start slow, and you will be skating confidently outdoors in less time than you think.
Pick a flat strip of grass beside a quiet sidewalk, grab your pads, and run the grass stop repeat drill five times today. That single drill is where every confident outdoor skater I know started. Your skates are ready. The grass is waiting. Get out there and try it.